http://www.cartft.com, Cool Embedded PCs
7)Install the HDD and CDROM (optional) into the metal bracket and connect to the motherboard using the IDE cable.
8)Install the motherboard I/O shield at the back of the
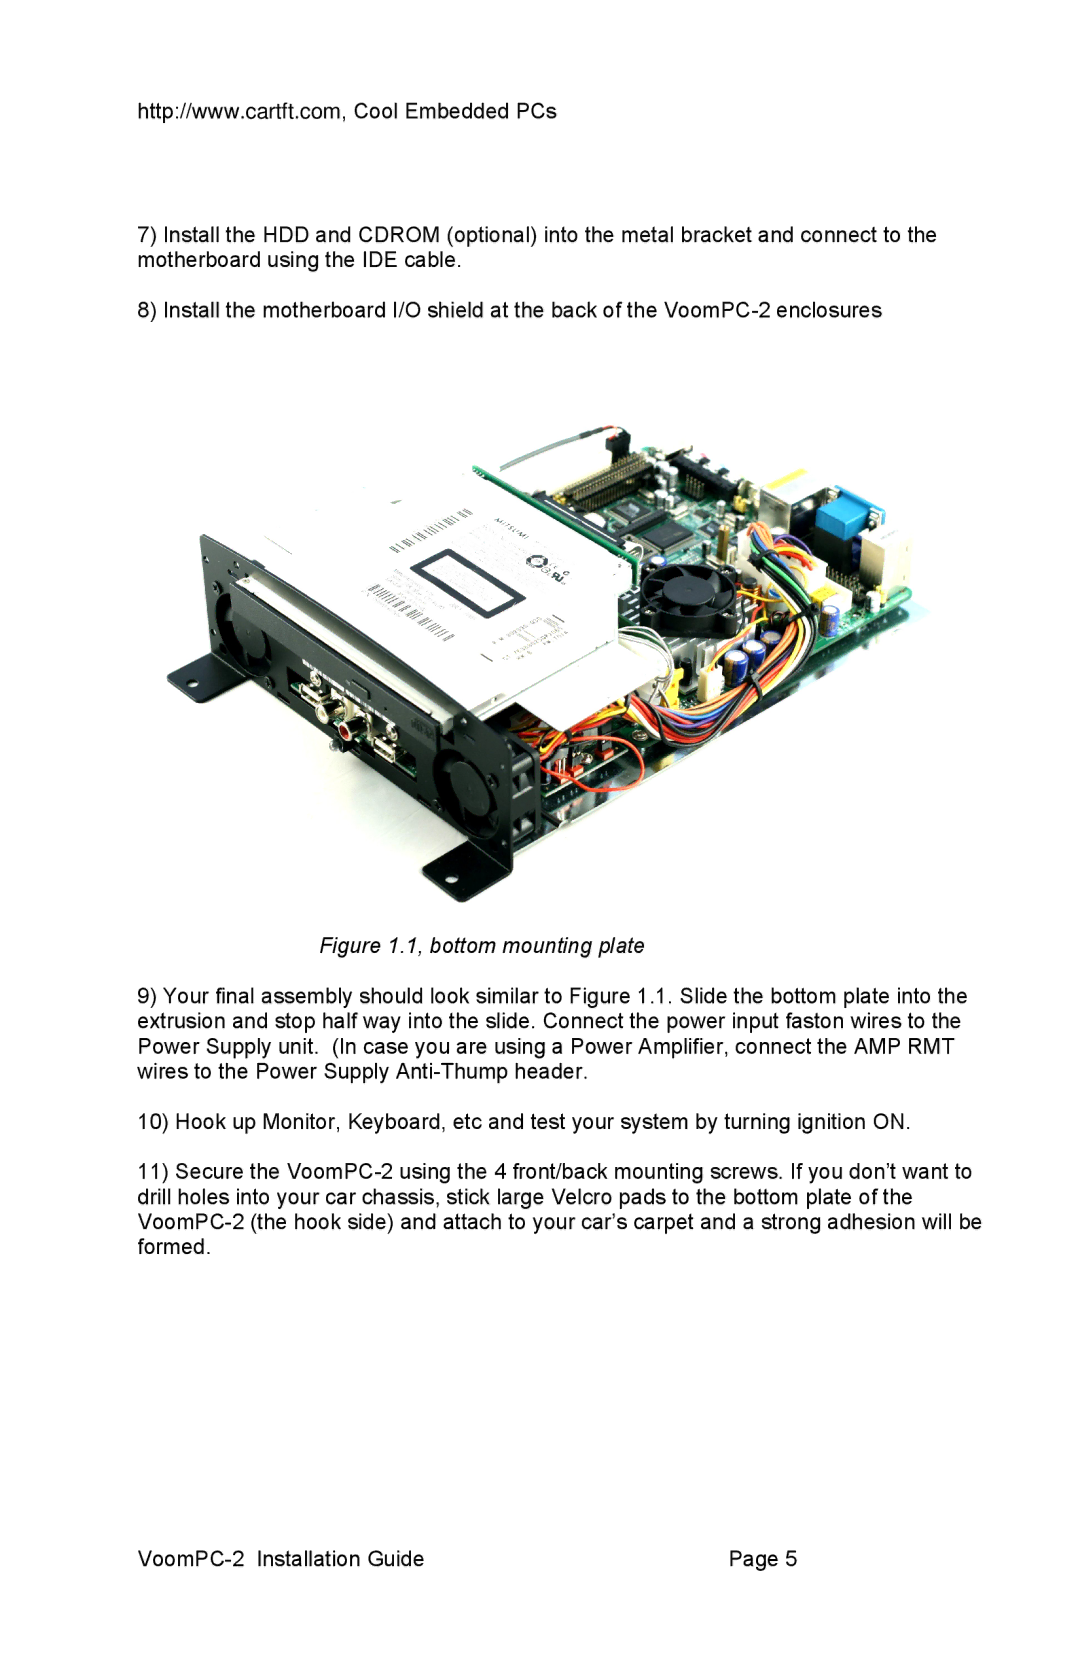
Figure 1.1, bottom mounting plate
9)Your final assembly should look similar to Figure 1.1. Slide the bottom plate into the extrusion and stop half way into the slide. Connect the power input faston wires to the Power Supply unit. (In case you are using a Power Amplifier, connect the AMP RMT wires to the Power Supply
10)Hook up Monitor, Keyboard, etc and test your system by turning ignition ON.
11)Secure the
| Page 5 |