DCM-100 Ethernet Cable Modem
Installation
The installation of the DCM-100 Ethernet Cable Modem can be completed in a matter of minutes. Be careful to insure the cables are properly locked into position. Follow these steps (see the figure of the rear panel in Chapter Two):
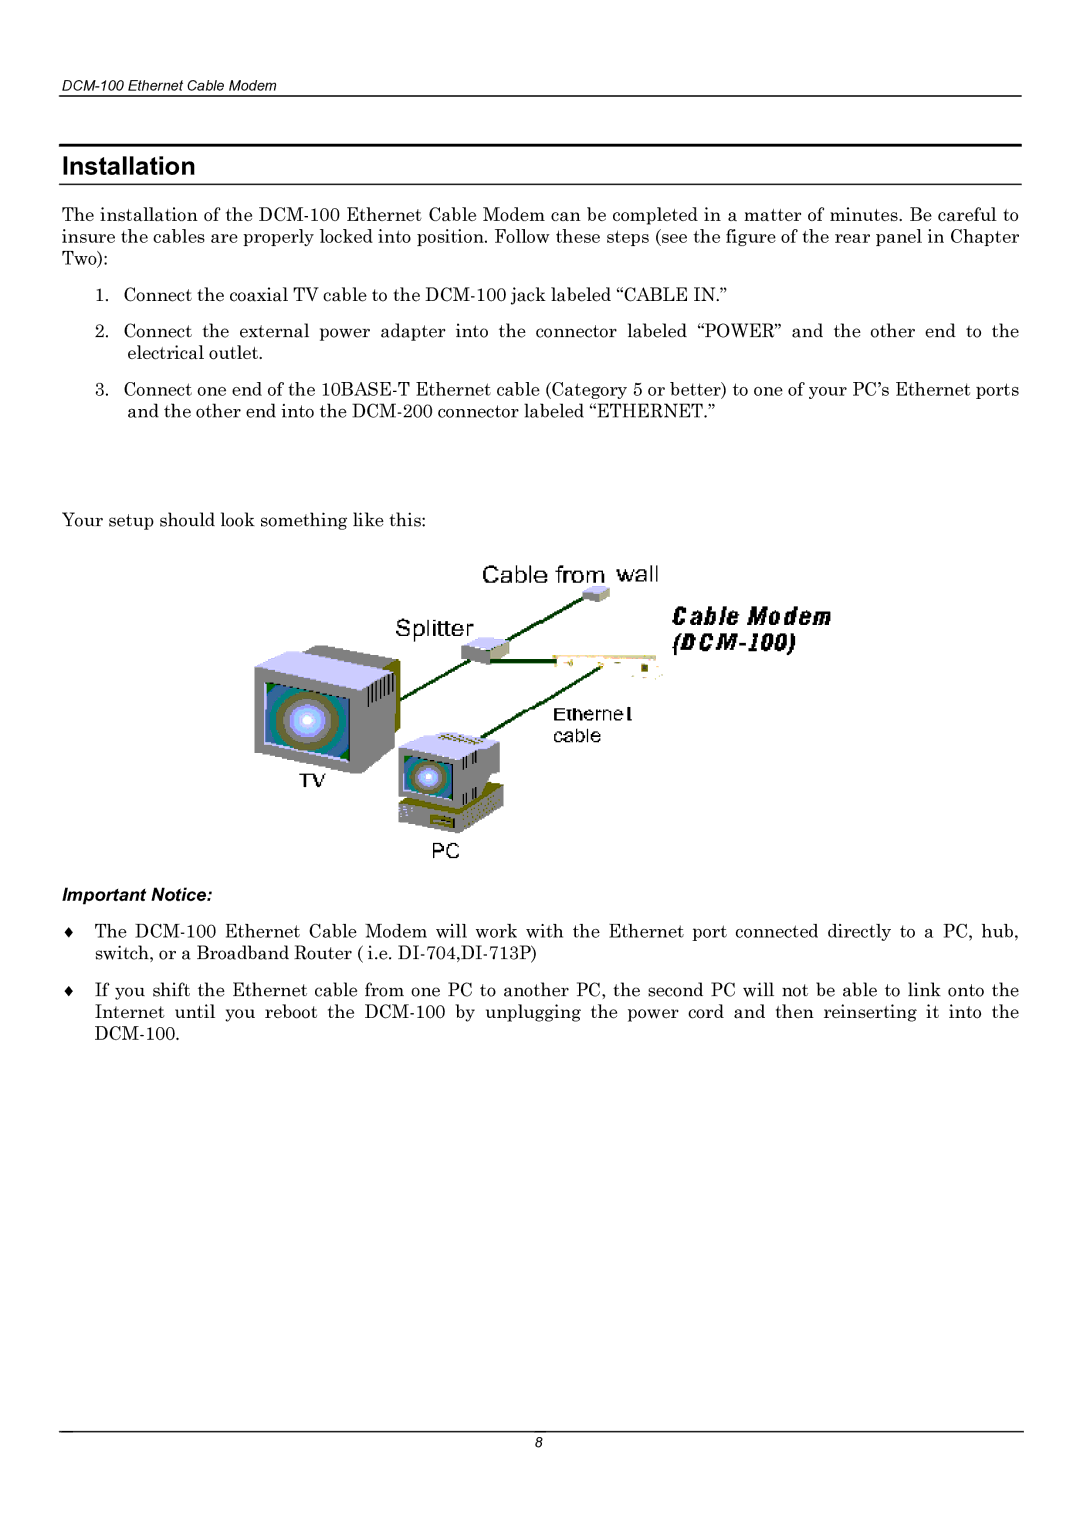
1.Connect the coaxial TV cable to the DCM-100 jack labeled “CABLE IN.”
2.Connect the external power adapter into the connector labeled “POWER” and the other end to the electrical outlet.
3.Connect one end of the 10BASE-T Ethernet cable (Category 5 or better) to one of your PC’s Ethernet ports and the other end into the DCM-200 connector labeled “ETHERNET.”
Your setup should look something like this:
Important Notice:
♦The DCM-100 Ethernet Cable Modem will work with the Ethernet port connected directly to a PC, hub, switch, or a Broadband Router ( i.e. DI-704,DI-713P)
♦If you shift the Ethernet cable from one PC to another PC, the second PC will not be able to link onto the Internet until you reboot the DCM-100 by unplugging the power cord and then reinserting it into the DCM-100.

