D-Link DGS-1008D Unmanaged Gigabit Ethernet Switch
Mounting the Switch on a Wall
The
A.) Mounting on a cement wall
1.Mount the Nylon screw anchors into a cement wall.
2.Drive the T3 x 15L screws into the Nylon screw anchors.
3.Hook the mounting holes of the switch back on the screws; you have completed the
B.) Mounting on a wood wall
1.Drive the T3 x 15 L screws into the wood wall.
2.Hook the mounting holes of the switch back on the screws; you have completed the
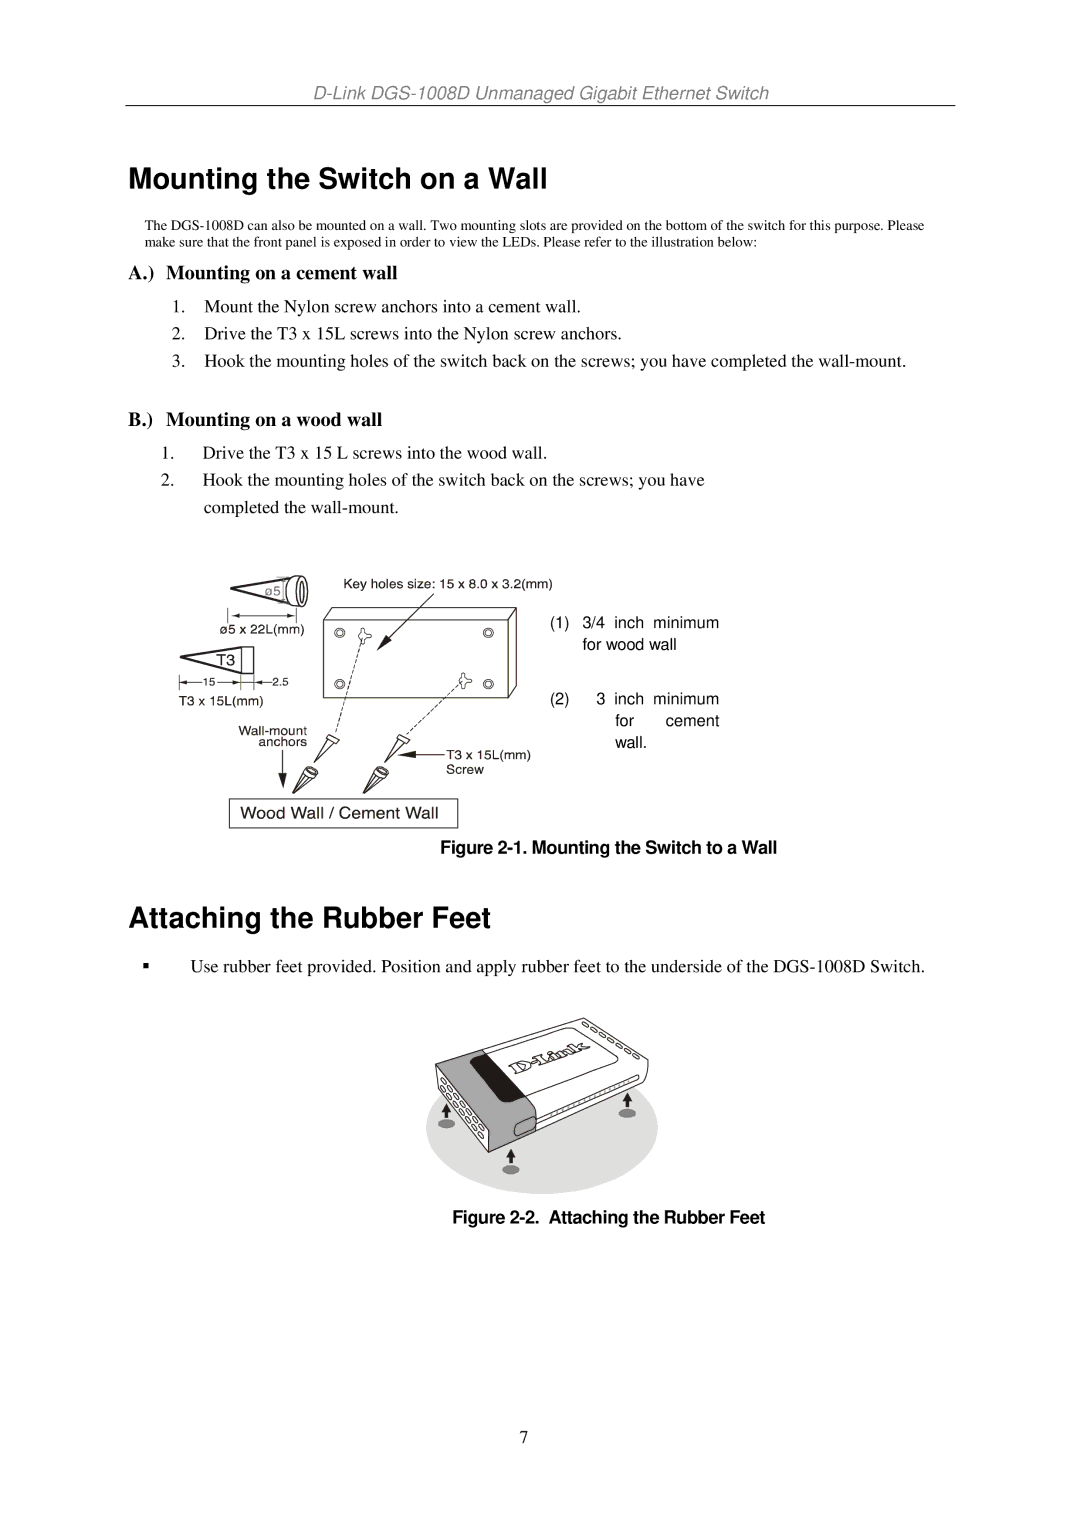
(1) 3/4 inch minimum for wood wall
(2) 3 inch minimum for cement wall.
Figure 2-1. Mounting the Switch to a Wall
Attaching the Rubber Feet
Use rubber feet provided. Position and apply rubber feet to the underside of the
Figure 2-2. Attaching the Rubber Feet
7