◆Power IC, Transistor or Devices Removal/Replacement
1.Heat and remove all solders from the device leads.
2.Remove the heatsink mounting screw (if applicable).
3.Carefully remove the device from the circuit board.
4.Insert new device in circuit board.
5.Solder each device lead and then clip off excess lead.
6.Replace heatsink.
◆Diode Removal/Replacement
1.Remove defective diode by clipping its leads as close as possible to diode body.
2.Bend the two remaining leads perpendicularly to the circuit board.
3.Observing diode polarity, wrap each lead out of the new diode around the corresponding lead on the circuit board.
4.Securely crimp each connection and solder it.
5.Inspect the solder joints of the two “original” leads on the circuit board copper side. If they are not shiny, reheat them and apply additional solder if necessary.
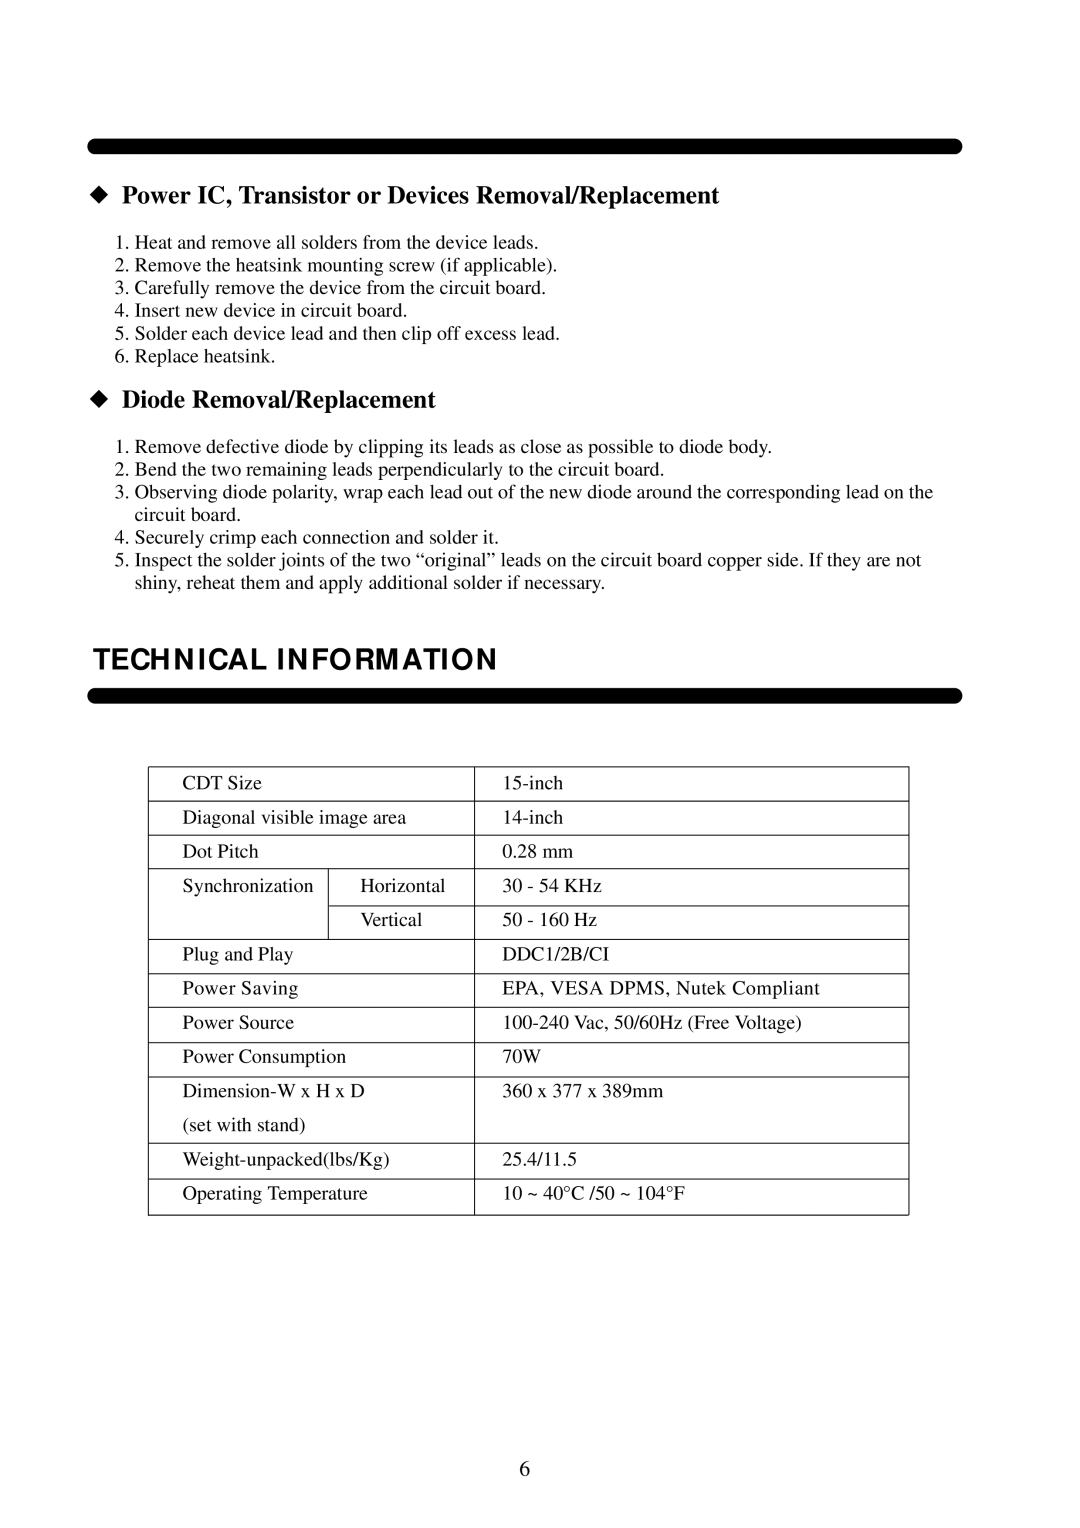
TECHNICAL INFORMATION
CDT Size |
| |||
|
|
| ||
Diagonal visible image area | ||||
|
|
|
| |
Dot Pitch |
| 0.28 mm | ||
|
|
|
|
|
Synchronization |
| Horizontal | 30 | - 54 KHz |
|
|
|
|
|
|
| Vertical | 50 | - 160 Hz |
|
|
|
| |
Plug and Play |
| DDC1/2B/CI | ||
|
|
|
| |
Power Saving |
| EPA, VESA DPMS, Nutek Compliant | ||
|
|
|
| |
Power Source |
| |||
|
|
|
| |
Power Consumption |
| 70W | ||
|
|
| ||
360 x 377 x 389mm | ||||
(set with stand) |
|
|
| |
|
|
| ||
25.4/11.5 | ||||
|
|
|
| |
Operating Temperature | 10 | ~ 40°C /50 ~ 104°F | ||
|
|
|
|
|
6
