S p e c i a l F e a t u r e s
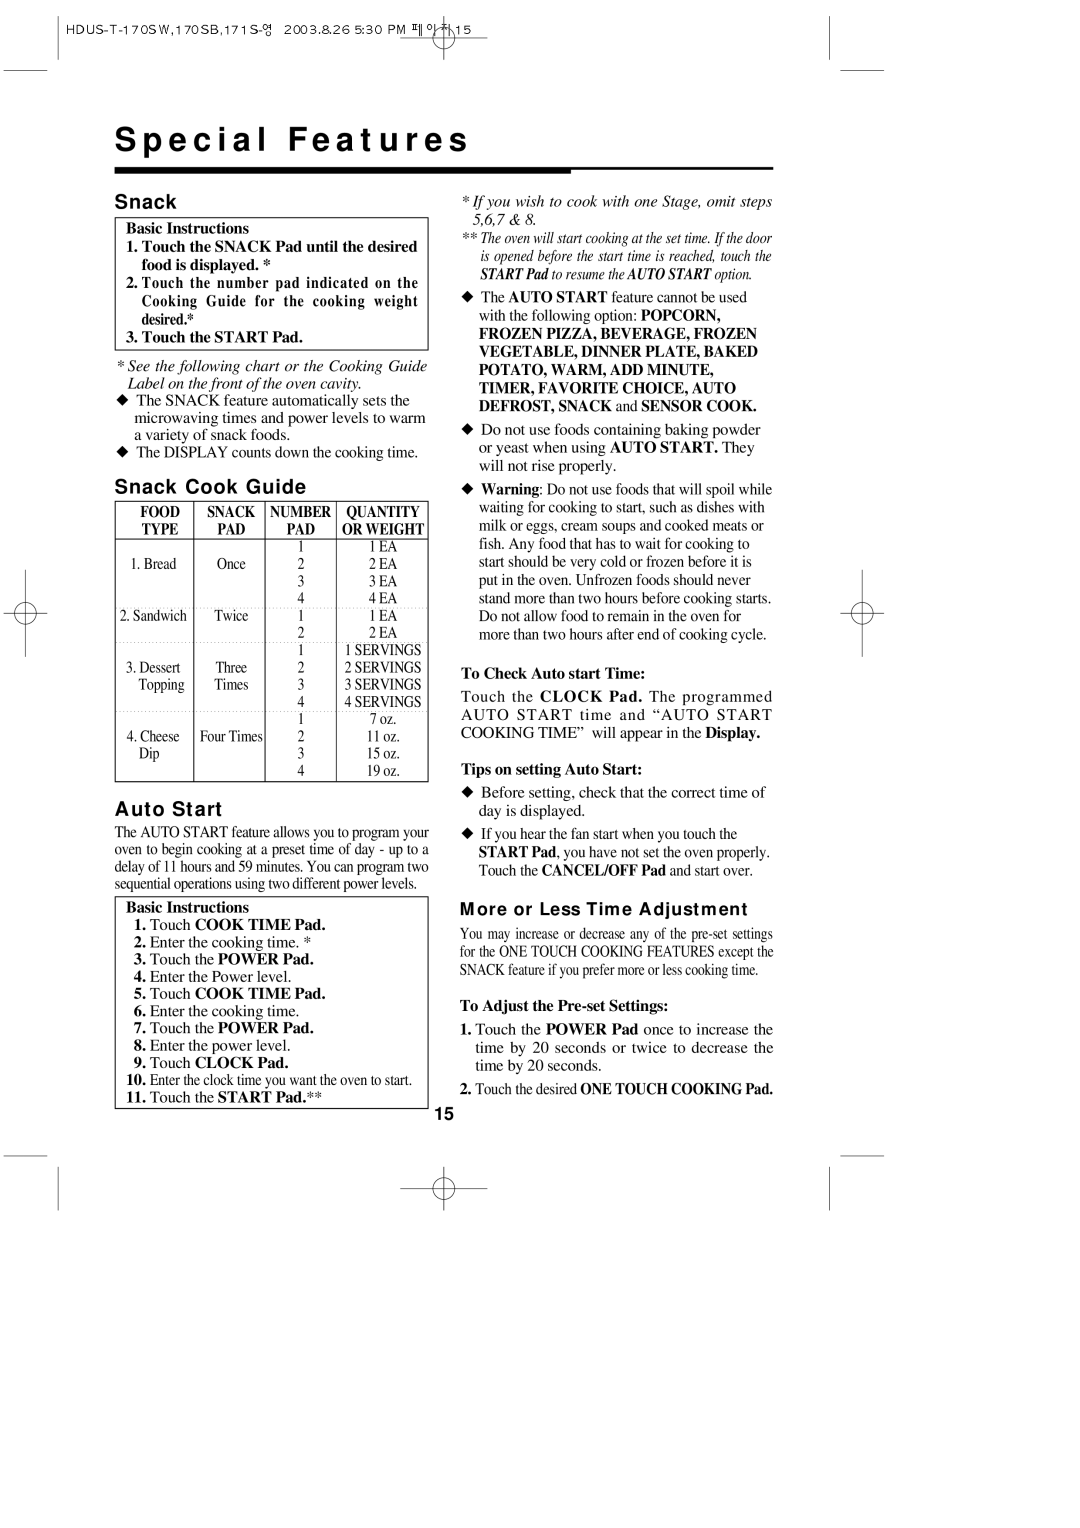
Snack
Basic Instructions
1.Touch the SNACK Pad until the desired food is displayed. *
2.Touch the number pad indicated on the Cooking Guide for the cooking weight desired.*
3.Touch the START Pad.
*See the following chart or the Cooking Guide Label on the front of the oven cavity.
◆The SNACK feature automatically sets the microwaving times and power levels to warm a variety of snack foods.
◆The DISPLAY counts down the cooking time.
Snack Cook Guide
FOOD | SNACK | NUMBER | QUANTITY |
TYPE | PAD | PAD | OR WEIGHT |
|
| 1 | 1 EA |
1. Bread | Once | 2 | 2 EA |
|
| 3 | 3 EA |
|
| 4 | 4 EA |
2. Sandwich | Twice | 1 | 1 EA |
|
| 2 | 2 EA |
|
| 1 | 1 SERVINGS |
3. Dessert | Three | 2 | 2 SERVINGS |
Topping | Times | 3 | 3 SERVINGS |
|
| 4 | 4 SERVINGS |
|
| 1 | 7 oz. |
4. Cheese | Four Times | 2 | 11 oz. |
Dip |
| 3 | 15 oz. |
|
| 4 | 19 oz. |
Auto Start
The AUTO START feature allows you to program your oven to begin cooking at a preset time of day - up to a delay of 11 hours and 59 minutes. You can program two sequential operations using two different power levels.
*If you wish to cook with one Stage, omit steps 5,6,7 & 8.
**The oven will start cooking at the set time. If the door is opened before the start time is reached, touch the START Pad to resume the AUTO START option.
◆The AUTO START feature cannot be used with the following option: POPCORN,
FROZEN PIZZA, BEVERAGE, FROZEN VEGETABLE, DINNER PLATE, BAKED POTATO, WARM, ADD MINUTE, TIMER, FAVORITE CHOICE, AUTO DEFROST, SNACK and SENSOR COOK.
◆Do not use foods containing baking powder or yeast when using AUTO START. They will not rise properly.
◆Warning: Do not use foods that will spoil while waiting for cooking to start, such as dishes with milk or eggs, cream soups and cooked meats or fish. Any food that has to wait for cooking to start should be very cold or frozen before it is put in the oven. Unfrozen foods should never stand more than two hours before cooking starts. Do not allow food to remain in the oven for more than two hours after end of cooking cycle.
To Check Auto start Time:
Touch the CLOCK Pad. The programmed AUTO START time and “AUTO START COOKING TIME” will appear in the Display.
Tips on setting Auto Start:
◆Before setting, check that the correct time of day is displayed.
◆If you hear the fan start when you touch the START Pad, you have not set the oven properly. Touch the CANCEL/OFF Pad and start over.
Basic Instructions
11. Touch COOK TIME Pad.
12. Enter the cooking time. *
13. Touch the POWER Pad.
14. Enter the Power level.
15. Touch COOK TIME Pad.
16. Enter the cooking time.
17. Touch the POWER Pad.
18. Enter the power level.
19. Touch CLOCK Pad.
10.Enter the clock time you want the oven to start.
11.Touch the START Pad.**
More or Less Time Adjustment
You may increase or decrease any of the
To Adjust the Pre-set Settings:
1.Touch the POWER Pad once to increase the time by 20 seconds or twice to decrease the time by 20 seconds.
2.Touch the desired ONE TOUCH COOKING Pad.
15
