Vent Hood Installation (with soffit)
INSTALL VENT HOOD INTO SOFFIT
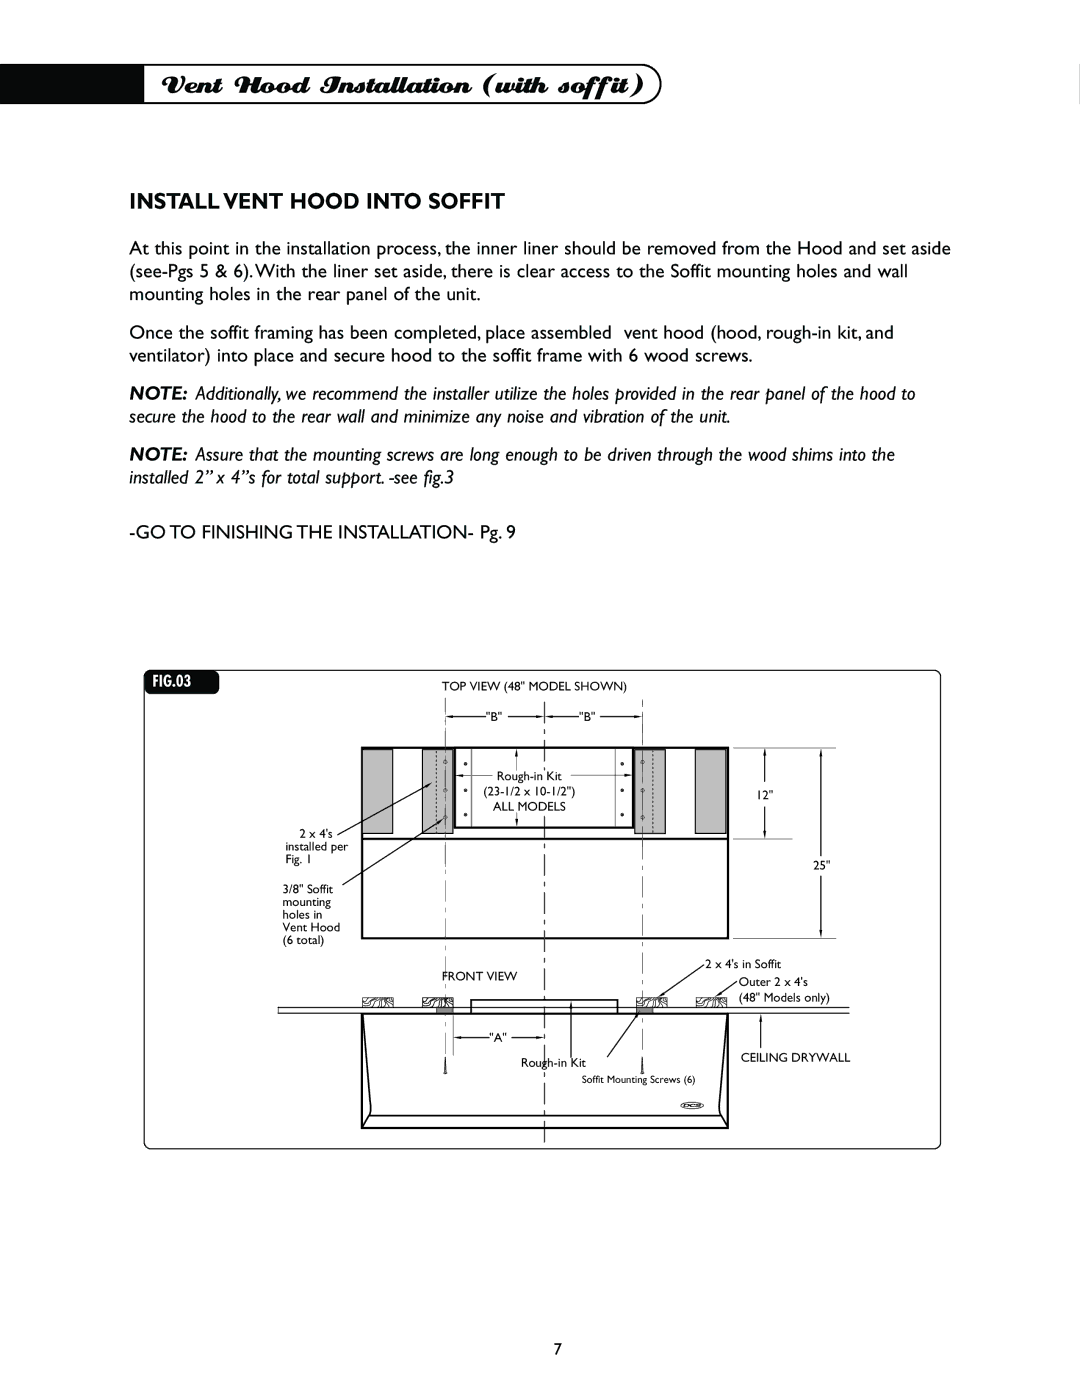
At this point in the installation process, the inner liner should be removed from the Hood and set aside
Once the soffit framing has been completed, place assembled vent hood (hood,
NOTE: Additionally, we recommend the installer utilize the holes provided in the rear panel of the hood to secure the hood to the rear wall and minimize any noise and vibration of the unit.
NOTE: Assure that the mounting screws are long enough to be driven through the wood shims into the installed 2” x 4”s for total support.
FIG.03 | TOP VIEW (48" MODEL SHOWN) | |||||||
|
|
| "B" |
|
|
| "B" |
|
|
|
|
|
|
| |||
2 x 4's installed per Fig. 1
3/8" Soffit mounting holes in Vent Hood (6 total)
ALL MODELS |
12"
25"
FRONT VIEW |
| 2 x 4's in Soffit |
| Outer 2 x 4's | |
|
| |
|
| (48" Models only) |
"A" |
|
|
| CEILING DRYWALL | |
|
|
Soffit Mounting Screws (6)
7