![]() 1
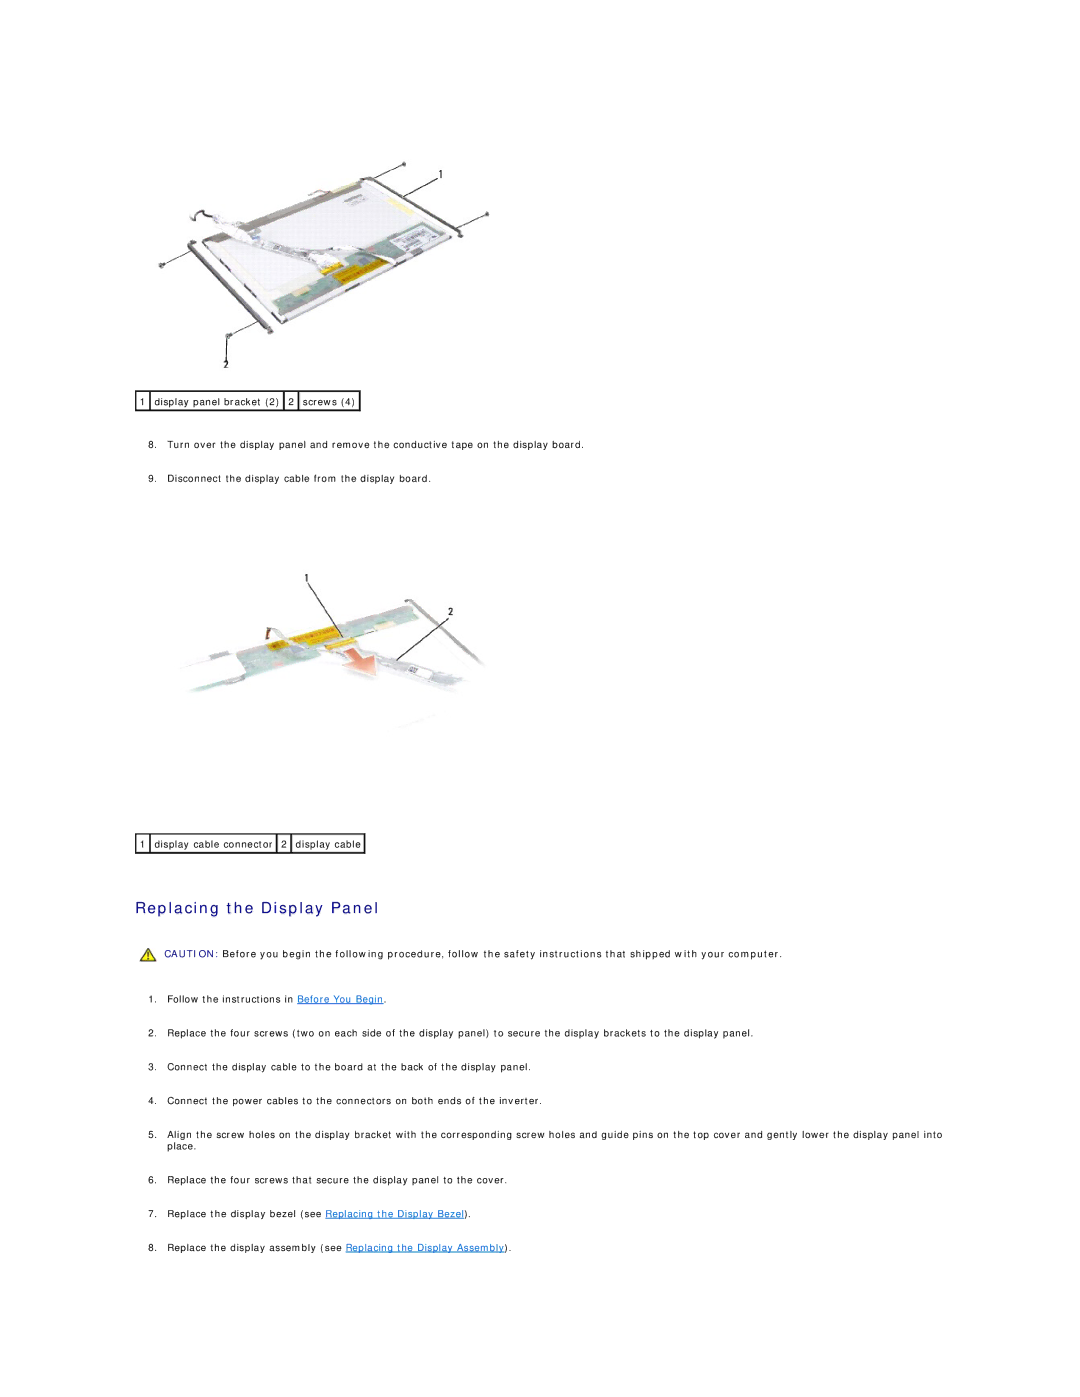
1 ![]() display panel bracket (2)
display panel bracket (2) ![]() 2
2 ![]() screws (4)
screws (4) ![]()
8.Turn over the display panel and remove the conductive tape on the display board.
9.Disconnect the display cable from the display board.
![]() 1
1 ![]() display cable connector
display cable connector ![]() 2
2 ![]() display cable
display cable ![]()
Replacing the Display Panel
CAUTION: Before you begin the following procedure, follow the safety instructions that shipped with your computer.
1.Follow the instructions in Before You Begin.
2.Replace the four screws (two on each side of the display panel) to secure the display brackets to the display panel.
3.Connect the display cable to the board at the back of the display panel.
4.Connect the power cables to the connectors on both ends of the inverter.
5.Align the screw holes on the display bracket with the corresponding screw holes and guide pins on the top cover and gently lower the display panel into place.
6.Replace the four screws that secure the display panel to the cover.
7.Replace the display bezel (see Replacing the Display Bezel).
8.Replace the display assembly (see Replacing the Display Assembly).
