Back to Contents Page

Advanced Troubleshooting

Dell™ XPS™ 410 Service Manual

Power Lights

Diagnostic Lights

Beep Codes

Dell Diagnostics

Drivers

Resolving Software and Hardware Incompatibilities

Power Lights

CAUTION: Before you begin any of the procedures in this section, follow the safety instructions in the Product Information Guide.

The power button light located on the front of the computer illuminates and blinks or remains solid to indicate different states:

If the power light is green and the computer is not responding.

¡Ensure the display is connected and powered on.

¡If the display is connected and powered on, see Diagnostic Lights.

If the power light is blinking green, the computer is in standby mode. Press a key on the keyboard, move the mouse, or press the power button to resume normal operation.

If the power light is off, the computer is either turned off or is not receiving power.

¡Reseat the power cable into both the power connector on the back of the computer and the electrical outlet.

¡If the computer is plugged into a power strip, ensure that the power strip is plugged into an electrical outlet and that the power strip is turned on. Also bypass power protection devices, power strips, and power extension cables to verify that the computer turns on properly.

¡Ensure that the electrical outlet is working by testing it with another device, such as a lamp.

¡Ensure that the main power cable and front panel cable are securely connected to the system board (see System Board Components).

If the power light is blinking amber, the computer is receiving electrical power, but an internal power problem might exist.

¡Ensure that the voltage selection switch is set to match the AC power at your location (if applicable).

If the power light is steady amber, a device might be malfunctioning or incorrectly installed.

¡Remove and then reinstall the memory modules (see Installing Memory).

¡Remove and then reinstall any cards (see Cards).

¡Remove and then reinstall the graphics card, if applicable (see Cards).

¡Ensure that all power cables are securely connected to the system board. (see System Board Components).

Diagnostic Lights

CAUTION: Before you perform any of the procedures in this section, follow the safety instructions in the Product Information Guide.

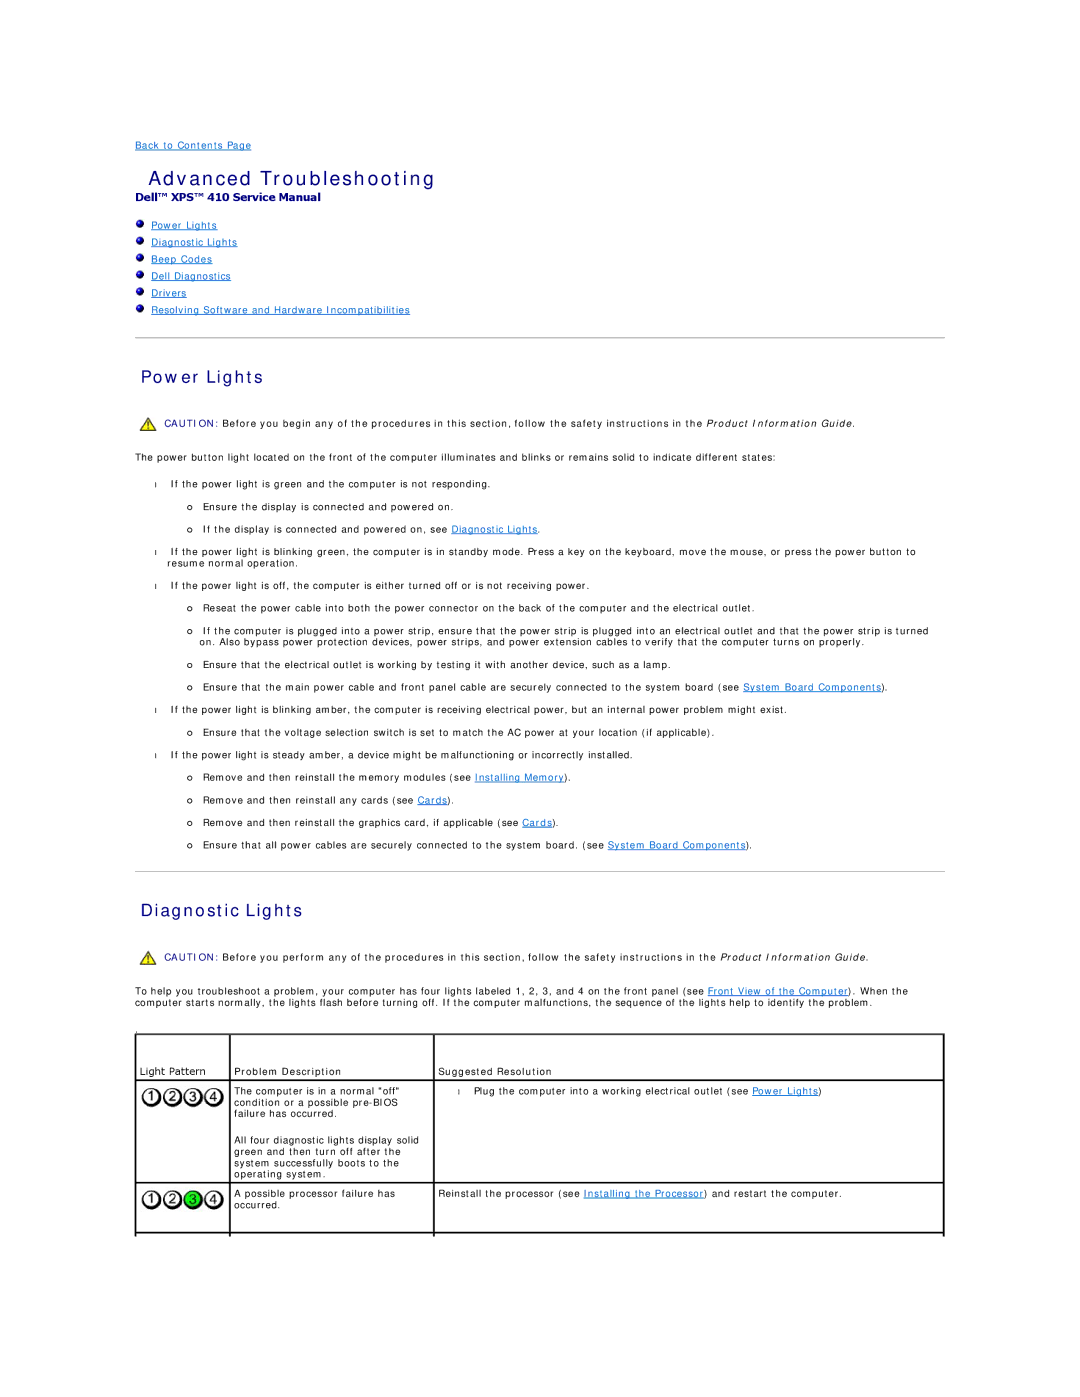
To help you troubleshoot a problem, your computer has four lights labeled 1, 2, 3, and 4 on the front panel (see Front View of the Computer). When the computer starts normally, the lights flash before turning off. If the computer malfunctions, the sequence of the lights help to identify the problem.

.

Light Pattern

Problem Description

Suggested Resolution


The computer is in a normal "off"

Plug the computer into a working electrical outlet (see Power Lights)


condition or a possible pre-BIOS


failure has occurred.


All four diagnostic lights display solid


green and then turn off after the


system successfully boots to the


operating system.


A possible processor failure has

Reinstall the processor (see Installing the Processor) and restart the computer.


occurred.


Page 5
Image 5
Dell 410 specifications Advanced Troubleshooting, Power Lights, Diagnostic Lights, Problem Description Suggested Resolution

410 specifications

The Dell XPS 410, launched in the mid-2000s, was a prominent desktop computer known for its robust performance and modern design. Targeting both enthusiasts and everyday users, the XPS 410 emerged as a reliable option for gaming, media, and general computing tasks.

One of the standout features of the XPS 410 was its sleek and stylish appearance, designed to complement contemporary home and office environments. It boasted a stylish chassis with an integrated lighting system, showcasing Dell's commitment to aesthetics alongside functionality.

The XPS 410 was powered by Intel's Core 2 Duo processor, which offered significant improvements in performance and energy efficiency over its predecessors. Depending on the configuration, users could choose from various processors, allowing for customization based on personal needs. This flexibility made the XPS 410 suitable for resource-intensive applications, such as photo editing, video rendering, and gaming.

Accompanying the powerful processor was a choice of memory options, with support for up to 4GB of DDR2 RAM. This ample memory capacity ensured smooth multitasking and efficient handling of demanding software. Users could also enhance performance through options for high-speed graphics cards, with dedicated GPUs from NVIDIA and ATI, catering to the needs of gamers and graphic designers alike.

In terms of storage, the XPS 410 offered various hard drive configurations, with SATA drives ranging from 250GB to 750GB, ensuring ample space for files, applications, and multimedia. Additionally, with options for RAID configurations, users could benefit from increased data redundancy and improved performance.

The XPS 410 also incorporated advanced technologies such as Dell's Media Center remote control compatibility, allowing for convenient navigation and control of media applications. The inclusion of multiple USB ports and card reader slots made it easy for users to connect a variety of peripherals, enhancing the overall functionality of the system.

Another noteworthy aspect of the XPS 410 was its ability to run Windows Vista, further emphasizing its appeal during a time of transition in consumer operating systems. The combination of powerful hardware and versatile software offerings made the XPS 410 a favored choice among professionals and gamers alike.

In summary, the Dell XPS 410 was a well-rounded desktop computer, featuring powerful processors, ample memory and storage options, and an appealing design. It catered to a wide variety of users, providing performance and versatility that stood out in its era.