
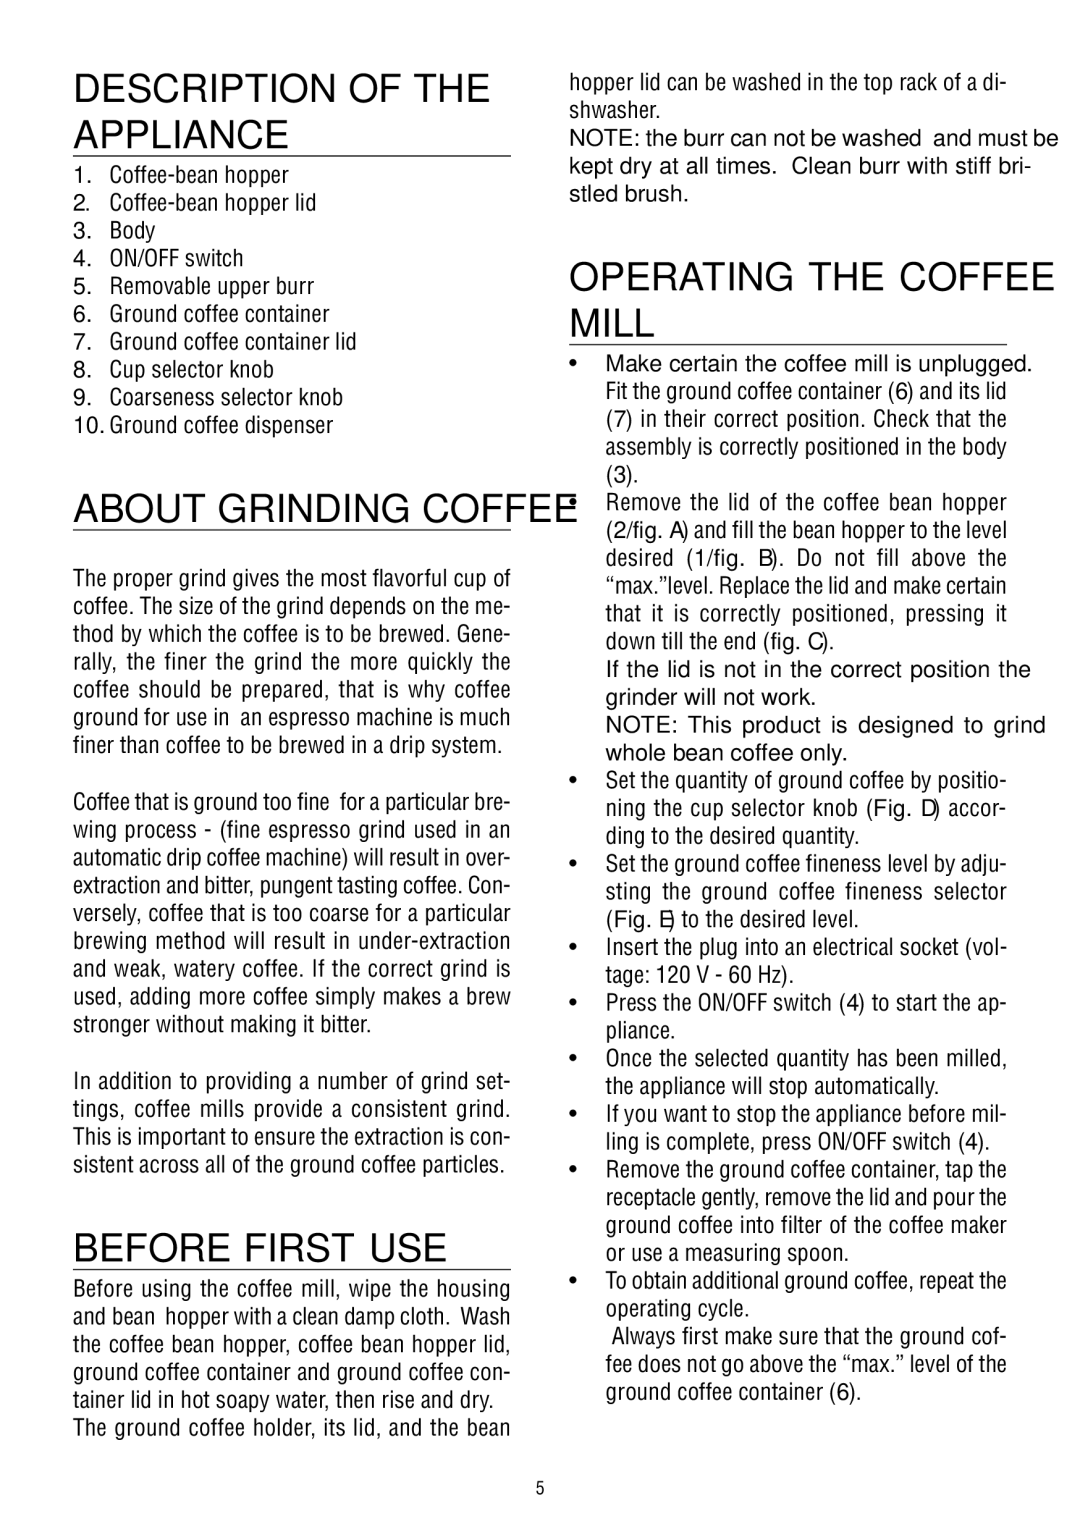
KG 79-89 specifications
The DeLonghi KG 79-89 is an exceptional coffee grinder that stands out for its advanced features, efficient performance, and user-centric design. This model is perfect for coffee enthusiasts who appreciate the fine art of coffee brewing and are looking to elevate their home coffee experience.One of the main features of the KG 79-89 is its stainless steel blades. Unlike traditional coffee grinders that may use inferior materials, the stainless steel construction ensures durability and longevity, providing consistent performance over time. This grinder can effortlessly handle both coffee beans and spices, making it a versatile tool in the kitchen.
Equipped with a powerful motor, the KG 79-89 delivers a grind that meets the needs of various brewing methods. Whether you prefer a coarse grind for French press or a fine grind for espresso, this grinder can be adjusted to achieve the desired consistency. The precision grind settings allow users to choose from multiple levels of coarseness, ensuring a tailored coffee experience every time.
Another notable feature is the transparent lid that allows users to monitor the grinding process. This feature not only enhances convenience but also enables users to achieve their desired grind size without guesswork. Additionally, the grinder's anti-slip feet provide stability during operation, reducing the likelihood of spills and ensuring safety.
The KG 79-89 also boasts a sizable capacity, allowing for up to 120 grams of coffee beans to be grinded in one go. This means fewer batches and more time enjoying your freshly brewed coffee. The easy-to-use control panel makes it simple for anyone, regardless of their coffee-making expertise, to operate the grinder effectively.
Furthermore, with a sleek and modern design, the DeLonghi KG 79-89 complements any kitchen decor, making it not just a functional appliance but also an aesthetic addition to your countertop.
In conclusion, the DeLonghi KG 79-89 is an outstanding coffee grinder that combines performance with convenience. Its stainless steel blades, precision grind settings, and user-friendly design make it a must-have for anyone serious about their coffee. Whether you are a seasoned barista or a casual coffee drinker, this machine promises to enhance your brewing experience and deliver a rich, flavorful cup of coffee every time.