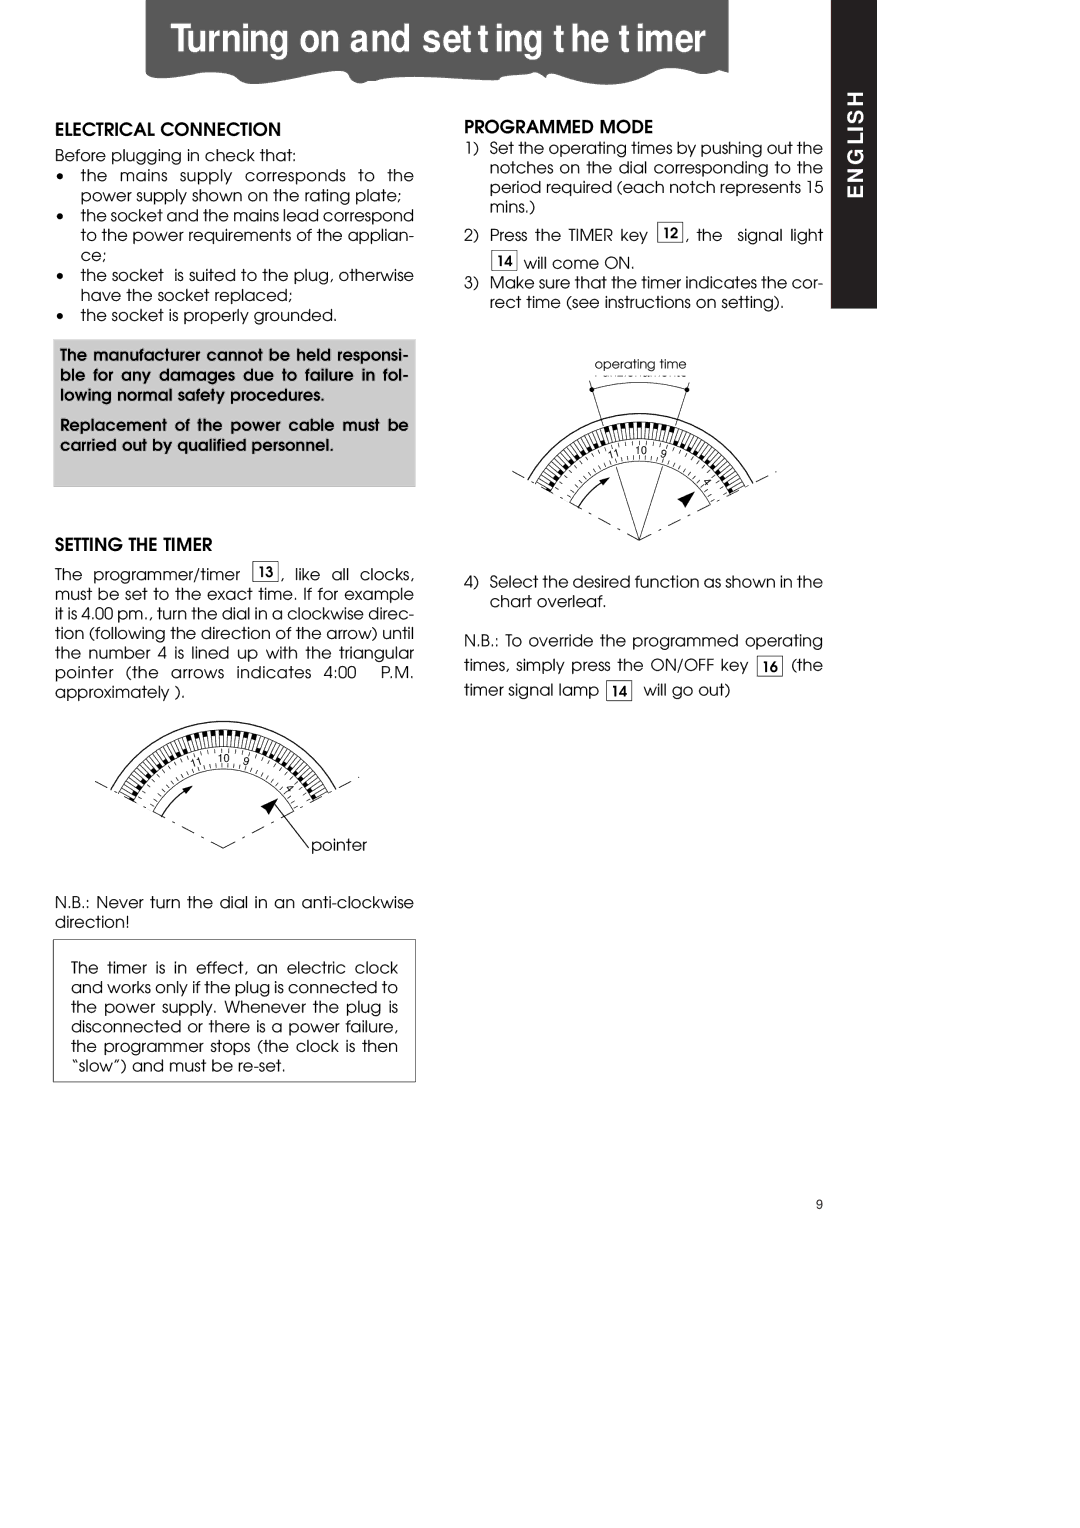
PAC600T specifications
The DeLonghi PAC600T is a standout portable air conditioner that combines efficiency and convenience, making it an ideal choice for those seeking a reliable cooling solution. This model is particularly popular for its portability, user-friendly features, and advanced technology.One of the main features of the PAC600T is its impressive cooling capacity. With a cooling power of 6000 BTUs, it is capable of effectively cooling spaces up to 200 square feet, making it suitable for bedrooms, offices, or small living areas. The unit operates with three fan speeds, allowing users to customize their cooling experience according to their preferences and the outside weather conditions.
The PAC600T is equipped with a patented cooling system that incorporates a powerful compressor and an eco-friendly refrigerant, making it not only effective but also environmentally conscious. Its Energy Efficiency Ratio (EER) is competitive, ensuring that energy consumption remains lower while still delivering optimal cooling performance.
One of the standout characteristics of this air conditioner is its portability. The PAC600T features built-in wheels and ergonomic handles, making it easy to move from room to room as needed. This flexibility is particularly beneficial during hot summer months when different areas of a home may require cooling.
The unit also includes a dehumidification feature that can remove up to 30 pints of moisture per day. This function is essential in maintaining comfort, especially in humid climates. The PAC600T features a continuous drainage option, allowing water to be removed without the need for constant monitoring, thereby maximizing convenience.
Another innovative technology present in the DeLonghi PAC600T is the remote control, which allows users to operate the unit from a distance. This handy feature is perfect for when you want to adjust the settings without having to get up, ensuring maximum comfort and accessibility.
Moreover, the air conditioner incorporates a sleep mode, which adjusts the temperature gradually throughout the night for added comfort while minimizing energy use. Additionally, its noise level is designed to be discreet, ensuring a peaceful environment.
With its combination of advanced technology, usability, and effective cooling power, the DeLonghi PAC600T is an impressive choice for anyone in need of a portable air conditioning solution. Whether it's for personal comfort or for the enjoyment of guests, this model stands out as a reliable and efficient air conditioning unit.

