
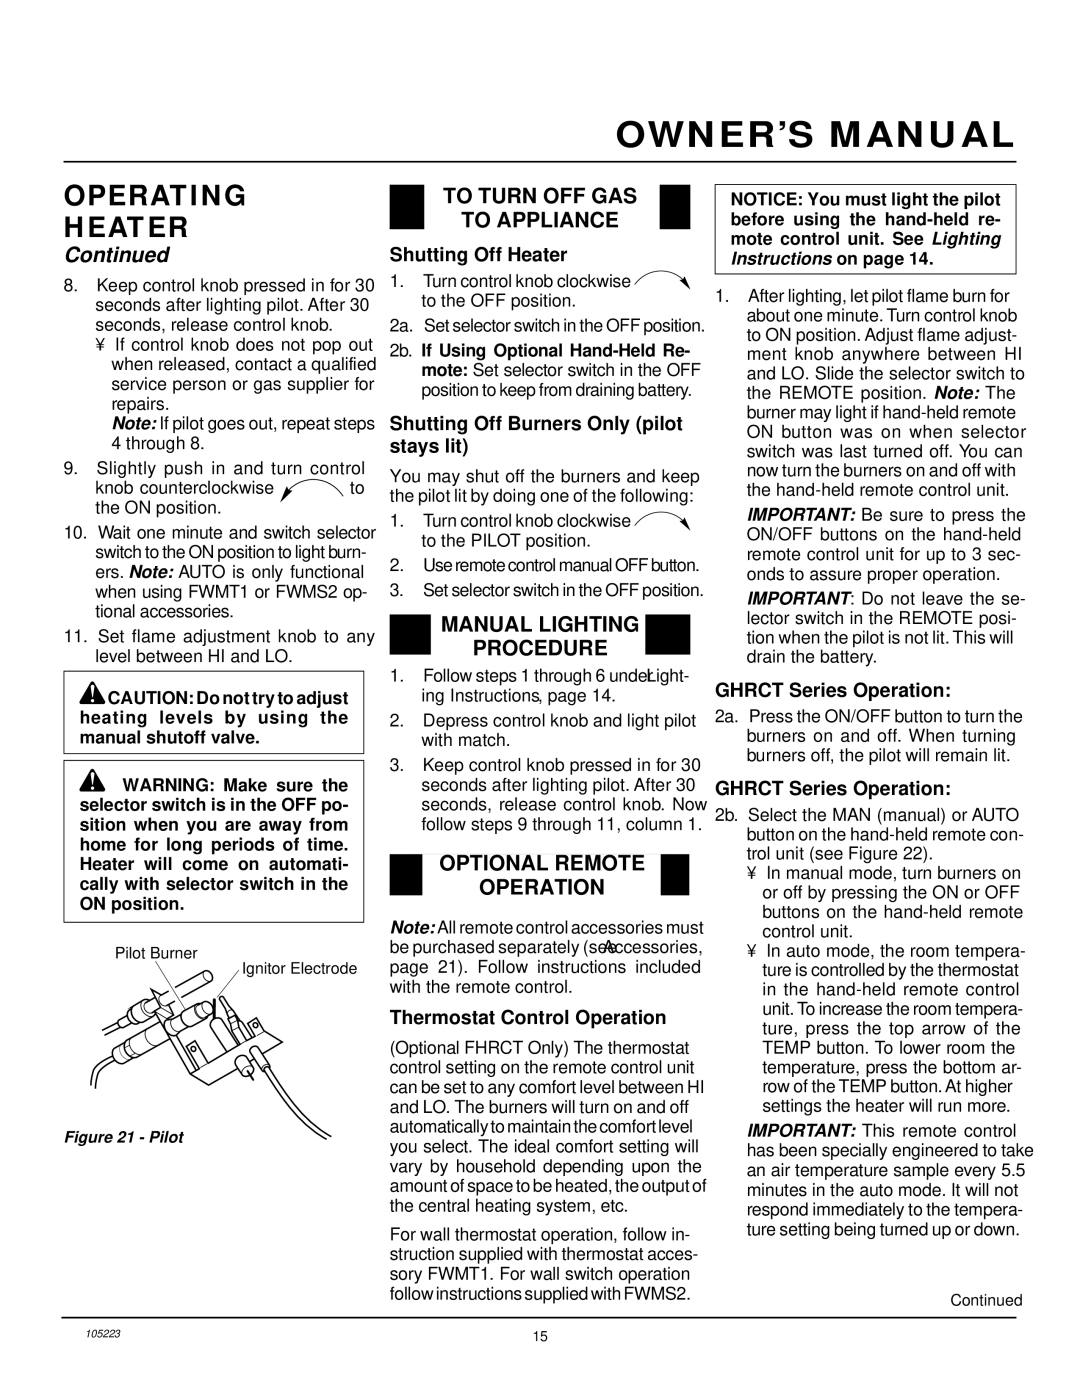
FVFM27NR specifications
Desa FVFM27NR is a modern and innovative product that embodies cutting-edge technology and design aesthetics, making it a standout choice in its category. This versatile device is tailored to meet the demands of consumers who seek both efficiency and performance in their daily activities.One of the key features of the FVFM27NR is its robust build quality, which ensures durability and longevity. Constructed using high-grade materials, the device is designed to withstand regular use while maintaining a sleek appearance. This attention to detail not only enhances its functionality but also contributes to an appealing visual presence.
The FVFM27NR is equipped with advanced technologies that elevate its performance. With a powerful engine, the device delivers superior results across various applications. The incorporation of smart technology allows users to control and customize settings according to their specific needs, providing an intuitive user experience. Ergonomic design elements further enhance usability, ensuring that the device is comfortable to handle even during extended use.
Energy efficiency is another hallmark of the FVFM27NR. It integrates eco-friendly technologies that minimize power consumption without sacrificing performance. The energy-efficient operation not only reduces utility costs for users but also contributes positively to environmental sustainability.
Along with its efficiency and power, the FVFM27NR features a range of specialized modes that cater to different tasks. This versatility makes it suitable for various environments, whether in a home, office, or outdoor setting. The ability to switch between modes with ease allows for quick adaptation, making it a practical tool for users with diverse requirements.
Additionally, the FVFM27NR is designed with user safety in mind. It incorporates multiple safety features, including automatic shut-off and thermal protection, ensuring peace of mind during operation.
In conclusion, Desa FVFM27NR stands out as a leading option in its market segment, thanks to its combination of robust design, advanced technology, energy efficiency, versatility, and user safety. Whether for professional or personal use, it delivers exceptional value, making it an ideal investment for anyone seeking a reliable and effective device. With its modern features and characteristics, the FVFM27NR is well-positioned to meet contemporary lifestyle needs while ensuring optimal performance and satisfaction.