
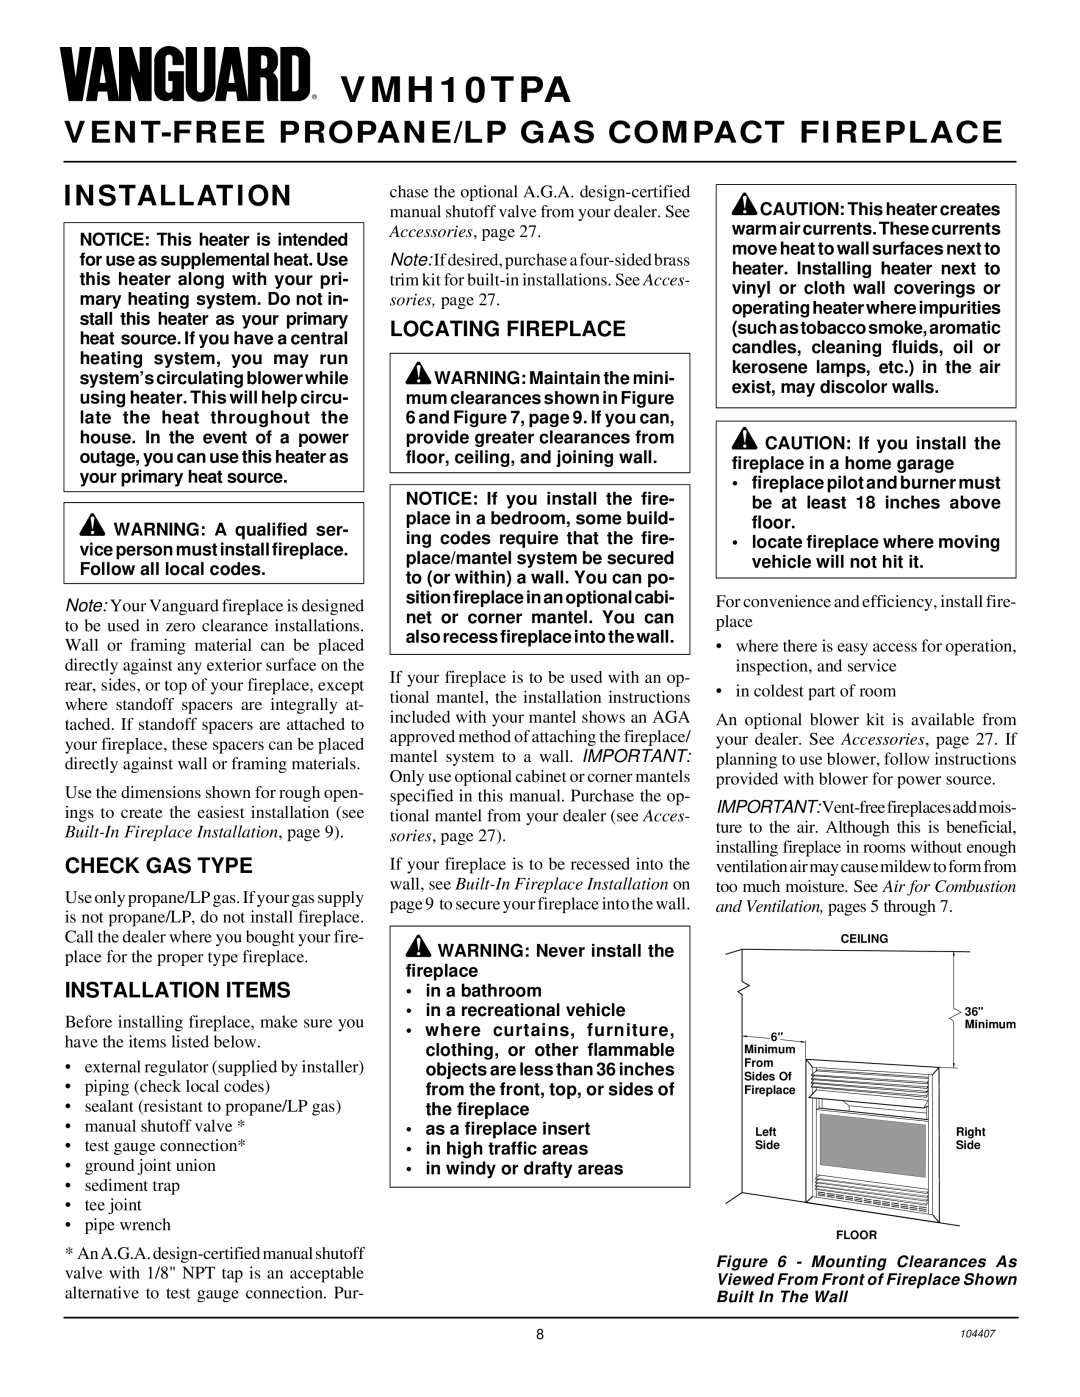
VMH10TPA specifications
Desa VMH10TPA is a versatile and innovative heating solution designed to meet the demands of modern living environments. This gas-powered heater is part of a broader trend towards efficient, reliable, and user-friendly heating systems that cater to both residential and commercial spaces. With its robust construction and advanced features, the VMH10TPA stands out in the market as a dependable option for those looking to maintain a comfortable atmosphere during the colder months.One of the main features of the Desa VMH10TPA is its efficiency. The heater boasts a high heating capacity while consuming minimal gas, making it economical for users concerned about energy costs. It is designed to provide consistent warmth while adhering to strict environmental standards, ensuring that installations comply with local regulations concerning emissions and energy use. The unit's design includes a state-of-the-art burner system that maximizes heat distribution, ensuring that rooms are warmed quickly and evenly.
In terms of technology, the VMH10TPA utilizes advanced electronic ignition systems. This feature not only simplifies the ignition process but also enhances safety by reducing the risk of gas leaks associated with manual lighting methods. Additionally, the heater is equipped with temperature control settings, allowing users to customize their heating experience according to their needs.
Another notable characteristic is its compact and aesthetically pleasing design. The VMH10TPA is engineered for easy installation, with options for both wall-mounted and free-standing configurations. Its sleek appearance allows it to blend seamlessly into various interior decors without being an eyesore.
Safety is a paramount consideration in the design of the Desa VMH10TPA. The heater is outfitted with multiple safety features, including automatic shut-off mechanisms that activate in the event of a malfunction or abnormal operation, providing peace of mind to users.
In summary, the Desa VMH10TPA is an efficient, technologically advanced, and user-friendly heating solution. With its combination of high performance, safety features, and stylish design, it caters to a wide range of heating needs, making it an excellent choice for anyone seeking a reliable heater. As energy efficiency and user safety continue to be top priorities, the Desa VMH10TPA represents a significant step towards achieving these goals in home heating technology.