
VN600BA specifications
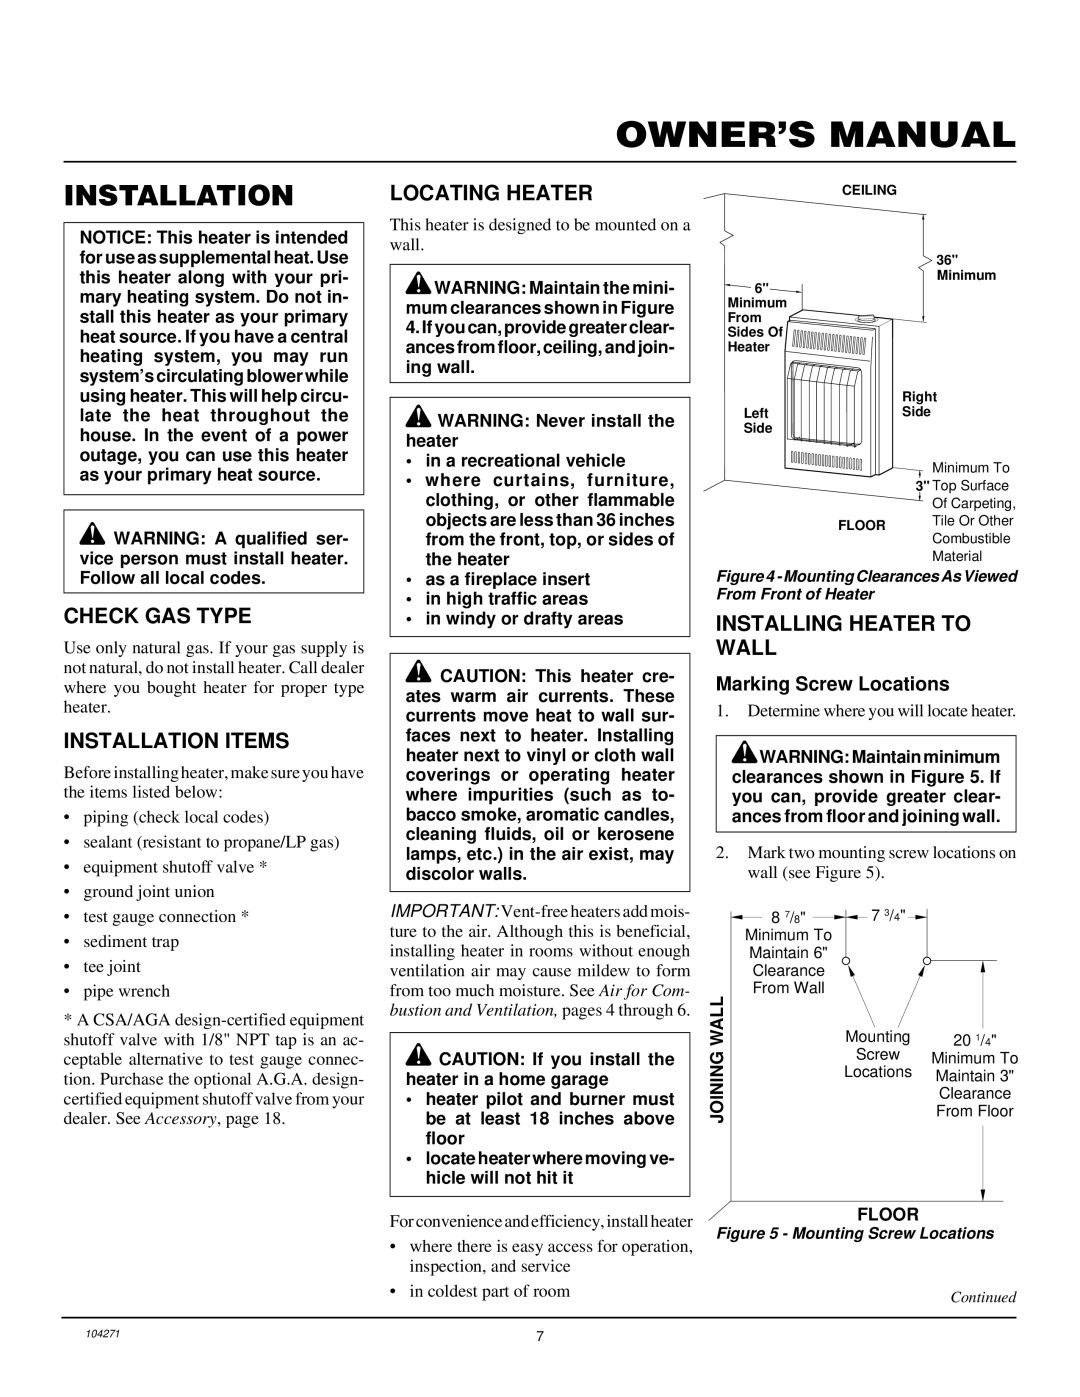
The Desa VN600BA is a versatile and efficient vent-free heater that has garnered attention for its performance and user-friendly design. This model stands out in the market due to its blend of advanced technologies and practical features, making it an attractive choice for homeowners seeking reliable heating solutions.One of the key features of the Desa VN600BA is its innovative vent-free design, which allows for easy installation in various settings without the need for ductwork. This not only reduces installation costs but also enhances flexibility in terms of placement, enabling homeowners to heat different areas of their homes effectively. The heater operates using natural gas or propane, providing options for users based on their fuel availability and preferences.
The VN600BA is equipped with a powerful heating capacity, capable of delivering up to 30,000 BTUs per hour. This makes it suitable for heating spaces up to 1,000 square feet, ensuring comfortable temperatures during colder months. The adjustable thermostat feature allows for precise temperature control, enhancing user comfort while optimizing energy consumption. Additionally, it includes a safety pilot system that monitors the flame and automatically shuts off the gas flow in case of any irregularities, ensuring safety at all times.
The aesthetic appeal of the Desa VN600BA cannot be overlooked. With its sleek design and attractive finish, it complements different interior styles while serving as a functional heating solution. The heater also features a convenient control panel that allows users to operate the device with ease.
In terms of energy efficiency, the Desa VN600BA is designed to minimize waste while providing effective heating. Being vent-free, it utilizes the fuel it consumes more efficiently compared to traditional heating systems, translating to lower utility bills. Moreover, its design promotes complete combustion, which contributes to cleaner operation and reduced environmental impact.
In summary, the Desa VN600BA vent-free heater is characterized by its efficient heating capacity, flexible installation options, and user-friendly features. Its advanced safety systems, combined with an attractive design, make it a desirable choice for homeowners looking for a reliable and efficient heating solution. Whether for supplemental or primary heating, the VN600BA offers a compelling combination of performance and style, ensuring that it remains a preferred option in the market.