8

INSTALLATION

Testing Burner for Leaks Adding Pan Material Installing the Grate and Logs

INSTALLATION

Continued

TESTING BURNER FOR LEAKS

1.Generously apply noncorrosive leak detection fluid to all connections.

WARNING: Never check for gas leaks with open flame.

Grate

Grate Steps

2.Light the burner with the shutoff valve no more than half open and holding a match slightly in front of the pan (see Lighting Instructions, page 9).

3.Inspect all connections for bubbles, raw gas odor, or flame from any area other than the burner (leaks). If leaks are de- tected, shut off the gas valve immediately. Tighten, or reas- semble the loose connection(s) using pipe joint compound until burner system is leak free.

4.When the burner is tested and leak free, observe the individual tongues of flame on the burner. Note: The burner design in- cludes more ports on the outside of the bar. Make sure that all ports are clear and producing flame evenly across the burner. If any ports appear blocked, clear them by removing the burner manifold and reaming the ports with a modified paper clip or other suitable tool.

5.When finished testing, turn the gas shutoff valve OFF to ex- tinguish all flames.

ADDING PAN MATERIAL

Figure 12 - Installing Grate (Pan Material Not Shown)

1.Open the bag of ash bed material (vermiculite) and spread it evenly across the burner pan to the top. You may overflow the front and sides of the pan to cover the entire pan. Do not cover valve or inlet fitting.

2.Open the glowing embers and evenly cover the ash bed mate- rial (vermiculite) in the burner pan.

Kingston Split Oak Logs

Hanover Round Oak Logs

Figure 13 - Installing Front and Back Logs (Number and style of your logs may vary)

INSTALLING THE GRATE AND LOGS

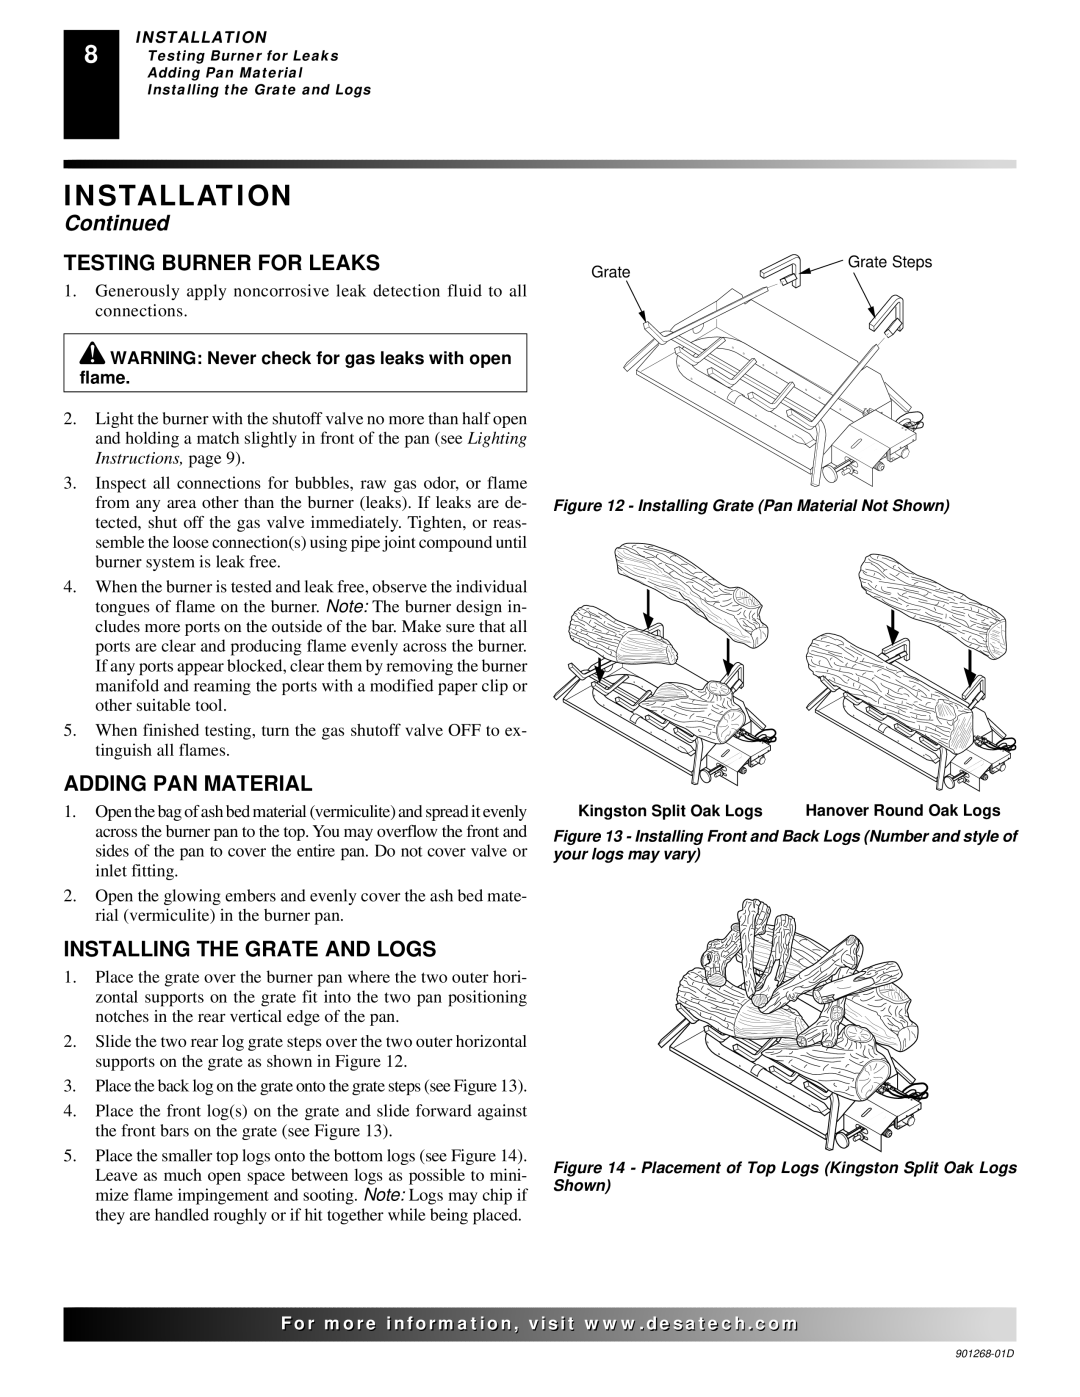
1.Place the grate over the burner pan where the two outer hori- zontal supports on the grate fit into the two pan positioning notches in the rear vertical edge of the pan.

2.Slide the two rear log grate steps over the two outer horizontal supports on the grate as shown in Figure 12.

3.Place the back log on the grate onto the grate steps (see Figure 13).

4.Place the front log(s) on the grate and slide forward against the front bars on the grate (see Figure 13).

5.Place the smaller top logs onto the bottom logs (see Figure 14). Leave as much open space between logs as possible to mini- mize flame impingement and sooting. Note: Logs may chip if they are handled roughly or if hit together while being placed.

For more

Figure 14 - Placement of Top Logs (Kingston Split Oak Logs Shown)

visit www..com

901268-01D

Page 8
Image 8
Desa VSLR24, VVSA24M, VVDA24M, VVDA18M, VVDA30M Testing Burner for Leaks, Adding PAN Material, Installing the Grate and Logs

FVSA24M, VSLR18, FVDA18M, VSLR24, FVDA24M specifications

Desa VVSA24M, VVSA18M, VVDA18M, VVDA24M, and VVDA30M are advanced heating solutions that combine efficiency, versatility, and user-friendly features. These models are popular among consumers looking for reliable heating systems for their homes or businesses.

The Desa VVSA series, which includes the VVSA24M and VVSA18M models, is designed for high-performance utilization, making them ideal for medium to large spaces. These units utilize advanced radiant heating technology, which effectively warms up a room by emitting infrared heat, making them energy-efficient and environmentally friendly. The VVSA24M model offers a higher heat output, catering to larger areas, while the VVSA18M is suitable for smaller spaces, providing ample warmth without the added bulk.

On the other hand, the Desa VVDA series comprises the VVDA18M, VVDA24M, and VVDA30M models. This series is notable for its dual-fuel capability, allowing users to choose between propane and natural gas for fuel, enhancing flexibility depending on availability and cost. The VVDA variances cater to different heating needs, with the VVDA30M boasting the highest output, making it perfect for extensive commercial settings or sizable residential spaces. The VVDA18M and VVDA24M serve as excellent alternatives for smaller establishments, maintaining efficient heating performance while reducing energy consumption.

One of the standout features across all these models is the integrated electronic ignition system, which ensures a reliable start and enhances safety by eliminating the need for a continuous pilot light. Additionally, these units are equipped with advanced thermostat controls, allowing users to set their desired temperature accurately and maintain a consistent level of comfort throughout the space.

These Desa models also feature durable construction with high-quality materials, ensuring longevity and resistance to wear and tear. Their sleek designs mean they can fit seamlessly into various interior decors, making them not just functional but also aesthetically pleasing.

In summary, Desa VVSA24M, VVSA18M, VVDA18M, VVDA24M, and VVDA30M encompass a range of heating solutions that cater to diverse needs and preferences. With their innovative technologies, user-friendly features, and robustness, these units exemplify what modern heating systems should offer. They are not just about warmth; they bring comfort, efficiency, and flexibility to any space.