DW717 specifications
The DeWalt DW717 is a powerful and versatile 10-inch dual bevel sliding compound miter saw designed to meet the demands of both professional carpenters and DIY enthusiasts. Known for its durability, precision, and ease of use, the DW717 has become a popular choice for those seeking accurate cuts in a variety of materials.One of the standout features of the DW717 is its dual bevel capability, which allows users to make precise beveled cuts in both left and right directions. This feature eliminates the need to flip the workpiece, saving valuable time and enhancing overall efficiency. The saw also boasts an impressive crosscut capacity, capable of cutting through wider materials, making it ideal for large-scale projects such as framing and crown molding.
The DW717 is equipped with a powerful 15-amp motor that delivers robust performance for tough cutting tasks. It operates at an impressive no-load speed of 3,800 RPM, ensuring clean and smooth cuts through various materials, including hardwood and softwood. The saw’s motor is designed for high efficiency, providing users with the power needed for continuous operation without overheating.
Another notable technology incorporated into the DW717 is its precision miter system, which offers positive stops at commonly used angles. This feature ensures quick adjustments and accurate cuts, making it easier for users to switch between different angles quickly. The saw includes a miter scale with easy-to-read indicators, allowing for effortless angle setting.
Additionally, the DW717 features an adjustable sliding fence that provides support for larger materials, ensuring stability and precision during cuts. The saw’s lightweight design and built-in carrying handle enhance portability, making it easy to transport to job sites.
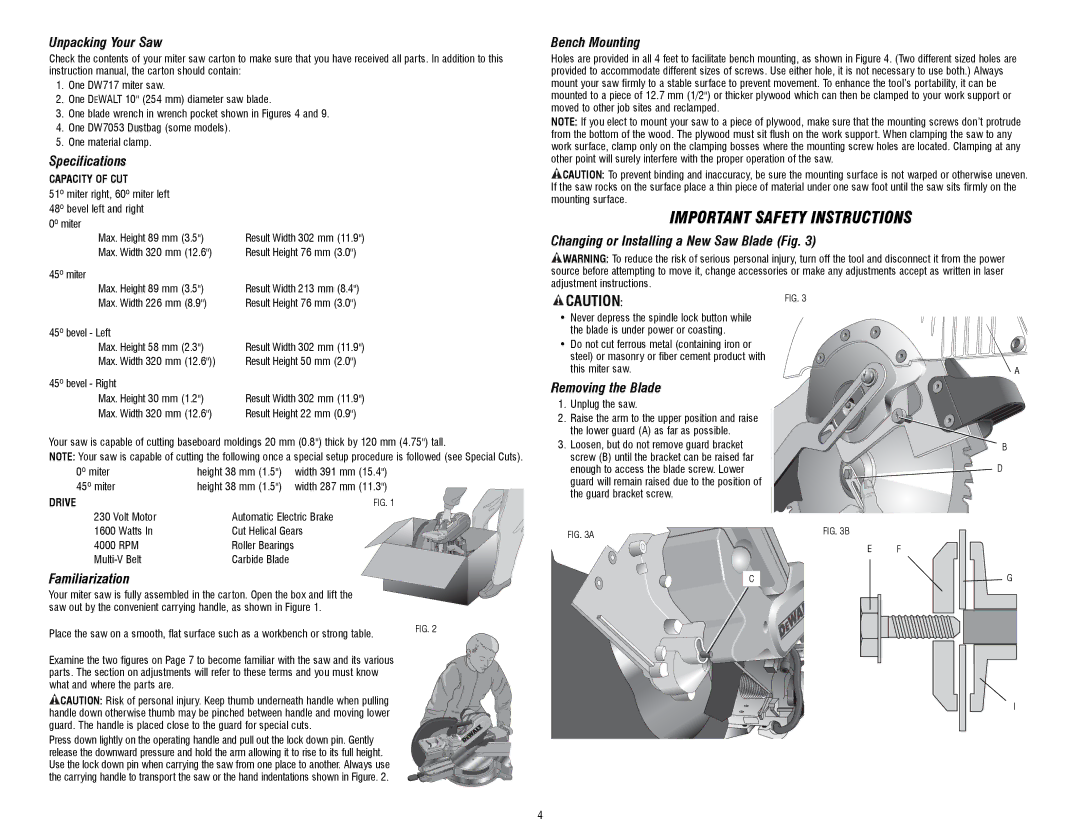
Safety features are also a top priority with the DW717. The saw is equipped with a blade guard that protects users from accidental contact with the blade, while the electric brake ensures quick stopping of the blade after the trigger is released.
In summary, the DeWalt DW717 is a well-engineered tool, combining power, precision, and safety for a wide range of cutting tasks. With its dual bevel capabilities, impressive motor, and user-friendly features, it stands out as a reliable choice for both professionals and hobbyists alike. Whether you are tackling framing, molding, or other intricate cuts, the DW717 is built to deliver exceptional performance and results every time.