DW744X, DW744XRS specifications
The DeWalt DW744XRS and DW744X are two highly regarded portable table saws designed for both professional contractors and dedicated DIY enthusiasts. These robust tools combine power, versatility, and advanced features, making them ideal for a range of woodworking projects.One of the standout features of the DW744XRS is its 15-amp motor, delivering a no-load speed of 3,850 RPM. This powerful motor provides ample cutting capacity for various materials, ensuring that users can tackle even the most demanding tasks with ease. The DW744X, while similar in many respects, also boasts a durable 15-amp motor, making both saws capable of handling heavy-duty applications.
Both models are equipped with a patented Rack and Pinion telescoping fence system, which allows for smooth, accurate adjustments. This feature simplifies the process of measuring and adjusting cuts by ensuring that the fence remains parallel to the blade, enhancing overall precision. The fence can be easily adjusted from 18 inches to 24 inches, supporting a wider range of cutting applications.
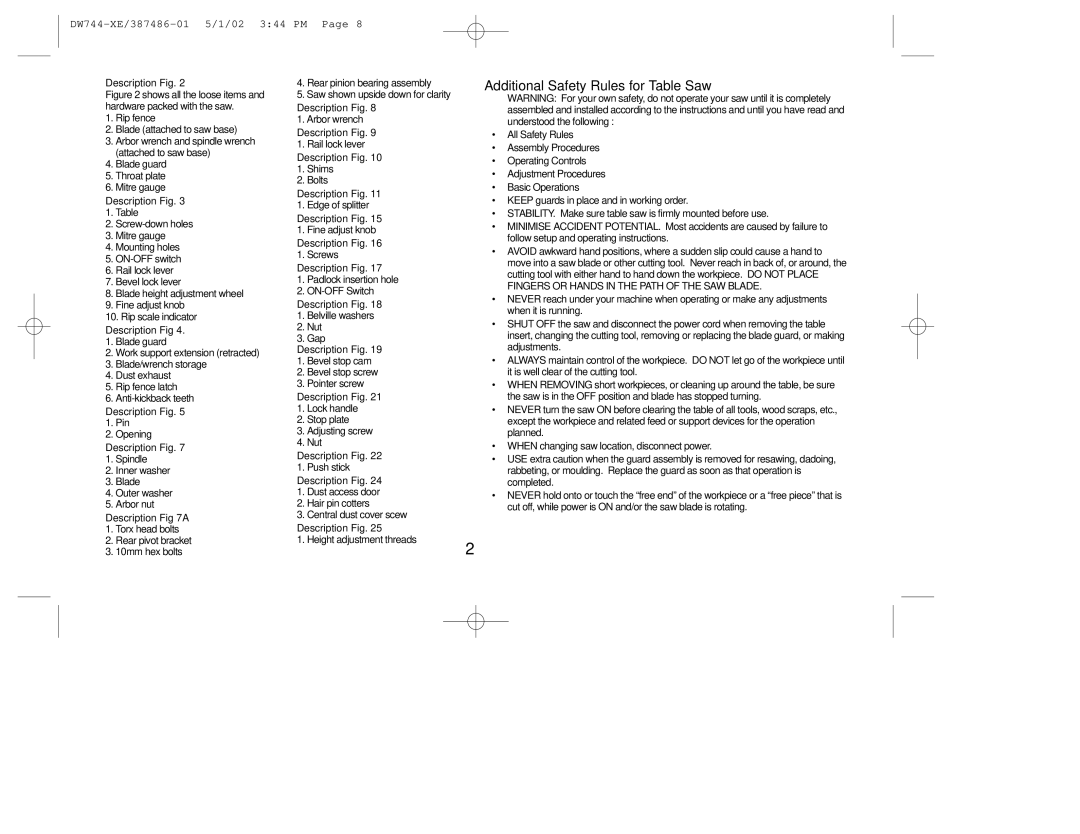
Safety is a significant concern for DeWalt, and both the DW744XRS and DW744X come with an onboard smart guard system that includes a blade guard, anti-kickback pawls, and a riving knife. This system not only enhances user safety but also improves cutting efficiency by minimizing blade binding and kickback.
Portability is another key attribute of both models. The DW744XRS includes a rolling stand, making it easy to transport to job sites or storage locations. The stand can be set up quickly and features a wide stance for added stability during operation. The DW744X, while lacking the rolling stand, remains lightweight and easily transportable due to its compact design.
Additional features include a 24-tooth carbide blade that delivers clean, smooth cuts, and an adjustable depth of cut up to 2.5 inches at 90 degrees. The blade height can be adjusted quickly, ensuring versatility for various types of cuts, including crosscuts and rip cuts.
Overall, the DeWalt DW744XRS and DW744X table saws offer a perfect blend of power, safety, and ease of use. Whether you are working on a large construction project or tackling detailed woodworking tasks at home, these saws provide reliable performance and high precision, making them an excellent investment for any woodworking enthusiast.