•Do not disassemble charger; take it to an authorized service center when service or repair is required. Incorrect reassembly may result in a risk of electric shock, electrocu- tion or fire.
•To reduce risk of electric shock, unplug charger from outlet before attempting any cleaning. Removing the battery pack will not reduce this risk.
•NEVER attempt to connect 2 chargers together.
•Do not use charger with any power source other than that idicated on the nameplate.
Chargers
Your DEWALT battery can be charged in DEWALT 1 Hour Chargers, 15 Minute Chargers or Vehicular 12 volt charger. Be sure to read all safety instructions before using your charger.
Consult chart on back cover for compatibility of chargers and battery packs.
Using Tune-Up™ Mode
The
1.To tune up your battery pack, place the battery in the charger as usual. The red light will blink continuously indicating that the charge cycle has started.
2.The
3.When the charge cycle has completed, the light will stay on continuously. The pack is fully charged and may be used at this time or left in the charger.
4.If you select
Charging Procedure
1 HOUR CHARGERS
1. Plug the charger into an appropriate power outlet.
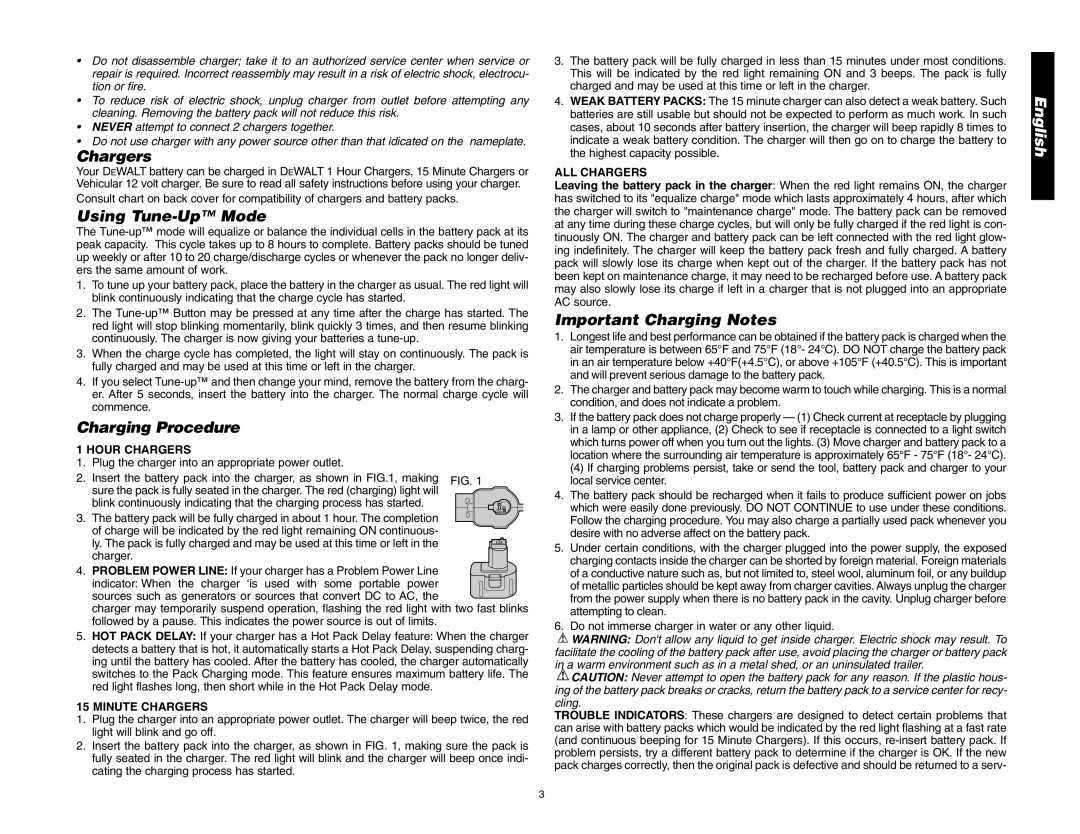
2. Insert the battery pack into the charger, as shown in FIG.1, making sure the pack is fully seated in the charger. The red (charging) light will blink continuously indicating that the charging process has started.
3.The battery pack will be fully charged in about 1 hour. The completion of charge will be indicated by the red light remaining ON continuous-
ly. The pack is fully charged and may be used at this time or left in the charger.
4. PROBLEM POWER LINE: If your charger has a Problem Power Line indicator: When the charger ‘is used with some portable power sources such as generators or sources that convert DC to AC, the
charger may temporarily suspend operation, flashing the red light with two fast blinks followed by a pause. This indicates the power source is out of limits.
5.HOT PACK DELAY: If your charger has a Hot Pack Delay feature: When the charger detects a battery that is hot, it automatically starts a Hot Pack Delay, suspending charg- ing until the battery has cooled. After the battery has cooled, the charger automatically switches to the Pack Charging mode. This feature ensures maximum battery life. The red light flashes long, then short while in the Hot Pack Delay mode.
15 MINUTE CHARGERS
1.Plug the charger into an appropriate power outlet. The charger will beep twice, the red light will blink and go off.
2.Insert the battery pack into the charger, as shown in FIG. 1, making sure the pack is fully seated in the charger. The red light will blink and the charger will beep once indi- cating the charging process has started.
3.The battery pack will be fully charged in less than 15 minutes under most conditions. This will be indicated by the red light remaining ON and 3 beeps. The pack is fully charged and may be used at this time or left in the charger.
4.WEAK BATTERY PACKS: The 15 minute charger can also detect a weak battery. Such batteries are still usable but should not be expected to perform as much work. In such cases, about 10 seconds after battery insertion, the charger will beep rapidly 8 times to indicate a weak battery condition. The charger will then go on to charge the battery to the highest capacity possible.
ALL CHARGERS
Leaving the battery pack in the charger: When the red light remains ON, the charger has switched to its "equalize charge" mode which lasts approximately 4 hours, after which the charger will switch to "maintenance charge" mode. The battery pack can be removed at any time during these charge cycles, but will only be fully charged if the red light is con- tinuously ON. The charger and battery pack can be left connected with the red light glow- ing indefinitely. The charger will keep the battery pack fresh and fully charged. A battery pack will slowly lose its charge when kept out of the charger. If the battery pack has not been kept on maintenance charge, it may need to be recharged before use. A battery pack may also slowly lose its charge if left in a charger that is not plugged into an appropriate AC source.
Important Charging Notes
1.Longest life and best performance can be obtained if the battery pack is charged when the air temperature is between 65°F and 75°F (18°- 24°C). DO NOT charge the battery pack in an air temperature below +40°F(+4.5°C), or above +105°F (+40.5°C). This is important and will prevent serious damage to the battery pack.
2.The charger and battery pack may become warm to touch while charging. This is a normal condition, and does not indicate a problem.
3.If the battery pack does not charge properly — (1) Check current at receptacle by plugging in a lamp or other appliance, (2) Check to see if receptacle is connected to a light switch which turns power off when you turn out the lights. (3) Move charger and battery pack to a location where the surrounding air temperature is approximately 65°F - 75°F (18°- 24°C).
(4)If charging problems persist, take or send the tool, battery pack and charger to your local service center.
4.The battery pack should be recharged when it fails to produce sufficient power on jobs which were easily done previously. DO NOT CONTINUE to use under these conditions. Follow the charging procedure. You may also charge a partially used pack whenever you desire with no adverse affect on the battery pack.
5.Under certain conditions, with the charger plugged into the power supply, the exposed charging contacts inside the charger can be shorted by foreign material. Foreign materials of a conductive nature such as, but not limited to, steel wool, aluminum foil, or any buildup of metallic particles should be kept away from charger cavities. Always unplug the charger from the power supply when there is no battery pack in the cavity. Unplug charger before attempting to clean.
6.Do not immerse charger in water or any other liquid.
![]() WARNING: Don't allow any liquid to get inside charger. Electric shock may result. To facilitate the cooling of the battery pack after use, avoid placing the charger or battery pack in a warm environment such as in a metal shed, or an uninsulated trailer.
WARNING: Don't allow any liquid to get inside charger. Electric shock may result. To facilitate the cooling of the battery pack after use, avoid placing the charger or battery pack in a warm environment such as in a metal shed, or an uninsulated trailer.
![]() CAUTION: Never attempt to open the battery pack for any reason. If the plastic hous- ing of the battery pack breaks or cracks, return the battery pack to a service center for recy- cling.
CAUTION: Never attempt to open the battery pack for any reason. If the plastic hous- ing of the battery pack breaks or cracks, return the battery pack to a service center for recy- cling.
TROUBLE INDICATORS: These chargers are designed to detect certain problems that can arise with battery packs which would be indicated by the red light flashing at a fast rate (and continuous beeping for 15 Minute Chargers). If this occurs,
English
3