User Manual DataCart
InstallationInstallation ofof youryour mobileobile printerprinter
Open your DataCart. If you have not ordered the „QuickFix“ printer holder for your specific printer, proceed as follows:
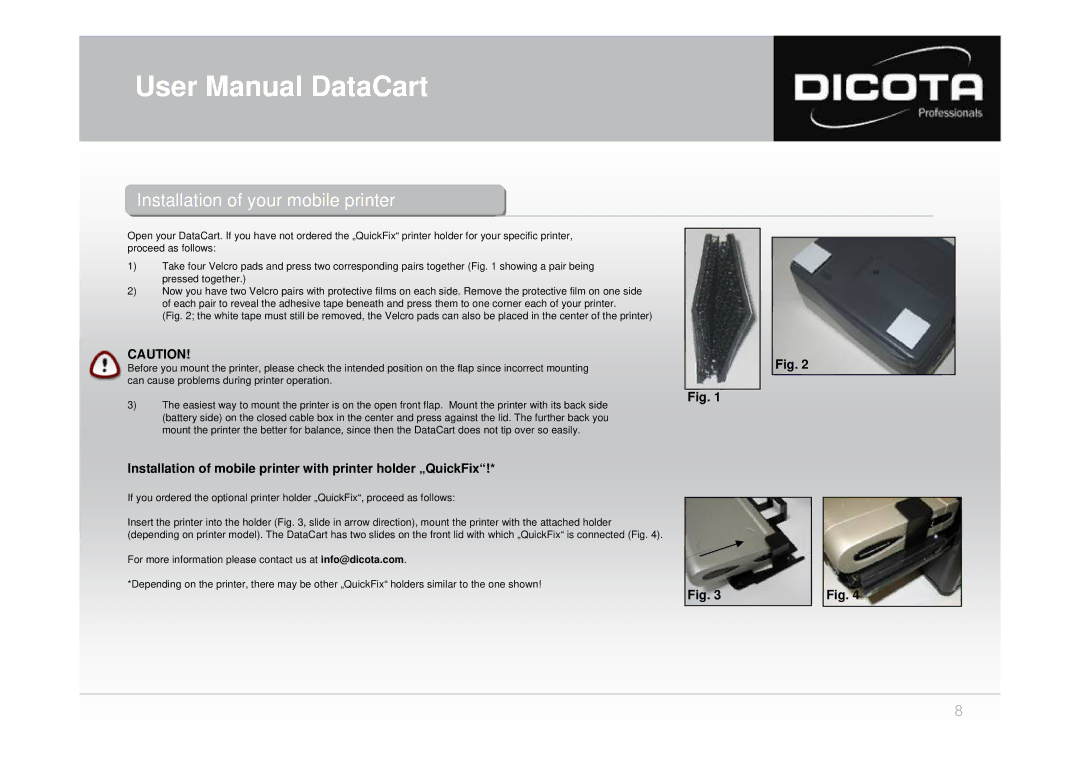
1)Take four Velcro pads and press two corresponding pairs together (Fig. 1 showing a pair being pressed together.)
2)Now you have two Velcro pairs with protective films on each side. Remove the protective film on one side of each pair to reveal the adhesive tape beneath and press them to one corner each of your printer.
(Fig. 2; the white tape must still be removed, the Velcro pads can also be placed in the center of the printer)
CAUTION!
Before you mount the printer, please check the intended position on the flap since incorrect mounting can cause problems during printer operation.
3) The easiest way to mount the printer is on the open front flap. Mount the printer with its back side (battery side) on the closed cable box in the center and press against the lid. The further back you mount the printer the better for balance, since then the DataCart does not tip over so easily.
Fig. 1
Fig. 2
Installation of mobile printer with printer holder „QuickFix“!*
If you ordered the optional printer holder „QuickFix“, proceed as follows:
Insert the printer into the holder (Fig. 3, slide in arrow direction), mount the printer with the attached holder (depending on printer model). The DataCart has two slides on the front lid with which „QuickFix“ is connected (Fig. 4).
For more information please contact us at info@dicota.com.
*Depending on the printer, there may be other „QuickFix“ holders similar to the one shown!
Fig. 3
Fig. 4
8