Name | Function | Color | |
| 12 926.04167 MHz |
| |
Link Quality | Excellent link quality | Green | |
Meter: The more | No retransmissions |
| |
LEDs that are lit |
|
| |
the higher the link | Very good link quality | Green | |
quality. | Few retransmissions |
| |
or |
|
| |
Good link quality | Amber | ||
"Key exchange | |||
Occasional retransmissions |
| ||
mode" when |
| ||
|
| ||
blinking |
|
| |
Fair link quality | Amber | ||
sequentially | |||
Some retransmissions |
| ||
|
| ||
|
|
| |
| Poor link quality | Red | |
| Many retransmissions |
| |
|
|
| |
| No link quality | Red | |
| No link available |
| |
|
|
|
Initial Setup
Use the following procedure to perform an initial setup:
1.Select the radio that will operate as the AP and set DIP switch 1 ON to enable the AP operation.
2.Plug in the AP:
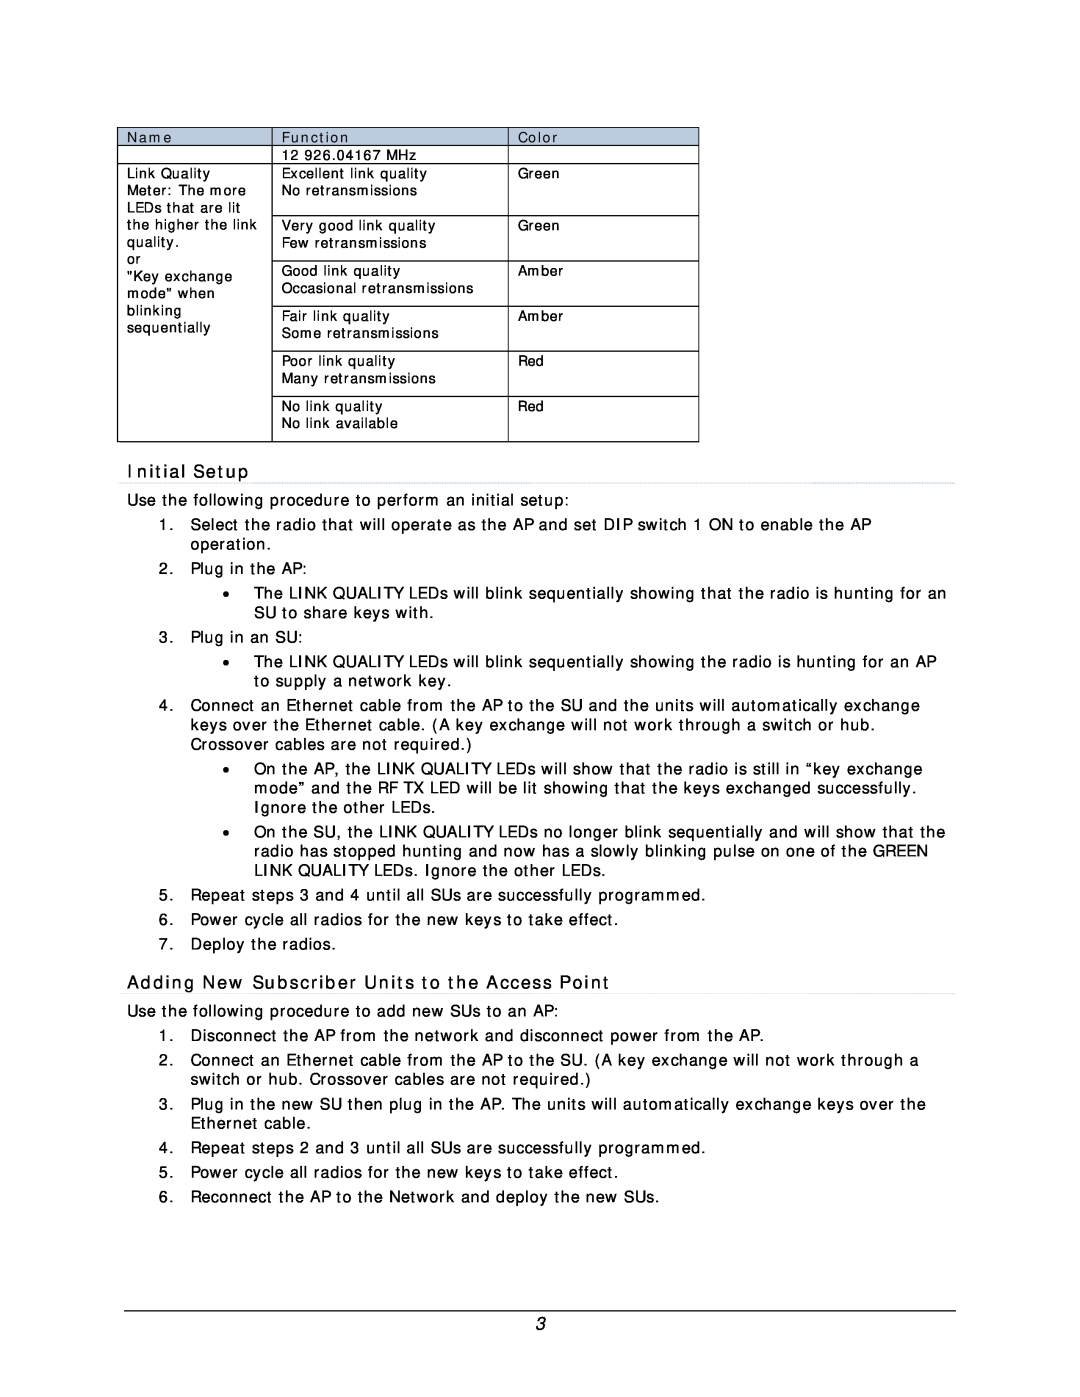
•The LINK QUALITY LEDs will blink sequentially showing that the radio is hunting for an SU to share keys with.
3.Plug in an SU:
•The LINK QUALITY LEDs will blink sequentially showing the radio is hunting for an AP to supply a network key.
4.Connect an Ethernet cable from the AP to the SU and the units will automatically exchange keys over the Ethernet cable. (A key exchange will not work through a switch or hub. Crossover cables are not required.)
•On the AP, the LINK QUALITY LEDs will show that the radio is still in “key exchange mode” and the RF TX LED will be lit showing that the keys exchanged successfully. Ignore the other LEDs.
•On the SU, the LINK QUALITY LEDs no longer blink sequentially and will show that the radio has stopped hunting and now has a slowly blinking pulse on one of the GREEN LINK QUALITY LEDs. Ignore the other LEDs.
5.Repeat steps 3 and 4 until all SUs are successfully programmed.
6.Power cycle all radios for the new keys to take effect.
7.Deploy the radios.
Adding New Subscriber Units to the Access Point
Use the following procedure to add new SUs to an AP:
1.Disconnect the AP from the network and disconnect power from the AP.
2.Connect an Ethernet cable from the AP to the SU. (A key exchange will not work through a switch or hub. Crossover cables are not required.)
3.Plug in the new SU then plug in the AP. The units will automatically exchange keys over the Ethernet cable.
4.Repeat steps 2 and 3 until all SUs are successfully programmed.
5.Power cycle all radios for the new keys to take effect.
6.Reconnect the AP to the Network and deploy the new SUs.
3
