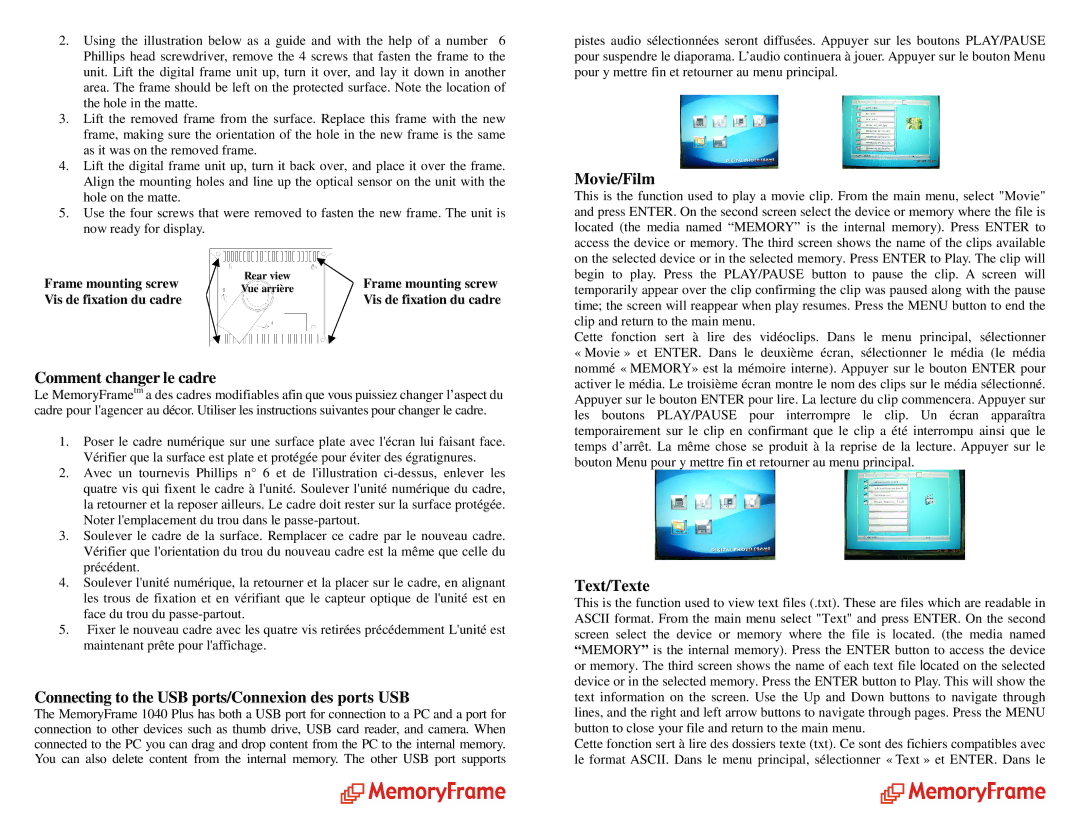
2.Using the illustration below as a guide and with the help of a number 6 Phillips head screwdriver, remove the 4 screws that fasten the frame to the unit. Lift the digital frame unit up, turn it over, and lay it down in another area. The frame should be left on the protected surface. Note the location of the hole in the matte.
3.Lift the removed frame from the surface. Replace this frame with the new frame, making sure the orientation of the hole in the new frame is the same as it was on the removed frame.
4.Lift the digital frame unit up, turn it back over, and place it over the frame. Align the mounting holes and line up the optical sensor on the unit with the hole on the matte.
5.Use the four screws that were removed to fasten the new frame. The unit is now ready for display.
Frame mounting screw | Rear view | Frame mounting screw | |
Vue arrière | |||
Vis de fixation du cadre | Vis de fixation du cadre | ||
| |||
|
|
| |
|
|
|
Comment changer le cadre
Le MemoryFrametm a des cadres modifiables afin que vous puissiez changer l’aspect du cadre pour l'agencer au décor. Utiliser les instructionssuivantes pour changer le cadre.
1.Poser le cadre numérique sur une surface plate avecl'écran lui faisant face. Vérifier que la surface est plate et protégée pouréviter des égratignures.
2.Avec un tournevis Phillips n° 6 et de l'illustration
3.Soulever le cadre de la surface. Remplacer ce cadre par le nouveau cadre. Vérifier que l'orientation du trou du nouveau cadreest la même que celle du précédent.
4.Soulever l'unité numérique, la retourner et la placer sur le cadre, en alignant les trous de fixation et en vérifiant que le capteur optique de l'unité est en face du trou du
5.Fixer le nouveau cadre avec les quatre vis retiréesprécédemment L'unité est maintenant prête pour l'affichage.
Connecting to the USB ports/Connexion des ports USB
The MemoryFrame 1040 Plus has both a USB port for connection to a PC and a port for connection to other devices such as thumb drive, USB card reader, and camera. When connected to the PC you can drag and drop content from the PC to the internal memory. You can also delete content from the internal memory. The other USB port supports
pistes audio sélectionnées seront diffusées. Appuyer sur les boutons PLAY/PAUSE pour suspendre le diaporama. L’audio continuera à j ouer. Appuyer sur le bouton Menu pour y mettre fin et retourner au menu principal.
Movie/Film
This is the function used to play a movie clip. From the main menu, select "Movie" and press ENTER. On the second screen select the device or memory where the file is located (the media named “MEMORY” is the internal m emory). Press ENTER to access the device or memory. The third screen shows the name of the clips available on the selected device or in the selected memory. Press ENTER to Play. The clip will begin to play. Press the PLAY/PAUSE button to pause the clip. A screen will temporarily appear over the clip confirming the clip was paused along with the pause time; the screen will reappear when play resumes. Press the MENU button to end the clip and return to the main menu.
Cette fonction sert à lire des vidéoclips. Dans le menu principal, sélectionner
«Movie » et ENTER. Dans le deuxième écran, sélectionner le média (le média nommé « MEMORY» est la mémoire interne). Appuyer sur le bouton ENTER pour activer le média. Le troisième écran montre le nomdes clips sur le média sélectionné. Appuyer sur le bouton ENTER pour lire. La lecture du clip commencera. Appuyer sur les boutons PLAY/PAUSE pour interrompre le clip. Un écran apparaîtra temporairement sur le clip en confirmant que le clip a été interrompu ainsi que le temps d’arrêt. La même chose se produit à la repris de la lecture. Appuyer sur le bouton Menu pour y mettre fin et retourner au menu principal.
Text/Texte
This is the function used to view text files (.txt). These are files which are readable in ASCII format. From the main menu select "Text" and press ENTER. On the second screen select the device or memory where the file is located. (the media named
“MEMORY” is the internal memory). Press the ENTER button to access the device or memory. The third screen shows the name of each text file located on the selected device or in the selected memory. Press the ENTER button to Play. This will show the text information on the screen. Use the Up and Down buttons to navigate through lines, and the right and left arrow buttons to navigate through pages. Press the MENU button to close your file and return to the main menu.
Cette fonction sert à lire des dossiers texte (txt) . Ce sont des fichiers compatibles avec le format ASCII. Dans le menu principal, sélectionner « Text » et ENTER. Dans le