OHV1021 specifications
Directed Video OHV1021 is an innovative vehicle-specific overhead monitor that brings a new level of entertainment and convenience to any automotive interior. Designed with the latest technologies, the OHV1021 offers a seamless integration into vehicles, providing an enhanced travel experience for passengers, especially during long journeys.One of the standout features of the OHV1021 is its large, high-resolution screen. The 10.1-inch display offers vibrant colors and sharp images, ensuring that movies, games, and videos are presented in stunning clarity. This monitor is capable of displaying content at a resolution that impresses even in bright environments, making it ideal for family trips or leisure drives.
The OHV1021 is equipped with advanced connectivity options that enhance its usability. It supports various media formats, allowing users to enjoy content from DVDs, USB drives, or other compatible devices. This versatility means passengers can easily access their favorite movies or shows without complications. In addition, the monitor includes built-in HDMI and AV ports, giving it the flexibility to connect to different external devices seamlessly.
Another notable characteristic of the Directed Video OHV1021 is its dual-zone functionality. This feature allows different entertainment sources to be played simultaneously. Children can watch their preferred movie while adults enjoy music or another show, making travel more enjoyable for everyone on board.
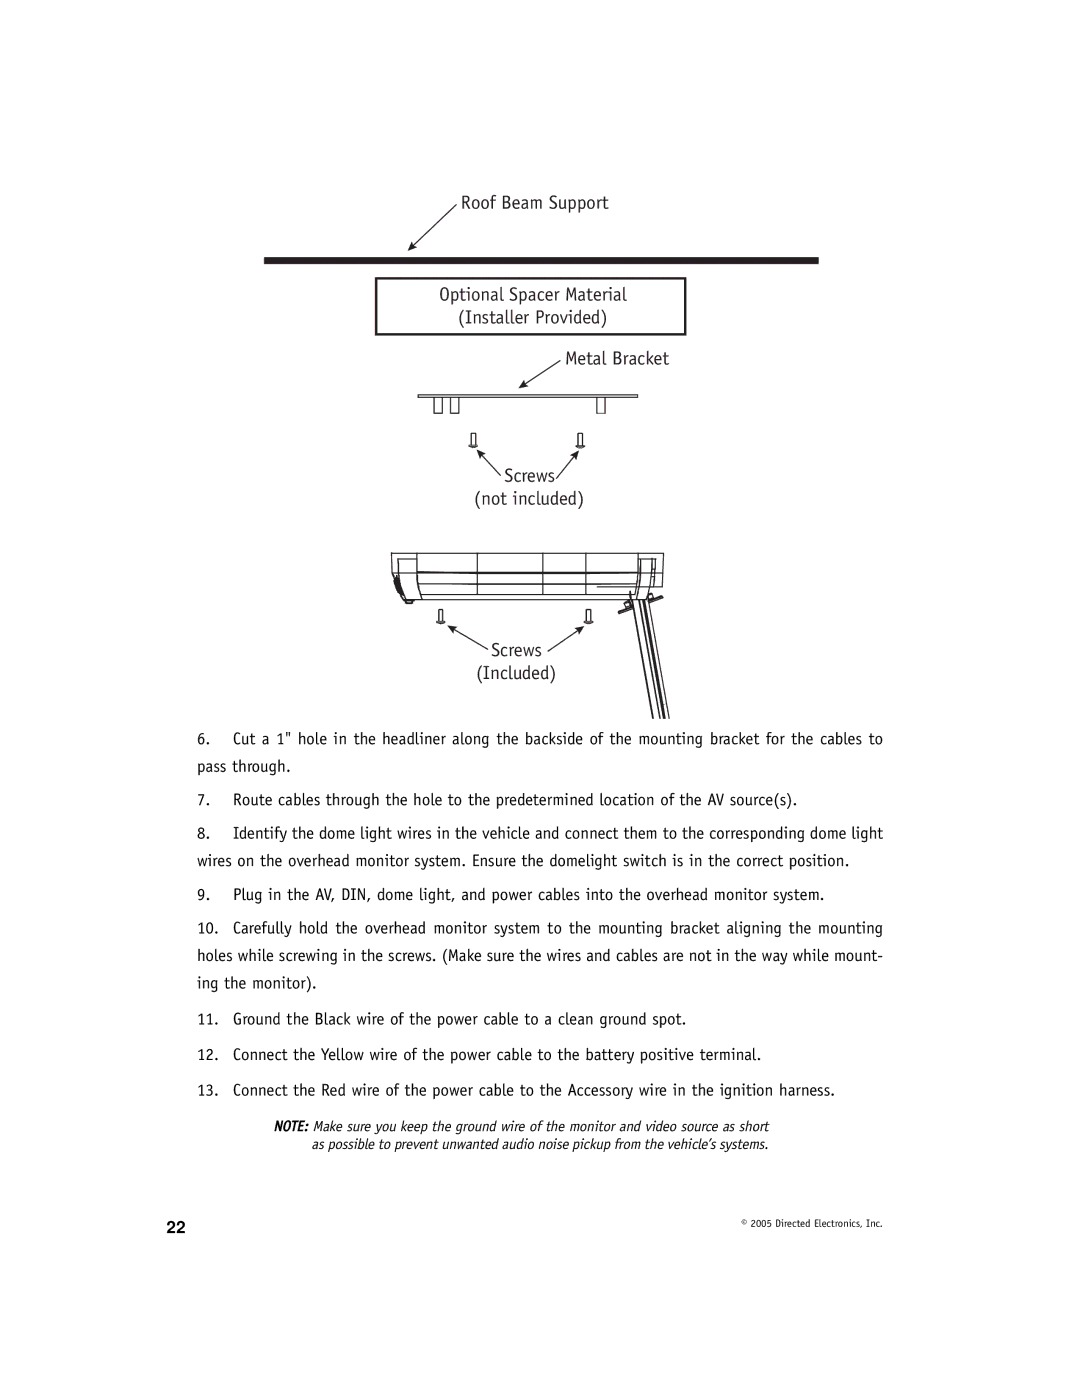
Installation is made straightforward with vehicle-specific mounting options. Designed to fit snugly into the overhead area of vehicles, the OHV1021 blends naturally with the existing interior without obstructing headroom or visibility. The sleek design harmonizes with various vehicle aesthetics, ensuring that it enhances rather than detracts from the overall look of the interior.
Furthermore, the OHV1021 is equipped with user-friendly controls. The included remote control allows for easy navigation through menus and options, enabling passengers to adjust settings and select content with minimal effort. Coupled with its sturdiness and reliability, this product is built to withstand the rigors of frequent use in a moving vehicle.
In conclusion, the Directed Video OHV1021 stands out as a top choice for anyone looking to enhance their travel experience. Its combination of high-quality display, versatile connectivity, dual-zone capabilities, straightforward installation, and user-friendly controls positions it as a go-to overhead monitor for modern vehicles. Whether for family trips or simple commutes, the OHV1021 transforms rides into entertainment hubs, making every journey a memorable one.

