INSTALLATION INSTRUCTIONS

The outside coil is a "draw-through" type. When the face of the coil is positioned behind a louvered or other type of restrictive opening, the FREE AREA of the opening must be at least 648 square inches.

CAUTION

Do not install the unit where the fan will draw air from the exhaust of the vehicle, a motor generator set, transmission, road heat or any other heat producing source.

B. Free Area

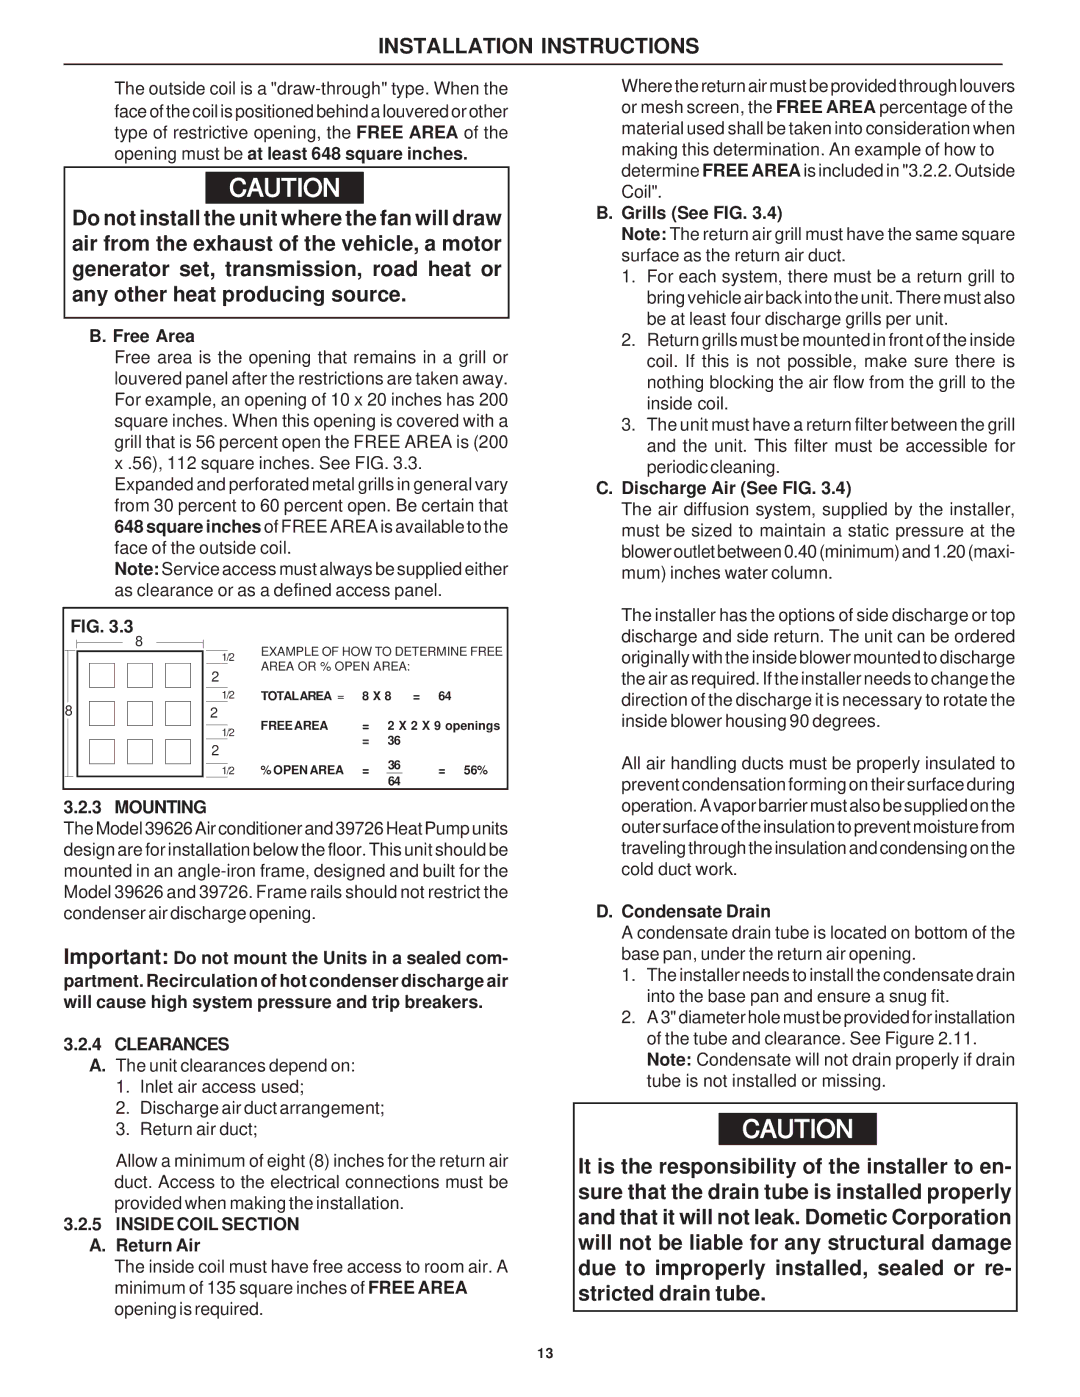
Free area is the opening that remains in a grill or louvered panel after the restrictions are taken away. For example, an opening of 10 x 20 inches has 200 square inches. When this opening is covered with a grill that is 56 percent open the FREE AREA is (200 x .56), 112 square inches. See FIG. 3.3.

Expanded and perforated metal grills in general vary from 30 percent to 60 percent open. Be certain that 648 square inches of FREE AREA is available to the face of the outside coil.

Note: Service access must always be supplied either as clearance or as a defined access panel.


FIG. 3.3


8


EXAMPLE OF HOW TO DETERMINE FREE


1/2


AREA OR % OPEN AREA:


2


TOTALAREA =

8 X 8 =

64


1/2


8


2


FREE AREA

= 2 X 2 X 9 openings


1/2


= 36


2


36


% OPEN AREA

=


= 56%


1/2


64


3.2.3

MOUNTING


The Model 39626 Air conditioner and 39726 Heat Pump units design are for installation below the floor. This unit should be mounted in an angle-iron frame, designed and built for the Model 39626 and 39726. Frame rails should not restrict the condenser air discharge opening.

Important: Do not mount the Units in a sealed com- partment. Recirculation of hot condenser discharge air will cause high system pressure and trip breakers.

3.2.4CLEARANCES

A. The unit clearances depend on:

1.Inlet air access used;

2.Discharge air duct arrangement;

3.Return air duct;

Allow a minimum of eight (8) inches for the return air duct. Access to the electrical connections must be provided when making the installation.

3.2.5INSIDE COIL SECTION A. Return Air

The inside coil must have free access to room air. A minimum of 135 square inches of FREE AREA opening is required.

Where the return air must be provided through louvers or mesh screen, the FREE AREA percentage of the material used shall be taken into consideration when making this determination. An example of how to determine FREE AREA is included in "3.2.2. Outside Coil".

B.Grills (See FIG. 3.4)

Note: The return air grill must have the same square surface as the return air duct.

1.For each system, there must be a return grill to bring vehicle air back into the unit. There must also be at least four discharge grills per unit.

2.Return grills must be mounted in front of the inside coil. If this is not possible, make sure there is nothing blocking the air flow from the grill to the inside coil.

3.The unit must have a return filter between the grill and the unit. This filter must be accessible for periodic cleaning.

C.Discharge Air (See FIG. 3.4)

The air diffusion system, supplied by the installer, must be sized to maintain a static pressure at the blower outlet between 0.40 (minimum) and 1.20 (maxi- mum) inches water column.

The installer has the options of side discharge or top discharge and side return. The unit can be ordered originally with the inside blower mounted to discharge the air as required. If the installer needs to change the direction of the discharge it is necessary to rotate the inside blower housing 90 degrees.

All air handling ducts must be properly insulated to prevent condensation forming on their surface during operation. A vapor barrier must also be supplied on the outer surface of the insulation to prevent moisture from traveling through the insulation and condensing on the cold duct work.

D.Condensate Drain

A condensate drain tube is located on bottom of the base pan, under the return air opening.

1.The installer needs to install the condensate drain into the base pan and ensure a snug fit.

2.A 3" diameter hole must be provided for installation of the tube and clearance. See Figure 2.11. Note: Condensate will not drain properly if drain tube is not installed or missing.

CAUTION

It is the responsibility of the installer to en- sure that the drain tube is installed properly and that it will not leak. Dometic Corporation will not be liable for any structural damage due to improperly installed, sealed or re- stricted drain tube.

13

Page 13
Image 13
Dometic 39626.501, 39726.506, 39726.501, 39626.506 installation instructions Mounting, Clearances

39626.506, 39726.501, 39626.501, 39726.506 specifications

The Dometic 39726.506, 39626.501, 39726.501, and 39626.506 are versatile and well-engineered products designed to enhance the comfort and convenience of outdoor enthusiasts and travelers. These models are primarily known for their compatibility with various vehicle types, including RVs, campers, and trailers, making them essential for anyone seeking a reliable solution for food storage and cooking on the go.

One of the standout features of the Dometic models is their impressive energy efficiency. Equipped with advanced insulation technology, these units maintain optimal temperatures while consuming minimal power. This is particularly advantageous for users who rely on battery power during extended trips. The energy-efficient design not only supports eco-friendly practices but also extends the life of the battery, allowing for longer excursions without the need for frequent recharges.

The Dometic 39726.506 and 39626.501 models boast a large capacity, offering ample space to store a variety of food and beverages. With adjustable shelves and compartments, users can customize the interior layout to accommodate their specific needs, ensuring efficient organization and easy access to items. The user-friendly interface allows for simple temperature adjustments, making it easy to set the ideal environment for perishable goods.

In terms of durability, Dometic products are constructed with high-quality materials designed to withstand the rigors of outdoor use. The exterior is often reinforced to resist impact and weather conditions, which is crucial for adventures in diverse environments. The seals and hinges are also designed to prevent leaks, ensuring that stored items remain safe and secure during transport.

For ease of use, many models come equipped with built-in diagnostics and alerts that notify users of any performance issues. This technology enhances reliability and allows for timely maintenance, reducing the likelihood of unexpected failures while on the road. Additionally, these Dometic models often feature user-friendly controls, enabling hassle-free operation even for those unfamiliar with similar appliances.

Overall, the Dometic 39726.506, 39626.501, 39726.501, and 39626.506 models combine efficiency, durability, and convenience, making them exemplary choices for culinary needs during travel. As part of the brand's commitment to quality, these products not only meet user expectations but often exceed them, ensuring a positive experience for adventurers looking to enjoy fresh and delicious meals in the great outdoors.