TR570-CXi SPECIFICATIONS:
Woofers:
Tweeters:
Continuous Power Handling:
50 Watts (RMS Method)
Frequency Response: 53 Hz - 22 KHz (± 3 dB)
Efficiency @ 1W/1m: 90.5 dB
Nominal Impedance: 4 ohms
Included Components and Parts:
•Two
•Two ABS plastic spacer rings
•Eight #8 x 1 1/4 inch (30 mm) sheet metal screws
•Eight Mounting Clips
•Two 5.2 mm female crimpable connectors
•Two 2.8 mm female crimpable connectors
GETTING STARTED:
•Turn off the audio system. It is also advisable to disconnect the negative
•Before cutting, drilling or inserting any screw, check clearances on both sides of the planned mounting surface. Also check for any potential obstacles, such as window tracks and motors, wiring harnesses, etc. Check both sides of the car, many cars are not symmetrical!
•Always wear protective eyewear.
INSTALLING YOUR TR570-CXi
COAXIALS IN FACTORY LOCATIONS:
If you will be using the factory speaker wires, it may be necessary to change the terminations. This may be accomplished by using an adaptor plug or simply by cutting the factory connector off and using the supplied crimp connectors to terminate the speaker wires.The large connector is for the positive terminal and the small connector is for the negative terminal of each
Your new speakers have been designed to install, without modifications, into most vehicles that accept a
It is absolutely vital that the speaker frame fits into the mounting hole cleanly. This must be checked prior to tightening the screws. Do not force the frame into a hole that is too small! Do not tighten the speaker onto an uneven surface! This will damage your speakers. The speaker should also fit so that no air leaks around the mounting flange. Air leaks will cause a severe degradation in sound quality. Seal any air leaks with silicone, rope caulk or similar sealant material.
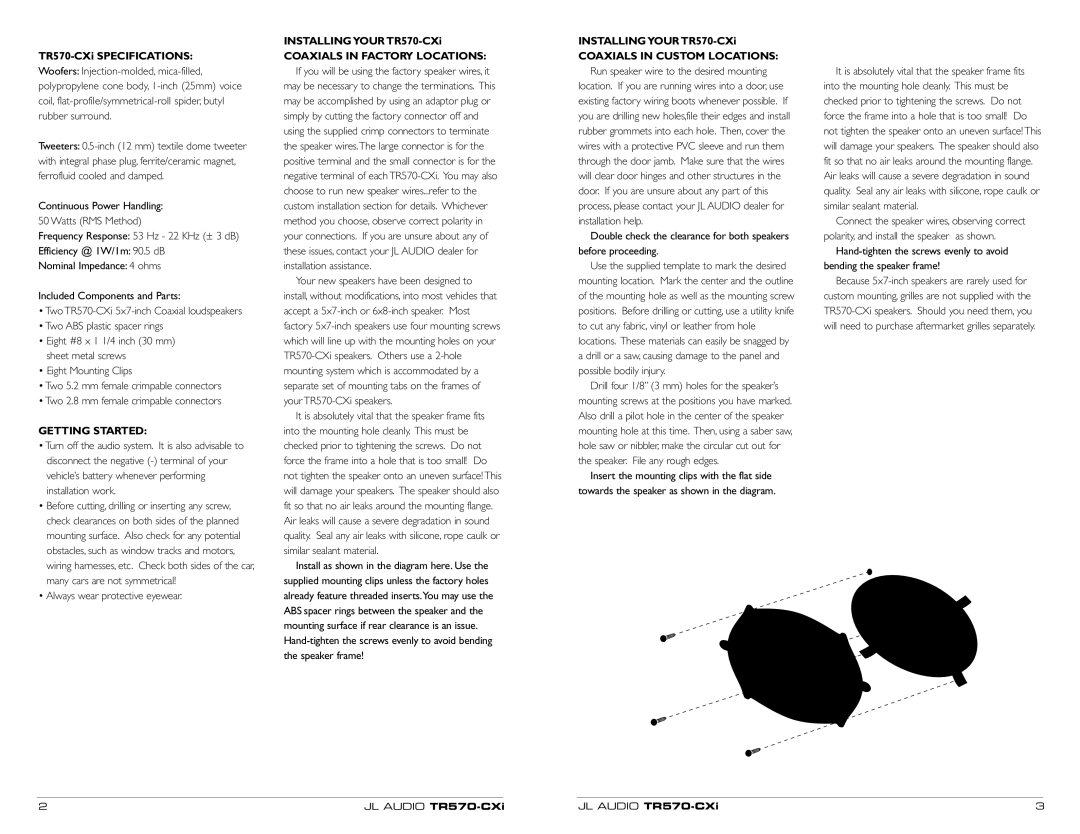
Install as shown in the diagram here. Use the supplied mounting clips unless the factory holes already feature threaded inserts.You may use the ABS spacer rings between the speaker and the mounting surface if rear clearance is an issue.
INSTALLING YOUR
COAXIALS IN CUSTOM LOCATIONS:
Run speaker wire to the desired mounting location. If you are running wires into a door, use existing factory wiring boots whenever possible. If you are drilling new holes,file their edges and install rubber grommets into each hole. Then, cover the wires with a protective PVC sleeve and run them through the door jamb. Make sure that the wires will clear door hinges and other structures in the door. If you are unsure about any part of this process, please contact your JL AUDIO dealer for installation help.
Double check the clearance for both speakers before proceeding.
Use the supplied template to mark the desired mounting location. Mark the center and the outline of the mounting hole as well as the mounting screw positions. Before drilling or cutting, use a utility knife to cut any fabric, vinyl or leather from hole locations. These materials can easily be snagged by a drill or a saw, causing damage to the panel and possible bodily injury.
Drill four 1/8” (3 mm) holes for the speaker’s mounting screws at the positions you have marked. Also drill a pilot hole in the center of the speaker mounting hole at this time. Then, using a saber saw, hole saw or nibbler, make the circular cut out for the speaker. File any rough edges.
Insert the mounting clips with the flat side towards the speaker as shown in the diagram.
It is absolutely vital that the speaker frame fits into the mounting hole cleanly. This must be checked prior to tightening the screws. Do not force the frame into a hole that is too small! Do not tighten the speaker onto an uneven surface! This will damage your speakers. The speaker should also fit so that no air leaks around the mounting flange. Air leaks will cause a severe degradation in sound quality. Seal any air leaks with silicone, rope caulk or similar sealant material.
Connect the speaker wires, observing correct polarity, and install the speaker as shown.
Because
2 | JL AUDIO | JL AUDIO | 3 |