DM 2610933927
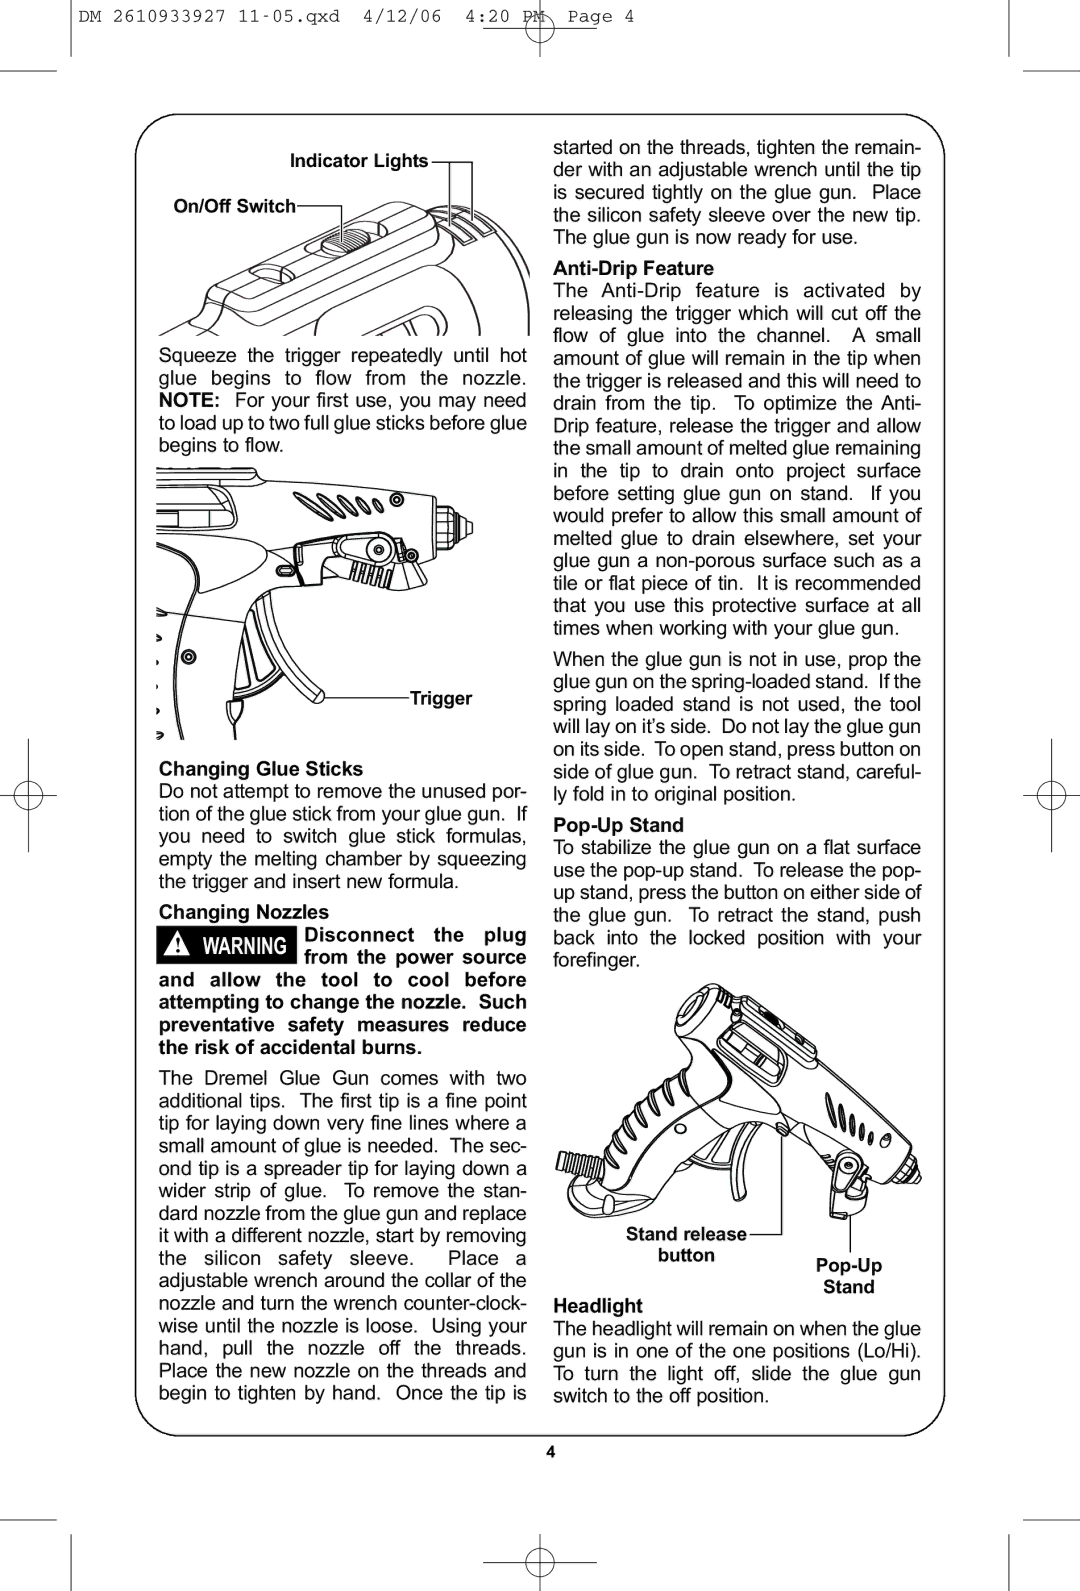
Indicator Lights |
On/Off Switch |
Squeeze the trigger repeatedly until hot![]() glue begins to flow from the nozzle. NOTE: For your first use, you may need to load up to two full glue sticks before glue begins to flow.
glue begins to flow from the nozzle. NOTE: For your first use, you may need to load up to two full glue sticks before glue begins to flow.
|
| Trigger |
Changing Glue Sticks | ||
Do not attempt to remove the unused por- | ||
tion of the glue stick from your glue gun. If | ||
you need to switch glue stick formulas, | ||
empty the melting chamber by squeezing | ||
the trigger and insert new formula. | ||
Changing Nozzles | ||
! | WARNING | Disconnect the plug |
| from the power source | |
and allow the tool to cool before | ||
attempting to change the nozzle. Such | ||
preventative | safety measures reduce | |
the risk of accidental burns.
The Dremel Glue Gun comes with two additional tips. The first tip is a fine point tip for laying down very fine lines where a small amount of glue is needed. The sec- ond tip is a spreader tip for laying down a wider strip of glue. To remove the stan- dard nozzle from the glue gun and replace it with a different nozzle, start by removing the silicon safety sleeve. Place a adjustable wrench around the collar of the nozzle and turn the wrench
started on the threads, tighten the remain- der with an adjustable wrench until the tip is secured tightly on the glue gun. Place the silicon safety sleeve over the new tip. The glue gun is now ready for use.
Anti-Drip Feature
The
When the glue gun is not in use, prop the glue gun on the
Pop-Up Stand
To stabilize the glue gun on a flat surface use the
![]()
![]()
![]() Stand release button
Stand release button
Headlight
The headlight will remain on when the glue gun is in one of the one positions (Lo/Hi). To turn the light off, slide the glue gun switch to the off position.
4