Manuals
/
Dukane
/
Computer Equipment
/
Projector
Dukane
28A8800A
manual
Liquid Crystal Projector
Models:
28A8800A
1
1
38
38
Download
38 pages
49.39 Kb
1
2
3
4
5
6
7
8
Page 1
Image 1
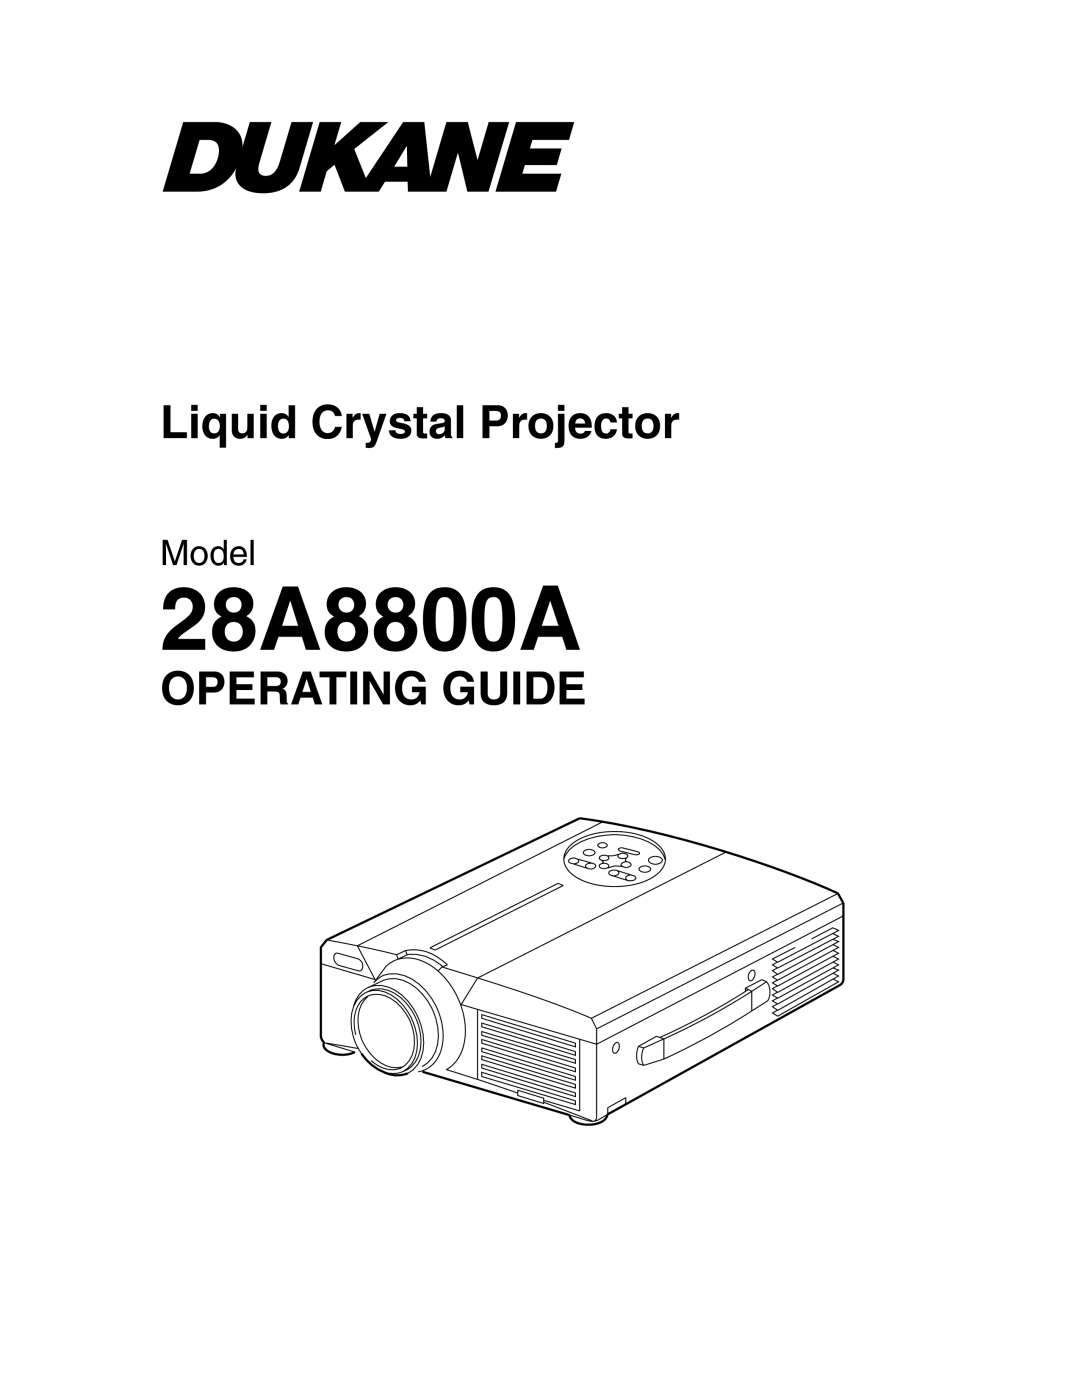
Liquid Crystal Projector
Model
28A8800A
OPERATING GUIDE
Page 1
Page 2
Page 1
Image 1
Page 1
Page 2
Contents
Liquid Crystal Projector
Page
Contents
Features
Outline
Page
Before Use
Do not install on an unstable surface
If a problem should occur
Do not look through the lens when the lamp is on
Use only the indicated power supply
Do not position the power
Handle the power cord with care
Do not allow the laser beam to enter the eyes
Battery usage
Care and maintenance
Clean the projector interior once every two years
Avoid installation in humid or dusty locations
Avoid excessively hot locations
Sound volume
Lens care
Cabinet care
Names and functions of each part
Checking the package Contents
Names and functions of each part
Names and functions of each part
Remote control transmitter
Close the battery cover
Remove the battery Cover
Loading the batteries
Typical LCD Projector and Screen Installation
Installation
Using the adjusters
Top view Side view
Turn on the power to the connected equipment
Turn on the main power switch of the projector I on
Basic operations
To project
Turn off the main power switch of the projector OFF
Turning off the power
Plug & Play
Press the STANDBY/ON button for approximately 1 sec
Freeze function
Cancelling the Freeze function
Press the Freeze button
Changing the magnification ratio
Magnify function
Moving the display area
Returning to normal display
Returning to the initial settings
Adjustments and functions
Using the Setup Menu
SET UP
Input
Image
OPT
Connection to the RGB signal terminal
Connection to the video signal terminals
Input signals
Signal input jacks
Example of computer signal
Connection to the RGB signal terminal
Initial set signals
Connection to the RGB signal terminal
Connecting the USB
Mouse functions
Connection to the control signal terminal
Control signal jack
Connection to the control signal terminal
RS232C communication
System Video
Command data chart
Requesting projector status
Cleaning the Air filter
Example of system setup
Pull out the power cord Remove the front air filter
Installing the air filter
Cleaning the air filter with a vacuum cleaner
Lamp
Message table
Indicators
When you think something wrong
Dimensional Diagram
Legal Information
Audio Visual Products
Top
Page
Image
Contents