
SC77 specifications
The Earlex SC77 is a versatile and powerful steam wallpaper stripper designed to facilitate the removal of wallpapers in a quick and efficient manner. It’s an essential tool for homeowners, decorators, and DIY enthusiasts who want to update their interiors without the tedious process of scraping off old wallpaper manually.One of the main features of the Earlex SC77 is its advanced steam technology. The unit operates by heating water to produce steam that penetrates the wallpaper, loosening the adhesive and making it easier to peel off. This steam action not only speeds up the removal process but also minimizes the risk of damaging the underlying plaster or paint, preserving the integrity of the wall surface.
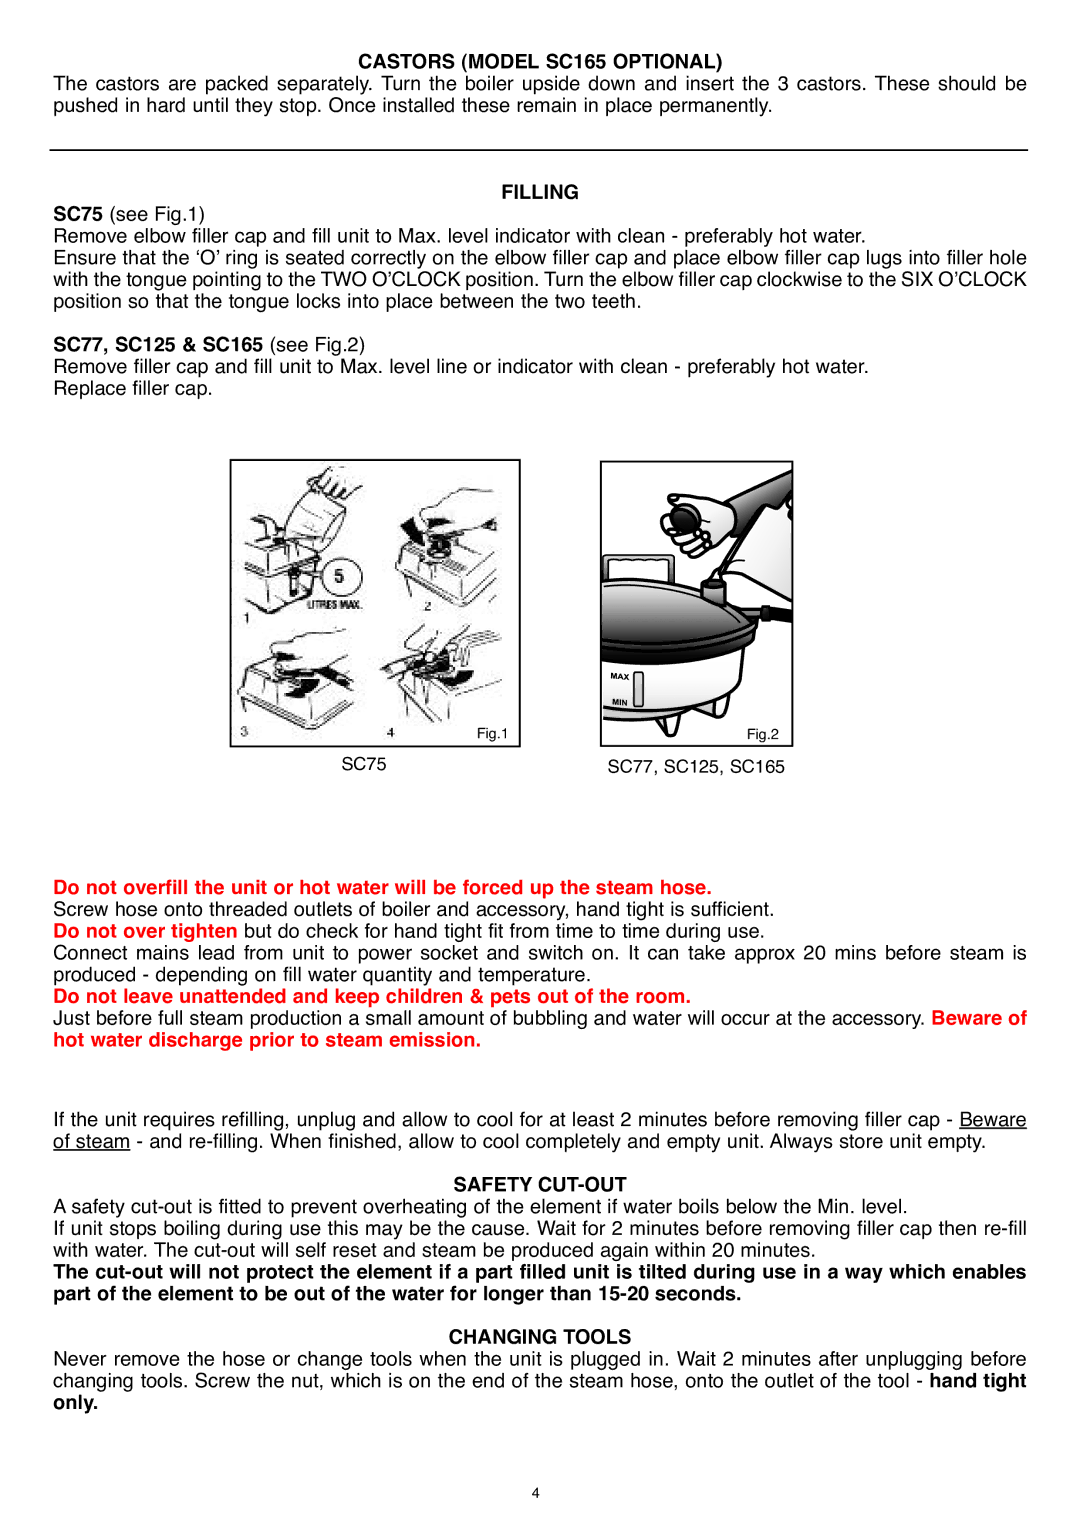
The Earlex SC77 boasts a powerful 1500-watt heating element, which allows it to produce steam in just 12 minutes. This rapid heating time ensures that users can start their wallpaper removal tasks without lengthy delays. The unit comes equipped with a large 5-liter water tank, providing prolonged operation. This means that users can work on larger sections of wallpaper without needing to stop frequently to refill the tank, leading to greater efficiency in bigger jobs.
The SC77 includes a variety of accessories that enhance its usability. It comes with different steam plates designed to accommodate various wallpaper textures and substrates. For instance, the small steam plate is ideal for intricate areas like corners and edges, while the large steam plate works effectively on larger wall sections. Additionally, the unit features a safety cap that prevents accidental opening during operation, offering peace of mind.
Portability is another key characteristic of the Earlex SC77. The built-in handle and lightweight design make it easy to transport from one job to another. This is particularly beneficial for professional decorators who need to move their equipment frequently.
Moreover, the SC77 is designed with user convenience in mind. The long power cord and steam hose provide flexibility and adaptability, allowing users to maneuver around furniture and other obstacles in the room.
Overall, the Earlex SC77 steam wallpaper stripper is a highly effective tool that combines powerful steam technology with user-friendly features. It ensures a smooth and efficient wallpaper removal process, making it a must-have for anyone looking to refresh their living spaces.