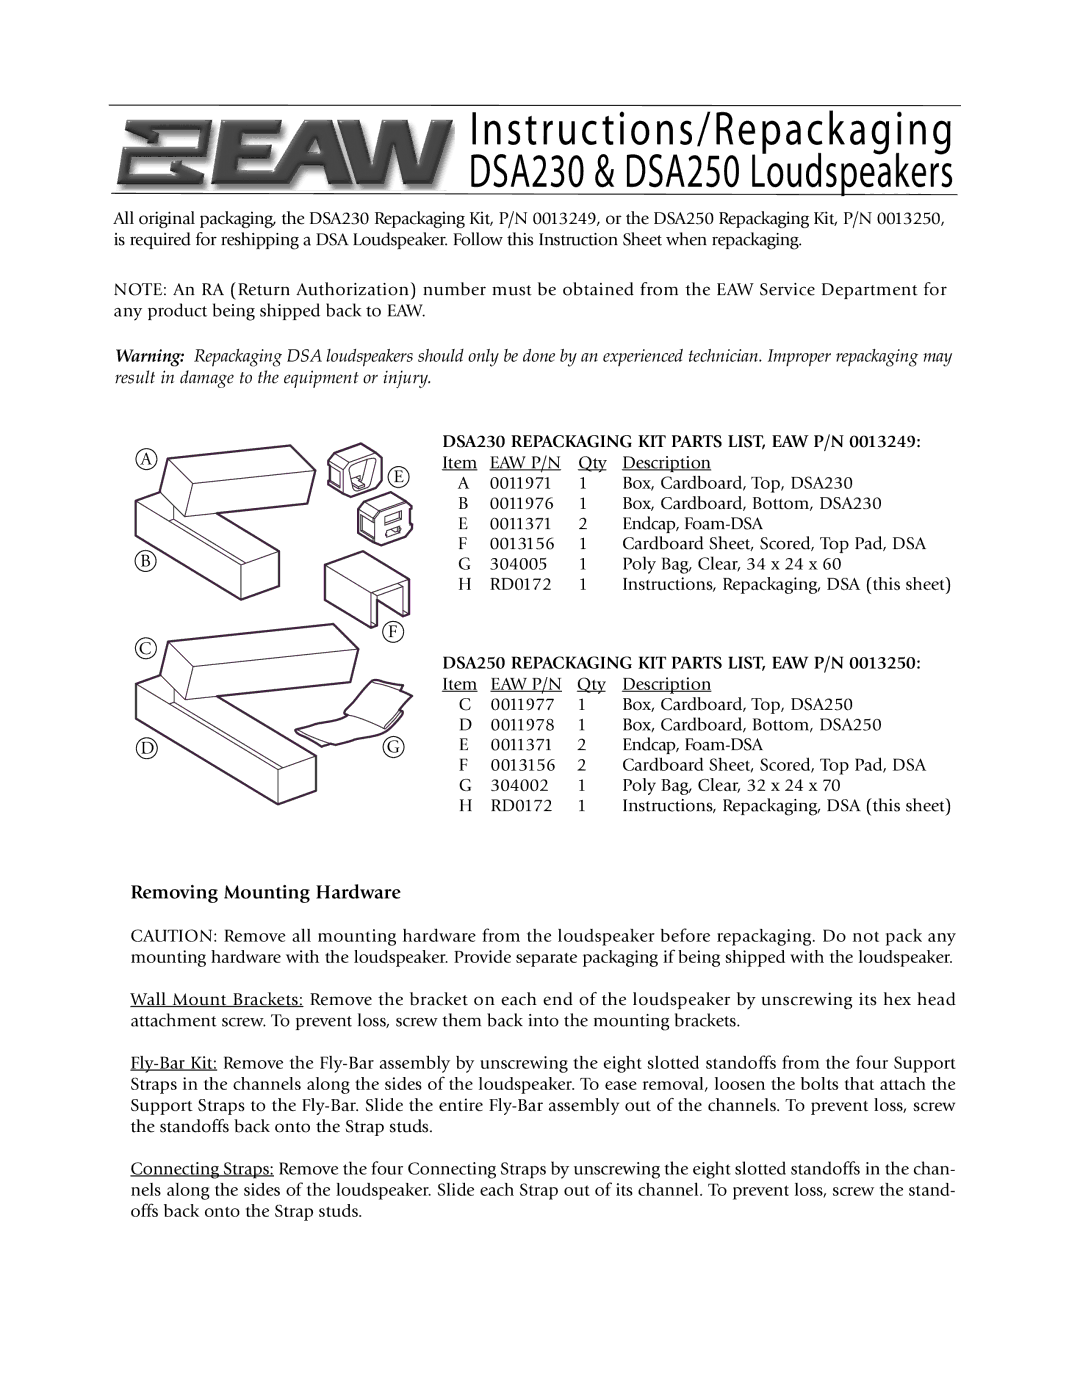
DSA230 & DSA250 specifications
The EAW DSA230 and DSA250 are powerful digital signal amplifiers from Eastern Acoustic Works (EAW), designed to provide enhanced audio performance for various professional sound applications. These models are recognized for their remarkable features, advanced technologies, and robust characteristics that cater to the needs of sound engineers, event organizers, and venues seeking high-quality audio solutions.Starting with the DSA230, this model boasts a power output of 230 watts per channel, making it suitable for smaller venues, events, and installations where space is a constraint but audio clarity remains a priority. The DSA230 incorporates advanced DSP (Digital Signal Processing) technology, providing features like EQ, crossover control, and delay adjustments. This allows users to tailor the audio experience to their specific environment, ensuring optimal sound quality regardless of the setting.
The DSA250, on the other hand, elevates the performance with a substantial power output of 250 watts per channel. It's designed for bigger venues and larger audiences, where the demand for volume and clarity is higher. The robust build quality coupled with its power enables the DSA250 to handle demanding audio situations without distortion, maintaining integrity in sound reproduction even at high outputs.
Both amplifiers feature EAW's proprietary Digital Signal Processing that ensures precision in audio handling. This technology not only allows for the optimization of the signals but also enables the integration with various sound systems seamlessly. The user-friendly interface presents a range of controls that offer the flexibility required for diverse sound setups.
A notable characteristic of both models is their thermal management system. With built-in cooling mechanisms, the amplifiers efficiently dissipate heat during extended operations, ensuring reliability and longevity. This makes them suitable for continuous use in environments such as concerts, corporate events, and theatrical productions.
In addition, the DSA series amplifiers come equipped with built-in protection circuits to safeguard against overloading and short-circuiting, providing peace of mind during critical performances. The rugged design ensures that these amplifiers can withstand the rigors of touring and frequent transportation, while their compact form factor allows for easy integration into any audio setup.
In summary, the EAW DSA230 and DSA250 amplifiers are exemplary choices for professionals seeking high-performance audio solutions that deliver exceptional sound quality and reliability. Their advanced technologies and user-centric features make them integral to a wide range of sound applications, from intimate performances to large-scale events.

