CAH, DAH, AH, TAH specifications
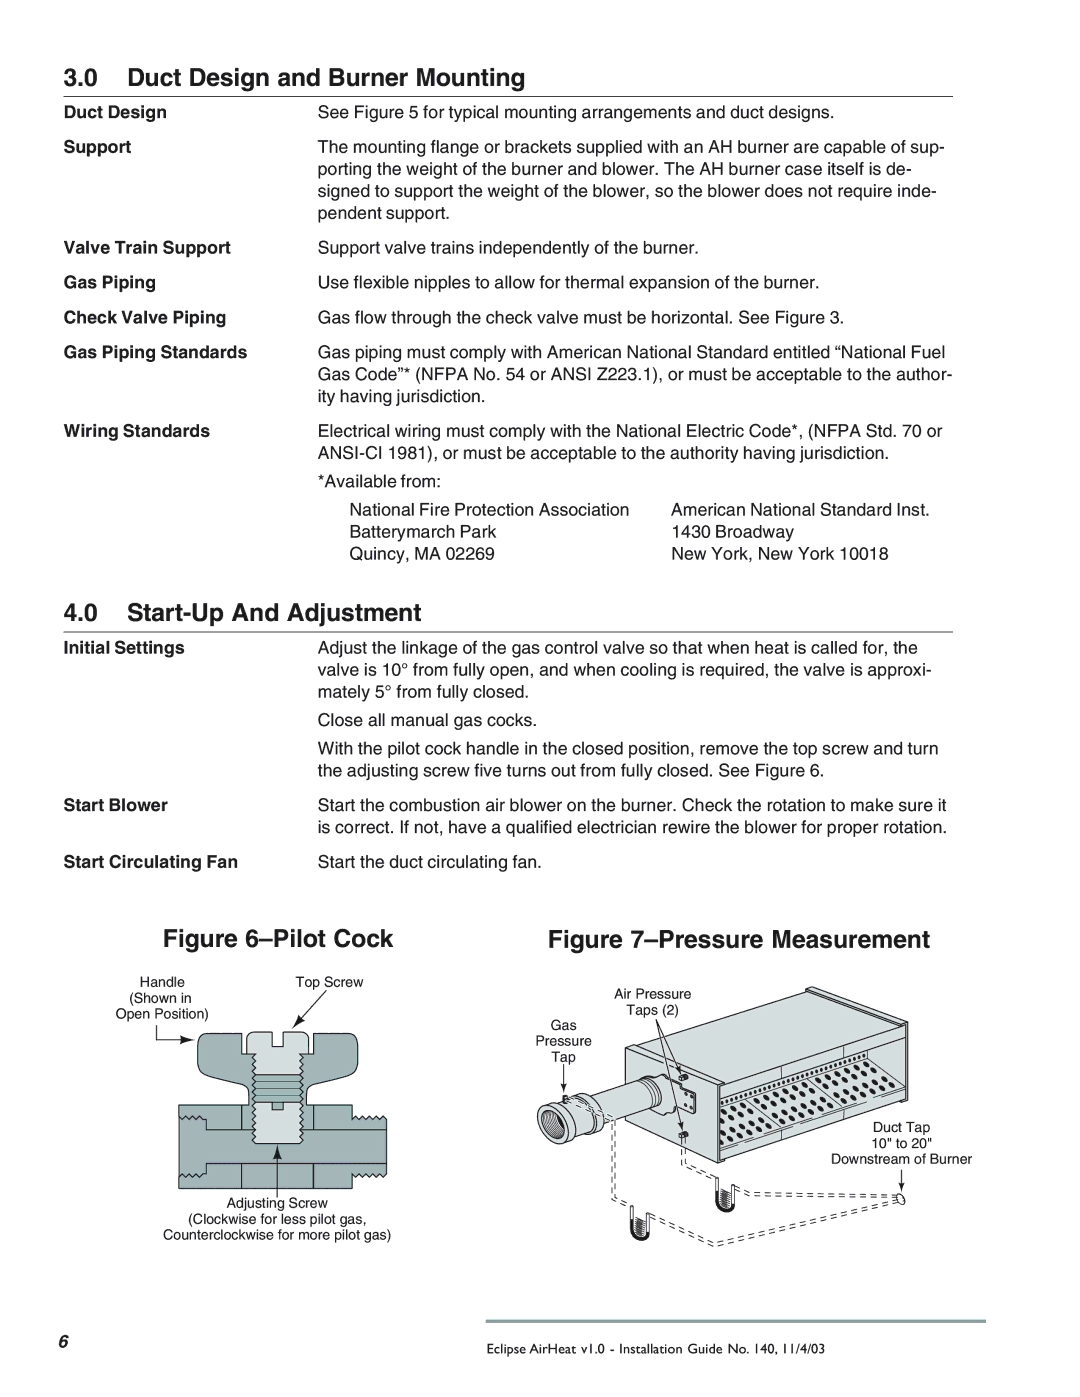
Eclipse Combustion is a noteworthy player in the combustion technology sector, particularly renowned for its innovative direct-fired burners, specifically the DAH, TAH, AH, and CAH models. These burners are designed to achieve optimal performance in various industrial applications by providing efficient, reliable, and environmentally sustainable solutions.One of the main features of Eclipse’s combustion products is their focus on efficiency. The DAH and TAH models incorporate advanced air-fuel mixing technologies, ensuring thorough combustion and minimal emissions. This proficiency enables manufacturers to not only meet stringent environmental regulations but also reap cost savings through improved fuel efficiency.
The AH model stands out for its versatility, catering to a wide range of applications, from thermal oxidizers to industrial ovens. It is engineered with attention to operational flexibility, allowing users to tailor burner operations to specific environmental conditions or production requirements. This adaptability ensures that facilities can maintain optimal performance regardless of changing demands.
Eclipse’s CAH model highlights the company’s commitment to innovation. It features a compact design that integrates easily into existing systems, reducing the need for complex retrofitting. The CAH model is equipped with advanced control systems that allow for real-time monitoring and adjustments. This technology enhances operational reliability and enables maintenance teams to proactively address any issues, thereby reducing downtime.
Safety remains a crucial characteristic across all Eclipse Combustion products. The DAH, TAH, AH, and CAH models are designed with multiple safety features, such as flame monitoring systems and emergency shut-off valves. These features are essential in safeguarding workers and equipment, ensuring that operations can continue smoothly without compromising safety standards.
In addition to performance and safety, Eclipse Combustion prioritizes sustainability. The technologies embedded in the DAH, TAH, AH, and CAH models facilitate the efficient use of fuels, leading to reduced greenhouse gas emissions. As industries around the world strive for greener operations, these burners represent a strategic investment for organizations committed to environmental stewardship.
In summary, Eclipse Combustion's DAH, TAH, AH, and CAH models are characterized by their efficiency, versatility, innovative design, safety features, and commitment to sustainability. These attributes make them a reliable choice for industrial applications seeking to enhance performance while minimizing environmental impact. As global industries continue to evolve, Eclipse Combustion remains at the forefront, delivering advanced solutions that meet the demands of modern combustion technology.

