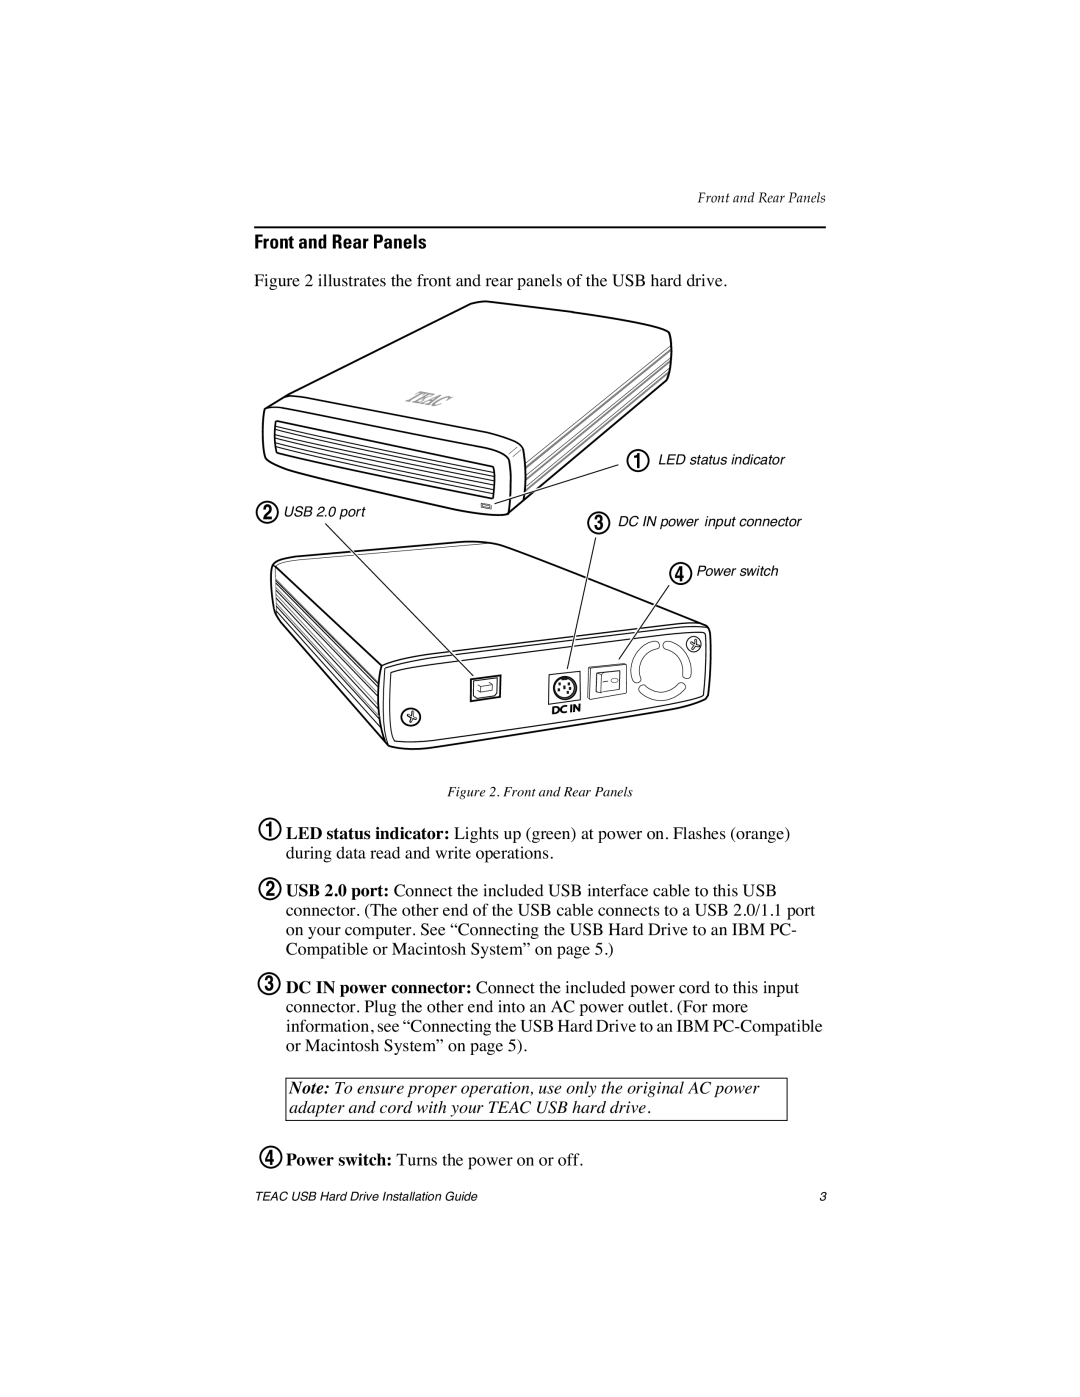
HD3U-500, HD3U-40 specifications
The EDGE Tech HD3U-40 and HD3U-500 are state-of-the-art solutions designed to meet the demands of modern industries requiring high-performance computing and data processing capabilities. These devices stand out in their class due to a variety of advanced features, technologies, and characteristics that cater to a broad range of applications, from industrial automation to data-intensive environments.Both the HD3U-40 and HD3U-500 are built on a robust architecture that emphasizes efficiency and speed. The HD3U-40 is engineered for applications demanding moderate processing power, making it an ideal choice for tasks such as data acquisition and real-time monitoring. In contrast, the HD3U-500 is designed for heavy-duty applications that require extensive computational resources, exemplified by its ability to handle large datasets and intensive algorithms seamlessly.
A key feature of both models is their high connectivity options. They support multiple communication protocols, ensuring compatibility with various systems and devices. This versatility enables seamless integration into existing infrastructures, reducing downtime and enabling quicker deployment.
In terms of performance, the HD3U-500 is equipped with advanced processing capabilities that include multi-core processors and high-speed memory. This powerful configuration allows it to execute complex operations rapidly, making it suitable for tasks like machine learning, data analysis, and simulation modeling.
Additionally, both models incorporate cutting-edge energy efficiency technologies. They are designed to minimize power consumption while maximizing performance, adhering to modern sustainability standards. This characteristic is especially crucial for industries focused on reducing their carbon footprint and ensuring long-term operational cost savings.
The HD3U series is also fortified with robust security features to protect sensitive data. Advanced encryption protocols, secure boot mechanisms, and user authentication systems provide multiple layers of security, essential for industries that handle critical information.
Moreover, the form factor of the HD3U-40 and HD3U-500 is designed for flexibility, allowing for easy installation in various environments, whether in a server rack or on a shop floor. The durable construction ensures reliability and longevity, even in harsh operational conditions.
In summary, the EDGE Tech HD3U-40 and HD3U-500 are exceptional products that combine advanced technologies, powerful performance, energy efficiency, and robust security features. These characteristics make them ideal choices for organizations looking to harness the power of modern technology to drive innovation and efficiency in their operations.

