
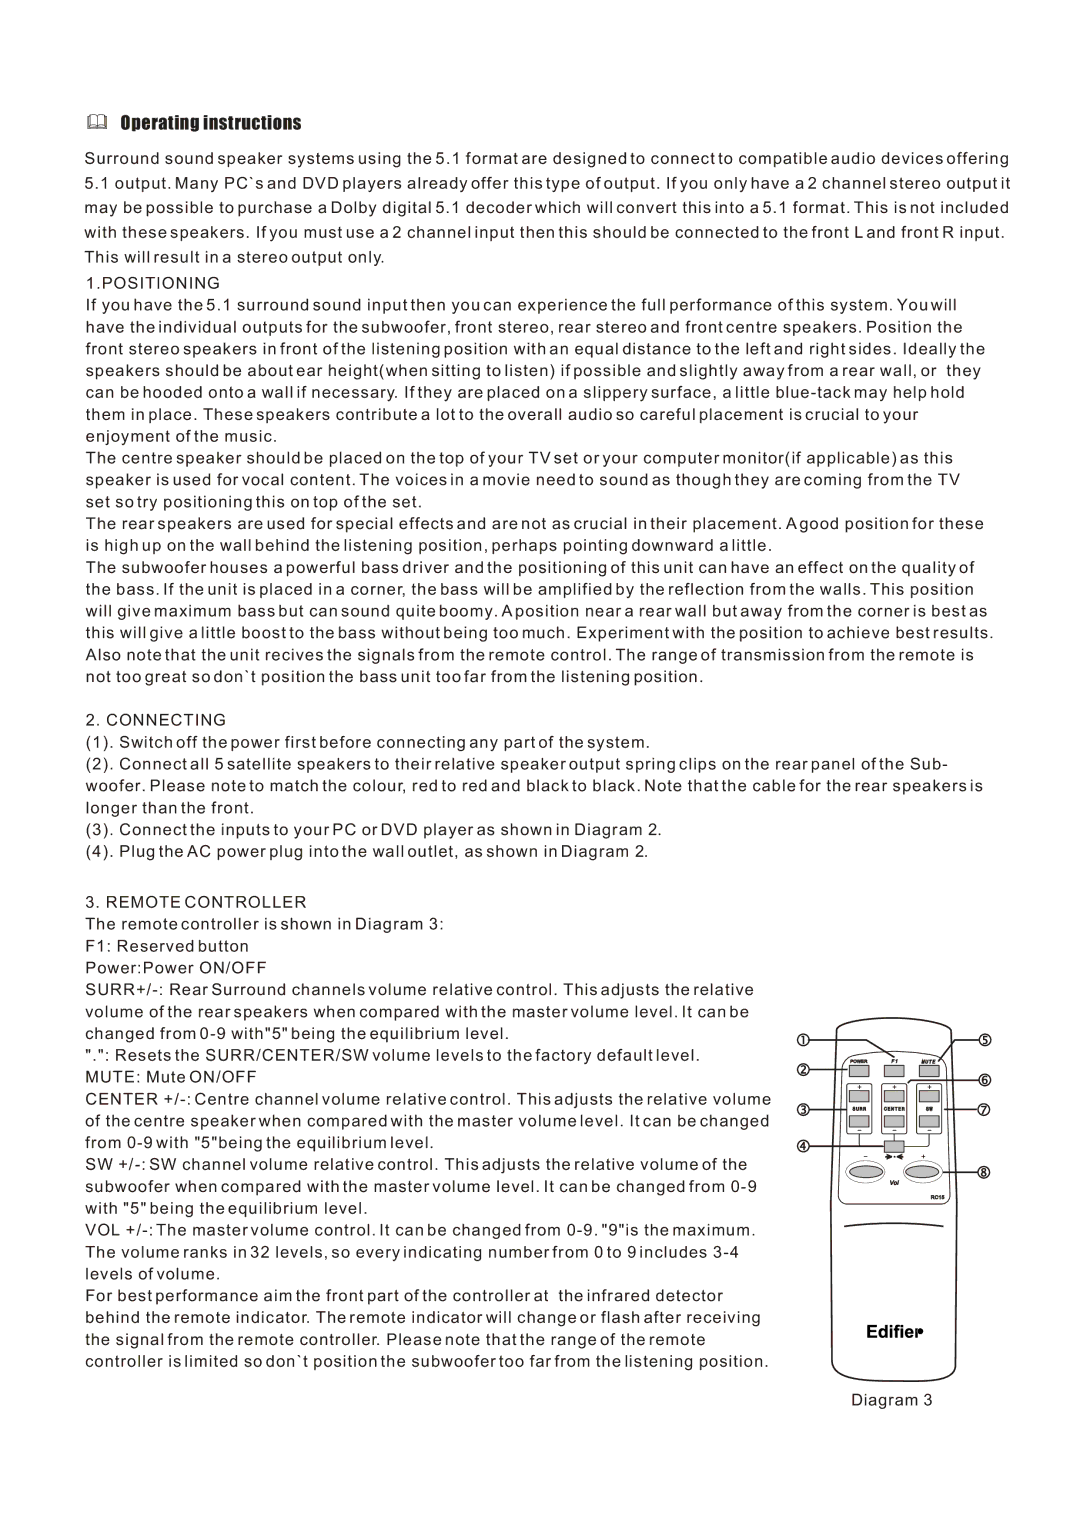
R501 specifications
Edifier Enterprises Canada has made its mark in the audio industry with the introduction of the R501 speaker system, a robust and versatile offering that caters to both casual listeners and audiophiles alike. This 2.0 channel speaker system combines aesthetic elegance and superior sound performance, making it an ideal choice for home users who seek to elevate their audio experience.One of the standout features of the R501 speaker system is its impressive sound quality. Equipped with high-performance drivers, these speakers deliver clear highs, rich mids, and powerful bass, making them suitable for a wide range of music genres and media. The system's frequency response ranges from 60Hz to 20kHz, ensuring that every note is articulated accurately, allowing listeners to enjoy their favorite tracks in a new light.
The design of the R501 is another highlight. With a sleek wood finish that complements modern décor, these speakers can seamlessly fit into any living space. The cabinet is constructed from high-quality materials, providing not only aesthetic appeal but also reducing unwanted vibrations, which can negatively impact sound quality. Moreover, the compact size of the speakers means they can easily be accommodated on desks, shelves, or entertainment centers without overwhelming the space.
The Edifier R501 also features advanced connectivity options. It includes line-in inputs, allowing users to connect various audio devices such as laptops, smartphones, and gaming consoles effortlessly. This flexibility means that the R501 can be the go-to speaker system for all your audio needs, whether you're gaming, watching movies, or enjoying your favorite music.
Adding to its appeal are controls for bass and treble, enabling users to customize their listening experience. The built-in amplifier enhances audio output and delivers dynamic sound with ease, eliminating the need for external amplification. The R501 speaker system also offers reliable durability, backed by Edifier's commitment to quality and engineering excellence, ensuring it will perform well over the years.
In summary, the Edifier R501 speaker system is a well-rounded audio solution that combines superior sound quality, thoughtful design, and user-friendly features. With its impressive performance, elegant look, and versatile connectivity, it stands out as a premier choice for anyone looking to enhance their audio experience. Whether for casual listening or immersive entertainment, the R501 delivers exceptional value and satisfaction to its users.