![]() screw
screw
ISA
Eiconcard
ISA slot
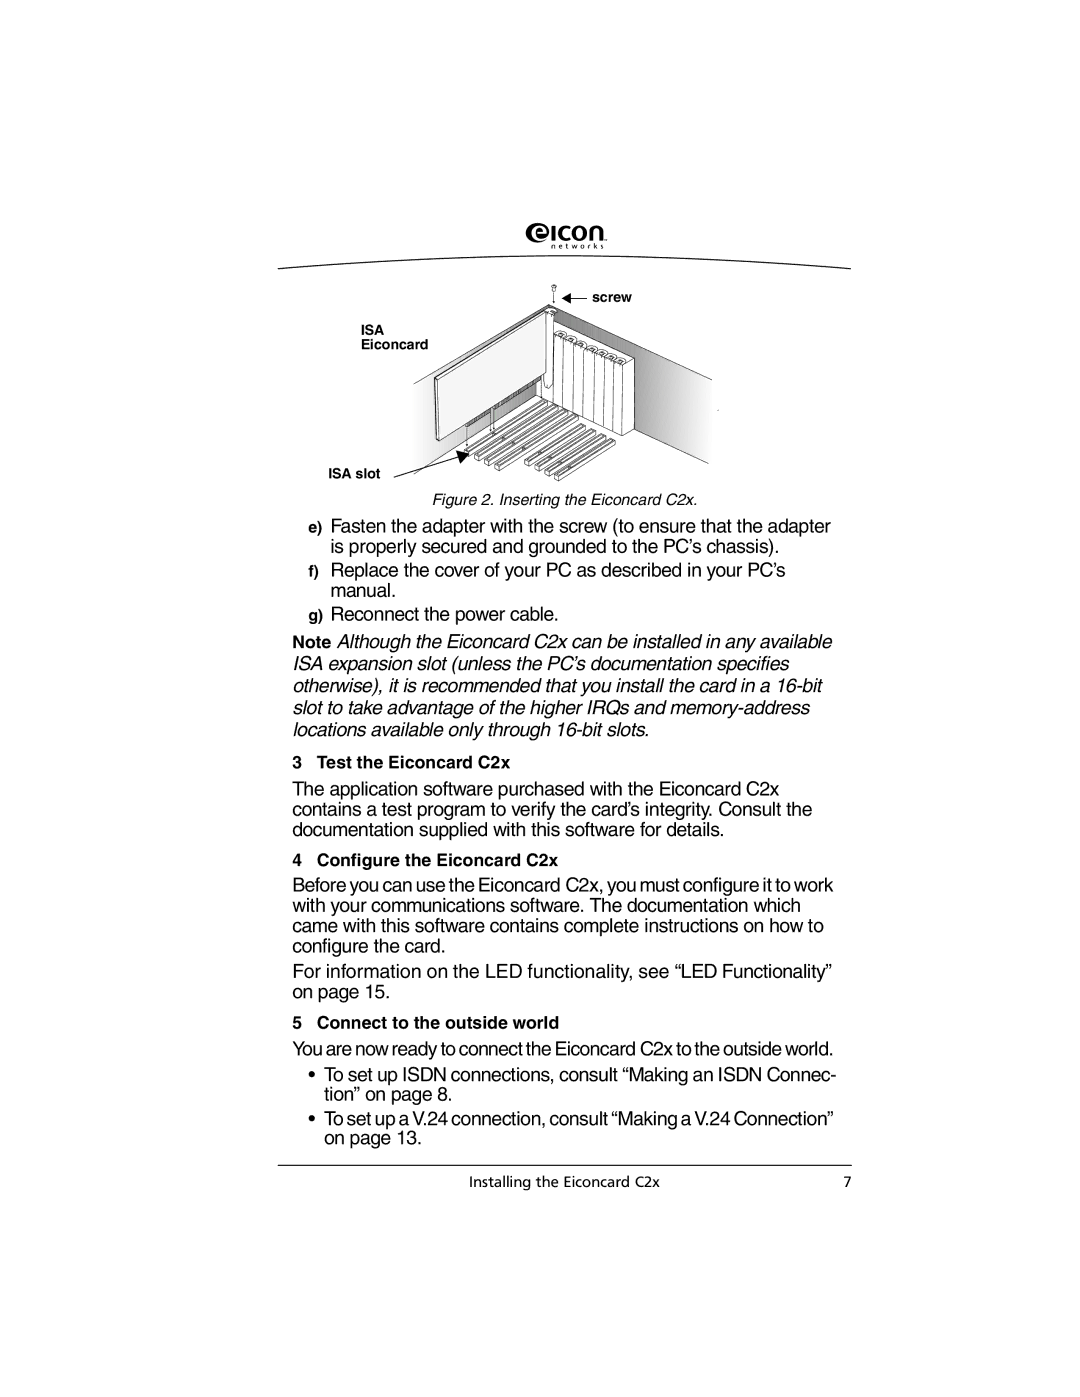
Figure 2. Inserting the Eiconcard C2x.
e)Fasten the adapter with the screw (to ensure that the adapter is properly secured and grounded to the PC’s chassis).
f)Replace the cover of your PC as described in your PC’s manual.
g)Reconnect the power cable.
Note Although the Eiconcard C2x can be installed in any available ISA expansion slot (unless the PC’s documentation specifies otherwise), it is recommended that you install the card in a
3 Test the Eiconcard C2x
The application software purchased with the Eiconcard C2x contains a test program to verify the card’s integrity. Consult the documentation supplied with this software for details.
4 Configure the Eiconcard C2x
Before you can use the Eiconcard C2x, you must configure it to work with your communications software. The documentation which came with this software contains complete instructions on how to configure the card.
For information on the LED functionality, see “LED Functionality” on page 15.
5 Connect to the outside world
You are now ready to connect the Eiconcard C2x to the outside world.
•To set up ISDN connections, consult “Making an ISDN Connec- tion” on page 8.
•To set up a V.24 connection, consult “Making a V.24 Connection” on page 13.
Installing the Eiconcard C2x | 7 |