ELAN HOME SYSTEMS | INSTALLATION MANUAL | THP525LS/THP650LS |
Installation
The Installation process is divided into two distinct processes:
Wiring
Mounting
After carefully considering the intended application (defining a Listening Area, Home Theater/Stereo, etc.) specific mounting locations can be decided upon. Once the specific locations are determined, installation can commence.
Wiring
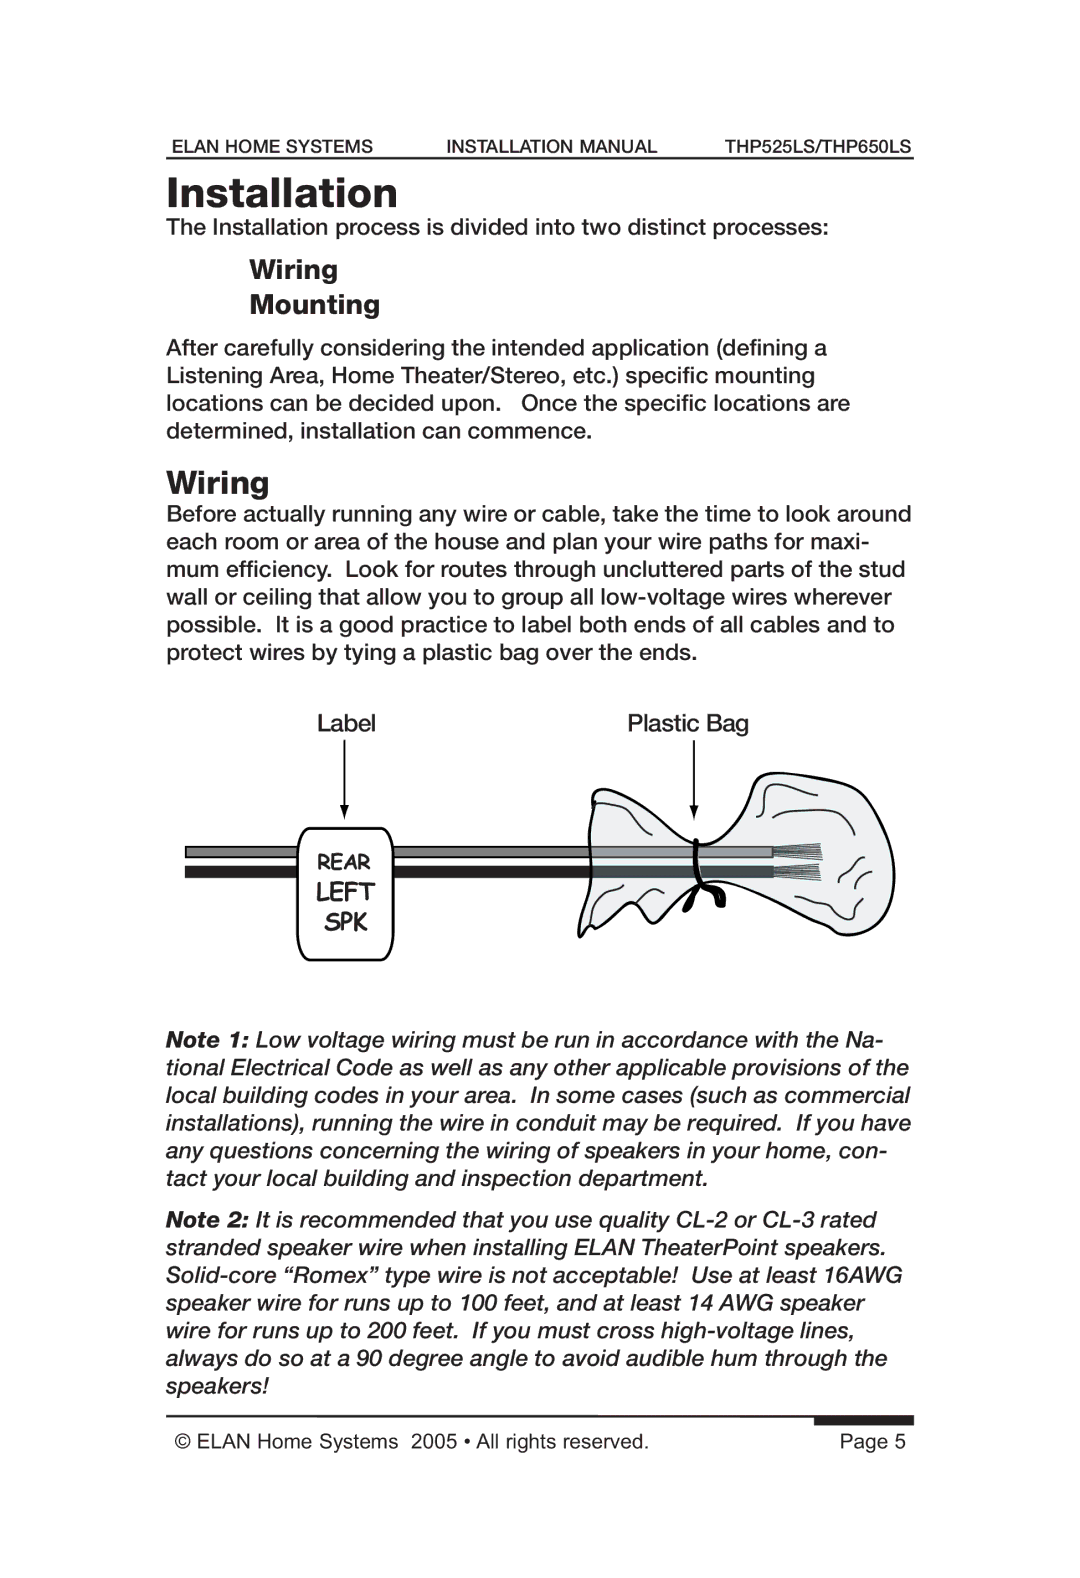
Before actually running any wire or cable, take the time to look around each room or area of the house and plan your wire paths for maxi- mum efficiency. Look for routes through uncluttered parts of the stud wall or ceiling that allow you to group all
Label | Plastic Bag |
REAR
LEFT
SPK
Note 1: Low voltage wiring must be run in accordance with the Na- tional Electrical Code as well as any other applicable provisions of the local building codes in your area. In some cases (such as commercial installations), running the wire in conduit may be required. If you have any questions concerning the wiring of speakers in your home, con- tact your local building and inspection department.
Note 2: It is recommended that you use quality
© ELAN Home Systems 2005 • All rights reserved. | Page 5 |
