Opti RGB specifications
The Elation Professional Opti RGB is a groundbreaking lighting fixture that has made a significant impact in the world of live events, concerts, and installations. With its cutting-edge technology and innovative features, the Opti RGB is designed to deliver stunning visual effects and impeccable color mixing, catering to the needs of professional lighting designers and operators.One of the standout characteristics of the Opti RGB is its powerful RGB color mixing capability. Utilizing three high-quality, individually controllable LEDs in red, green, and blue, this fixture allows for a wide spectrum of colors to be created with smooth transitions and vibrant hues. This enables lighting designers to achieve a variety of moods and atmospheres, making it a versatile choice for any production.
The Opti RGB also boasts a robust optical design that ensures superior light output and efficiency. With an advanced lens system, it provides a sharp beam angle, ensuring that light is evenly distributed across the surface. This is particularly useful for applications where precise lighting is crucial, such as theater productions or architectural lighting.
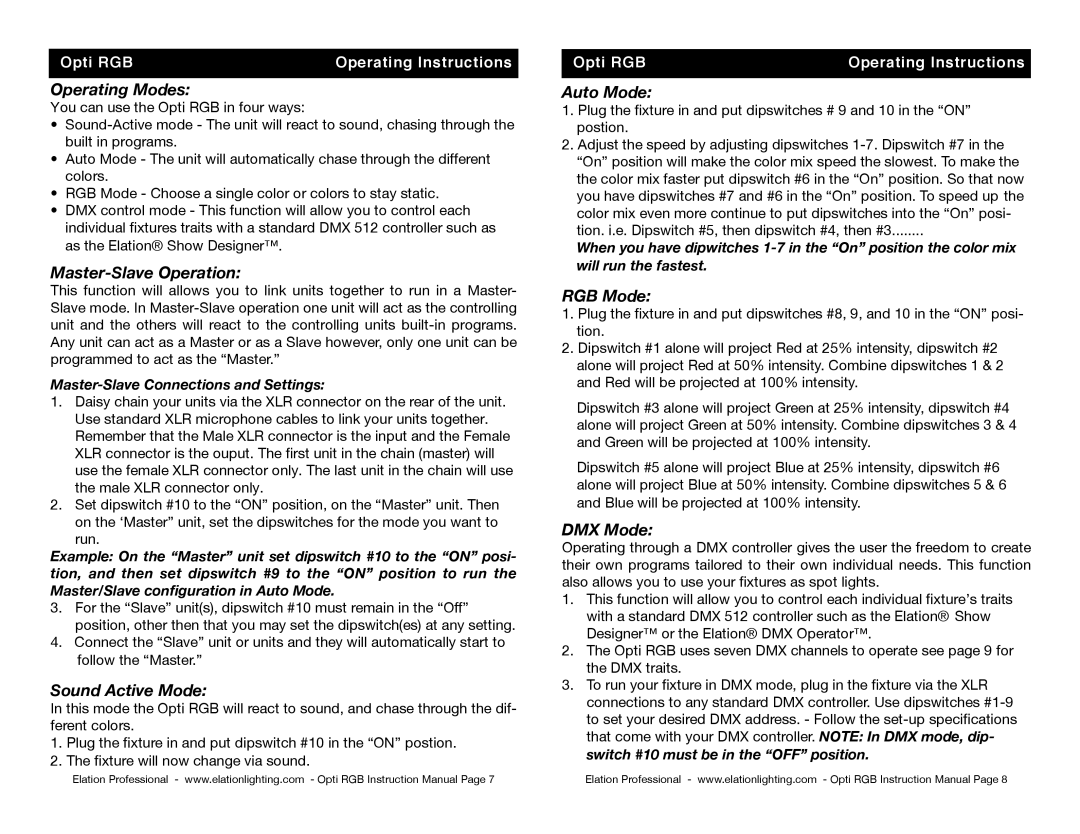
Another significant feature of the Opti RGB is its user-friendly interface. The fixture comes equipped with an intuitive digital display and control options that make it easy to set up and operate. The onboard menu allows users to access various modes, including DMX control, master/slave configurations, and standalone modes, offering flexibility for different production scenarios.
The fixture is also built for durability and longevity, with a rugged housing designed to withstand the rigors of touring and on-site installations. Its efficient heat management system ensures that the LEDs operate at optimal temperatures, prolonging their lifespan and maintaining consistent performance during extended use.
In terms of connectivity, the Opti RGB offers various options to suit different setups. With multiple DMX channels and both 3-pin and 5-pin DMX input/output, it integrates seamlessly into existing lighting rigs. Additionally, it features power in/out connections for easy daisy chaining, enhancing its versatility in large-scale productions.
Overall, the Elation Professional Opti RGB is a standout lighting fixture that combines advanced technology, remarkable color capabilities, and user-friendly features. Its reliability and performance make it an excellent choice for lighting professionals looking to elevate their productions and create captivating visual experiences. Whether used for concerts, events, or installations, the Opti RGB continues to impress with its stunning results and operational ease.
