Installation - Connecting Optional Ice Maker To Water Supply

To avoid electric shock, which can cause death or severe personal injury, disconnect the refrigerator from electrical power before connecting a water supply line to the refrigerator.

To Avoid Property Damage:

Copper tubing is recommended for the water supply line.Water supply tubing made of ¼” plastic is not recommended since it greatly increases the potential for water leaks. Manufacturer will not be responsible for any damage if plastic tubing is used for supply line.

DO NOT install water supply tubing in areas where temperatures fall below freezing.

Chemicals from a malfunctioning softener can damage the ice maker. If the ice maker is connected to soft water, ensure that the softener is maintained and working properly.

IMPORTANT: Ensure that your water supply line connections comply with all local plumbing codes.

Before Installing The Water Supply Line,You Will Need

Basic Tools: adjustable wrench, flat-blade screwdriver, and PhillipsTM screwdriver

Access to a household cold water line with water pressure between 20 and 120 psi.

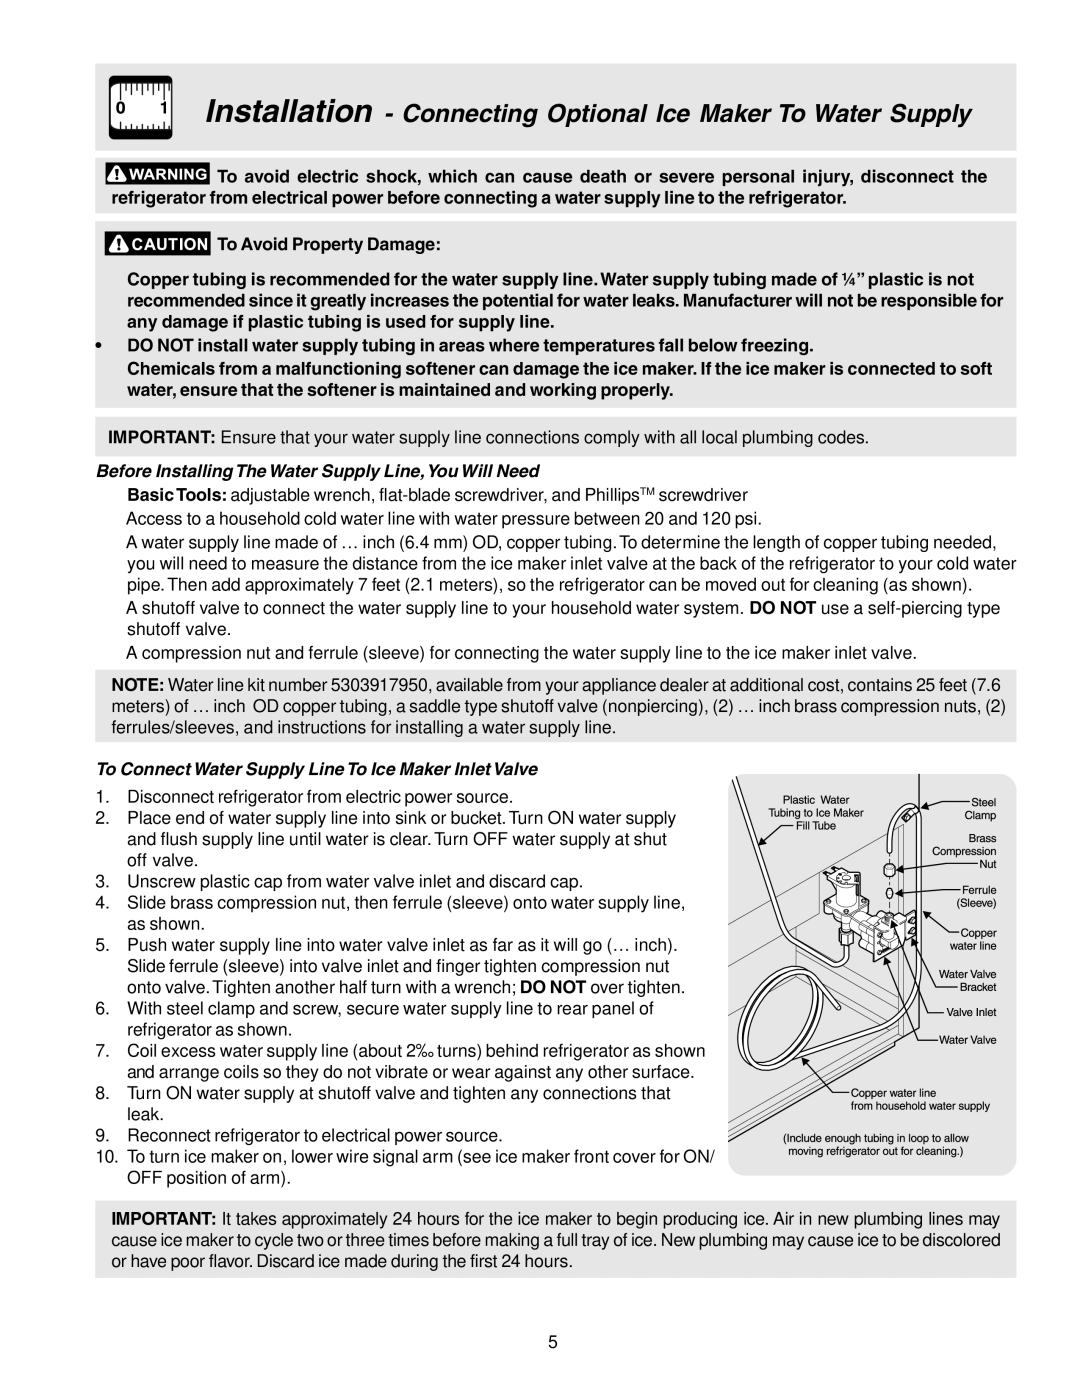
A water supply line made of ¼ inch (6.4 mm) OD, copper tubing. To determine the length of copper tubing needed, you will need to measure the distance from the ice maker inlet valve at the back of the refrigerator to your cold water pipe. Then add approximately 7 feet (2.1 meters), so the refrigerator can be moved out for cleaning (as shown).

A shutoff valve to connect the water supply line to your household water system. DO NOT use a self-piercing type shutoff valve.

A compression nut and ferrule (sleeve) for connecting the water supply line to the ice maker inlet valve.

NOTE: Water line kit number 5303917950, available from your appliance dealer at additional cost, contains 25 feet (7.6 meters) of ¼ inch OD copper tubing, a saddle type shutoff valve (nonpiercing), (2) ¼ inch brass compression nuts, (2) ferrules/sleeves, and instructions for installing a water supply line.

To Connect Water Supply Line To Ice Maker Inlet Valve

1. Disconnect refrigerator from electric power source.

2. Place end of water supply line into sink or bucket. Turn ON water supply and flush supply line until water is clear. Turn OFF water supply at shut off valve.

3. Unscrew plastic cap from water valve inlet and discard cap.

4. Slide brass compression nut, then ferrule (sleeve) onto water supply line, as shown.

5. Push water supply line into water valve inlet as far as it will go (¼ inch). Slide ferrule (sleeve) into valve inlet and finger tighten compression nut onto valve. Tighten another half turn with a wrench; DO NOT over tighten.

6. With steel clamp and screw, secure water supply line to rear panel of refrigerator as shown.

7.Coil excess water supply line (about 2½ turns) behind refrigerator as shown and arrange coils so they do not vibrate or wear against any other surface.

8. Turn ON water supply at shutoff valve and tighten any connections that leak.

9. Reconnect refrigerator to electrical power source.

10. To turn ice maker on, lower wire signal arm (see ice maker front cover for ON/ OFF position of arm).

IMPORTANT: It takes approximately 24 hours for the ice maker to begin producing ice. Air in new plumbing lines may cause ice maker to cycle two or three times before making a full tray of ice. New plumbing may cause ice to be discolored or have poor flavor. Discard ice made during the first 24 hours.

5

Page 5
Image 5
Electrolux 240400112 manual Before Installing The Water Supply Line,You Will Need

240400112 specifications

The Electrolux 240400112 represents a noteworthy addition to the realm of home appliances, specifically designed to cater to modern cooking needs with its advanced features and innovative technologies. As an integrated appliance, this product combines functionality with style, making it a perfect fit for any contemporary kitchen.

One of the standout features of the Electrolux 240400112 is its cutting-edge cooking technology. The appliance is equipped with a powerful heating system that ensures consistent and even cooking results. Whether you are baking, roasting, or grilling, this appliance adapts to various cooking methods, thereby making meal preparation a breeze. The high-performance oven distributes heat evenly, reducing cooking times and enhancing food flavors.

Another key attribute is its user-friendly interface. The Electrolux 240400112 is designed for ease of use, featuring a clear digital display that allows users to select cooking modes effortlessly. The intuitive controls provide access to various pre-set cooking programs, making it simple for users to replicate professional-quality dishes at home. The appliance also boasts a timer function, enabling cooks to multitask confidently without the fear of overcooking.

Cleaning and maintenance are also simplified with the Electrolux 240400112. It incorporates a self-cleaning feature that eliminates the need for harsh chemicals, saving time and effort in upkeep. The sleek, stainless steel design not only adds a modern touch to your kitchen but also resists stains and fingerprints, ensuring that the appliance maintains its aesthetic appeal over time.

Safety features are thoughtfully integrated into the Electrolux 240400112 as well. The appliance is equipped with an automatic shut-off function that provides peace of mind, particularly for busy households. Additionally, the cool-touch door ensures that users can safely interact with the oven even when it is in operation.

In summary, the Electrolux 240400112 is a blend of superior performance, user-friendly design, and essential safety features. With its versatility in cooking methods and ease of cleaning, it stands out as a reliable choice for home cooks looking to elevate their culinary skills. Whether you are a novice or a seasoned chef, this appliance is sure to enhance your cooking experience significantly.