10. CHECKING THE MAIN OVEN CONTROLS

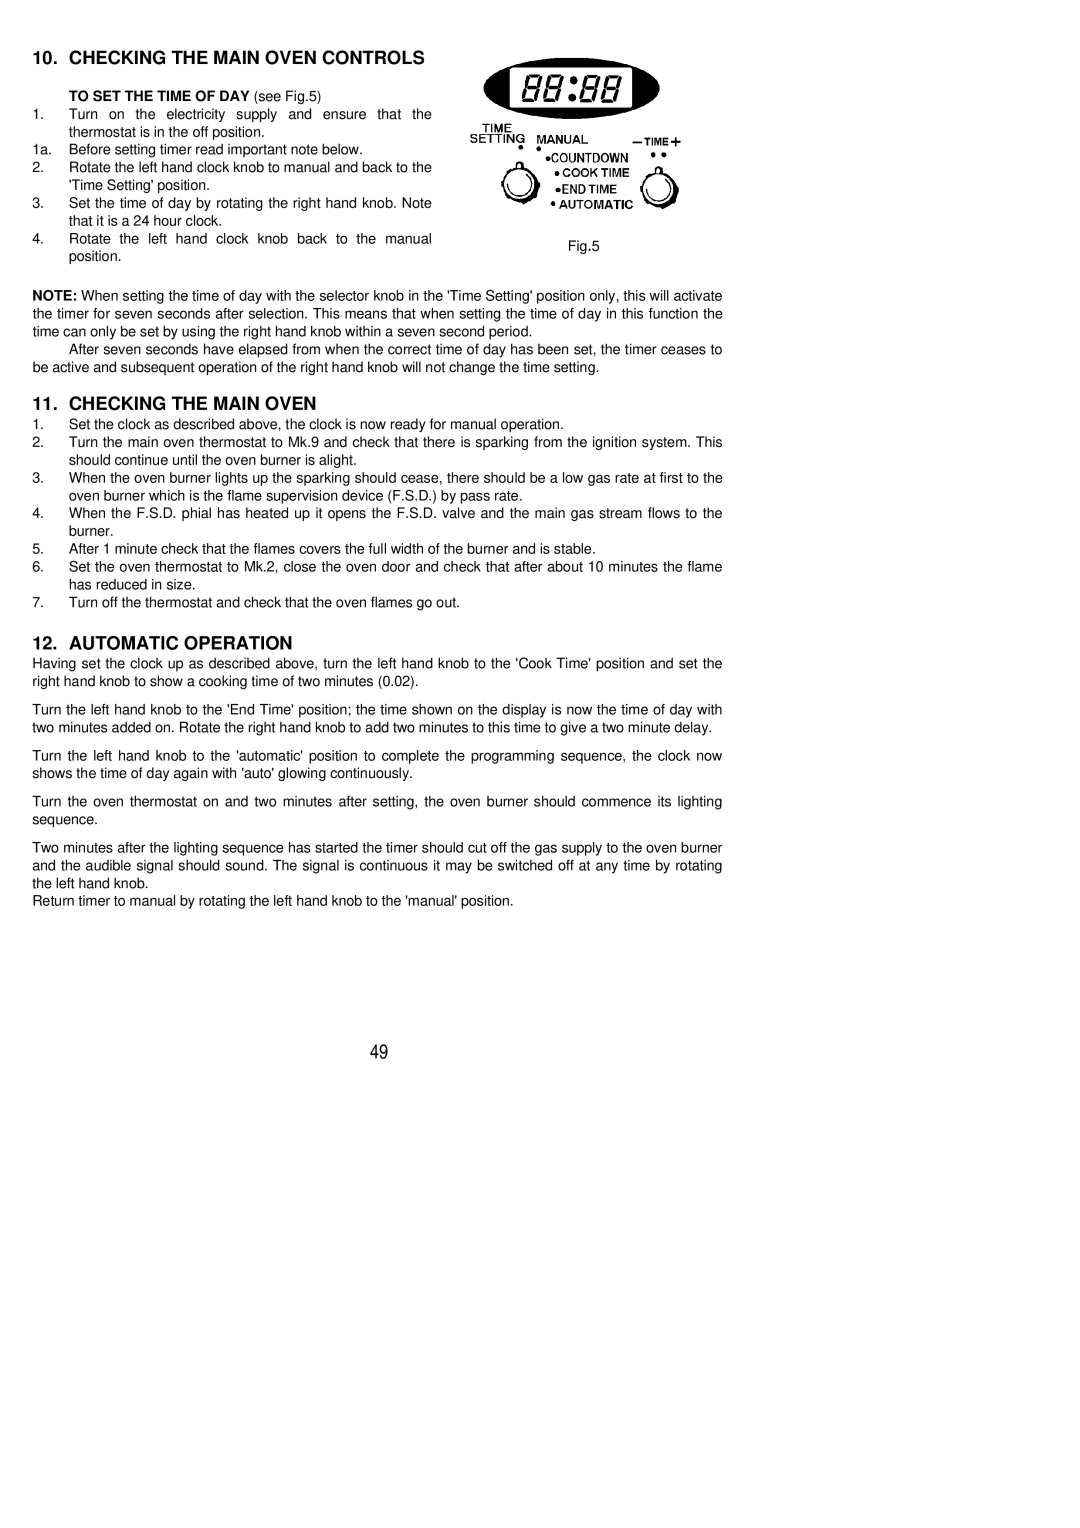
TO SET THE TIME OF DAY (see Fig.5)

1.Turn on the electricity supply and ensure that the

thermostat is in the off position.

1a. Before setting timer read important note below.

2.Rotate the left hand clock knob to manual and back to the 'Time Setting' position.

3.Set the time of day by rotating the right hand knob. Note that it is a 24 hour clock.

4.

Rotate the left hand clock knob back to the manual

Fig.5


position.


NOTE: When setting the time of day with the selector knob in the 'Time Setting' position only, this will activate the timer for seven seconds after selection. This means that when setting the time of day in this function the time can only be set by using the right hand knob within a seven second period.

After seven seconds have elapsed from when the correct time of day has been set, the timer ceases to be active and subsequent operation of the right hand knob will not change the time setting.

11. CHECKING THE MAIN OVEN

1.Set the clock as described above, the clock is now ready for manual operation.

2.Turn the main oven thermostat to Mk.9 and check that there is sparking from the ignition system. This should continue until the oven burner is alight.

3.When the oven burner lights up the sparking should cease, there should be a low gas rate at first to the oven burner which is the flame supervision device (F.S.D.) by pass rate.

4.When the F.S.D. phial has heated up it opens the F.S.D. valve and the main gas stream flows to the burner.

5.After 1 minute check that the flames covers the full width of the burner and is stable.

6.Set the oven thermostat to Mk.2, close the oven door and check that after about 10 minutes the flame has reduced in size.

7.Turn off the thermostat and check that the oven flames go out.

12. AUTOMATIC OPERATION

Having set the clock up as described above, turn the left hand knob to the 'Cook Time' position and set the right hand knob to show a cooking time of two minutes (0.02).

Turn the left hand knob to the 'End Time' position; the time shown on the display is now the time of day with two minutes added on. Rotate the right hand knob to add two minutes to this time to give a two minute delay.

Turn the left hand knob to the 'automatic' position to complete the programming sequence, the clock now shows the time of day again with 'auto' glowing continuously.

Turn the oven thermostat on and two minutes after setting, the oven burner should commence its lighting sequence.

Two minutes after the lighting sequence has started the timer should cut off the gas supply to the oven burner and the audible signal should sound. The signal is continuous it may be switched off at any time by rotating the left hand knob.

Return timer to manual by rotating the left hand knob to the 'manual' position.

49

Page 49
Image 49
Electrolux CSIG 511 installation instructions Checking the Main Oven Controls, Automatic Operation

CSIG 511 specifications

The Electrolux CSIG 511 is a modern, sleek steam generator iron designed to make the task of ironing more efficient and comfortable. This appliance combines powerful steam technology with user-friendly features, ensuring that every crease is smoothed out with ease.

One of the standout features of the CSIG 511 is its impressive steam output. With a continuous steam production of up to 130 g/min, it delivers a strong burst of steam that penetrates fabrics deep, making it particularly effective for tackling stubborn wrinkles on various materials, including cotton and linen. This high steam output is complemented by a steam boost function, which can generate an even more concentrated burst of steam at 480 g, ideal for vertical steaming of hanging garments or delicate fabrics.

The CSIG 511 also boasts a large water tank capacity of 1.5 liters, allowing for extended ironing sessions without the need for frequent refills. The tank is detachable, making it convenient to fill up under the tap. Additionally, the appliance features a built-in anti-calc system that helps combat limescale buildup, ensuring longevity and performance over time.

User comfort is a priority in the design of the Electrolux CSIG 511. It features an ergonomic handle that is comfortable to grip for prolonged use, and the iron itself is lightweight, reducing fatigue during lengthy ironing tasks. The 2.5-meter power cord provides flexibility and ease of movement, allowing users to freely navigate around the ironing area.

Another noteworthy characteristic is the advanced soleplate technology of the CSIG 511. The soleplate is designed with a durable non-stick coating that glides smoothly over fabrics, preventing snagging while enhancing heat distribution for optimal results. The pointed tip of the soleplate aids in reaching difficult areas such as collars and seams with precision.

Safety features have also been thoughtfully incorporated into the CSIG 511. It includes an automatic shut-off function that activates when the appliance is left unattended for a designated period, reducing fire risks and providing peace of mind.

In summary, the Electrolux CSIG 511 steam generator iron is a powerful and efficient appliance that combines cutting-edge technology with user-friendly design. With high steam output, a large water tank, ergonomic features, and safety mechanisms, it transforms ironing into a quick and hassle-free experience for users.