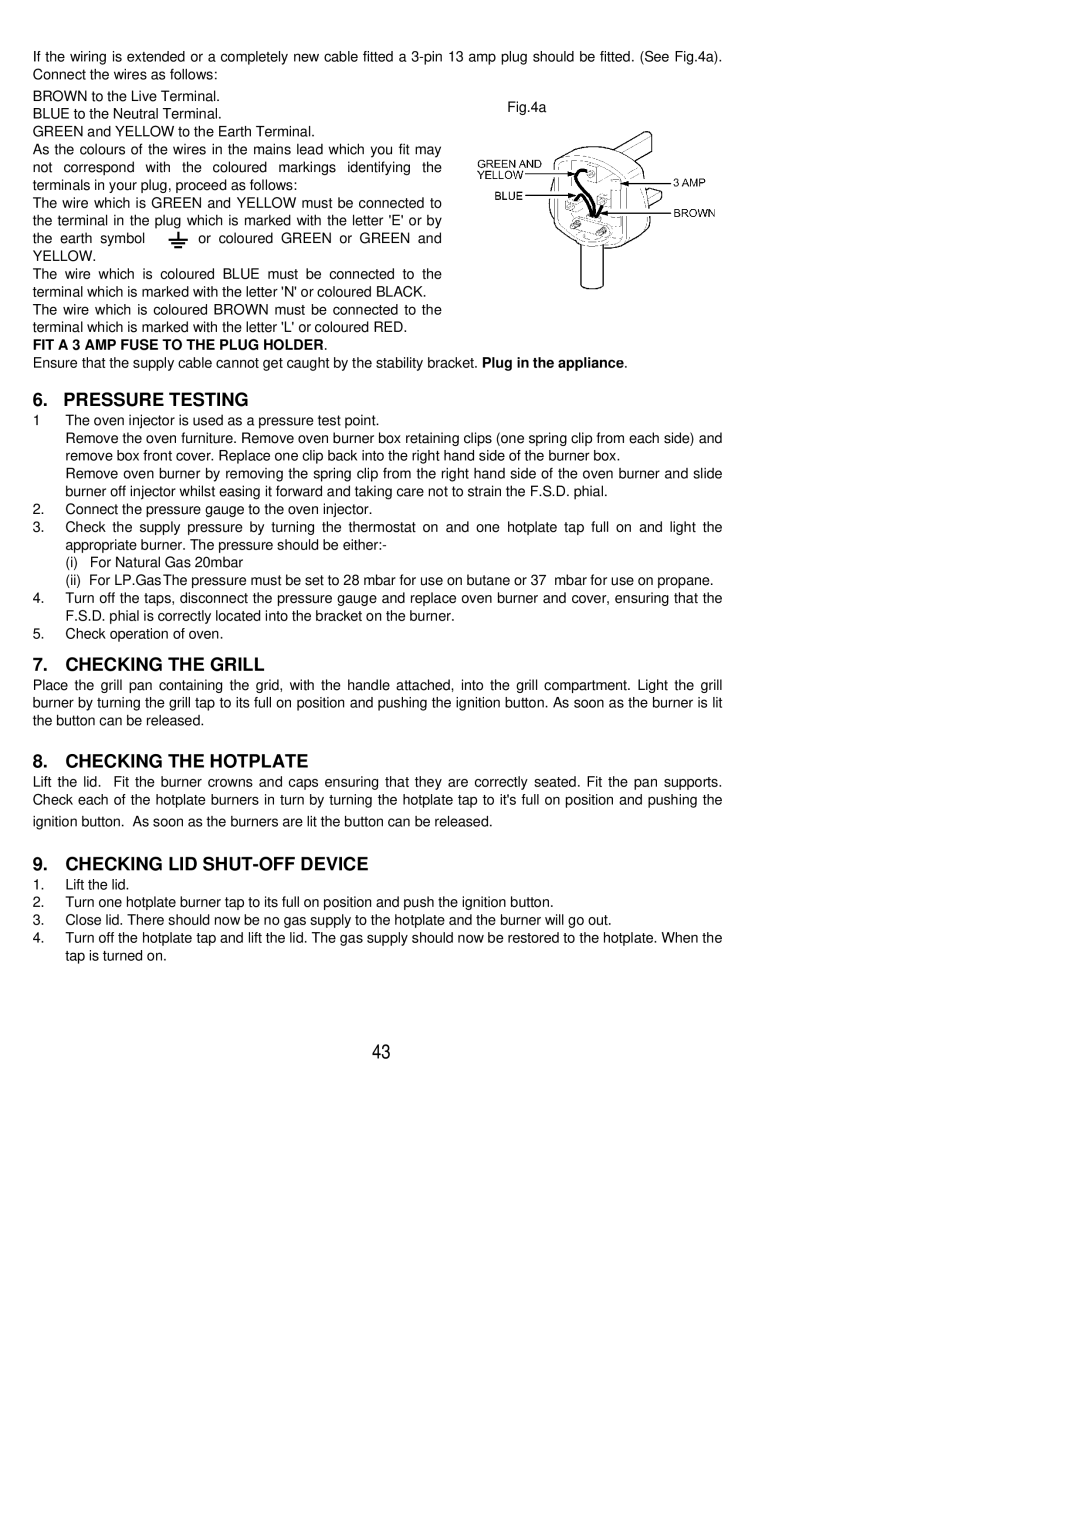
If the wiring is extended or a completely new cable fitted a 3-pin 13 amp plug should be fitted. (See Fig.4a). Connect the wires as follows:

BROWN to the Live Terminal. BLUE to the Neutral Terminal.

GREEN and YELLOW to the Earth Terminal.

As the colours of the wires in the mains lead which you fit may not correspond with the coloured markings identifying the terminals in your plug, proceed as follows:

The wire which is GREEN and YELLOW must be connected to the terminal in the plug which is marked with the letter 'E' or by

the earth symbol or coloured GREEN or GREEN and

YELLOW.

The wire which is coloured BLUE must be connected to the terminal which is marked with the letter 'N' or coloured BLACK. The wire which is coloured BROWN must be connected to the terminal which is marked with the letter 'L' or coloured RED.

FIT A 3 AMP FUSE TO THE PLUG HOLDER.

Ensure that the supply cable cannot get caught by the stability bracket.

Fig.4a

Plug in the appliance.

6. PRESSURE TESTING

1 The oven injector is used as a pressure test point.

Remove the oven furniture. Remove oven burner box retaining clips (one spring clip from each side) and remove box front cover. Replace one clip back into the right hand side of the burner box.

Remove oven burner by removing the spring clip from the right hand side of the oven burner and slide burner off injector whilst easing it forward and taking care not to strain the F.S.D. phial.

2.Connect the pressure gauge to the oven injector.

3.Check the supply pressure by turning the thermostat on and one hotplate tap full on and light the appropriate burner. The pressure should be either:-

(i)For Natural Gas 20mbar

(ii)For LP.GasThe pressure must be set to 28 mbar for use on butane or 37 mbar for use on propane.

4.Turn off the taps, disconnect the pressure gauge and replace oven burner and cover, ensuring that the F.S.D. phial is correctly located into the bracket on the burner.

5.Check operation of oven.

7. CHECKING THE GRILL

Place the grill pan containing the grid, with the handle attached, into the grill compartment. Light the grill burner by turning the grill tap to its full on position and pushing the ignition button. As soon as the burner is lit the button can be released.

8. CHECKING THE HOTPLATE

Lift the lid. Fit the burner crowns and caps ensuring that they are correctly seated. Fit the pan supports. Check each of the hotplate burners in turn by turning the hotplate tap to it's full on position and pushing the

ignition button. As soon as the burners are lit the button can be released.

9. CHECKING LID SHUT-OFF DEVICE

1.Lift the lid.

2.Turn one hotplate burner tap to its full on position and push the ignition button.

3.Close lid. There should now be no gas supply to the hotplate and the burner will go out.

4.Turn off the hotplate tap and lift the lid. The gas supply should now be restored to the hotplate. When the tap is turned on.

43

Page 43
Image 43
Electrolux SIG 405 R Pressure Testing, Checking the Grill, Checking the Hotplate, Checking LID SHUT-OFF Device

SIG 405 R specifications

The Electrolux SIG 405 R is a standout model in the realm of modern refrigerators, merging advanced technology with sophisticated design to meet the needs of contemporary households. This appliance isn't just about storing food; it's about keeping it fresh, organized, and easily accessible.

One of the main features of the SIG 405 R is its advanced cooling technology. It employs a unique DualCooling system, which utilizes two separate circuits for the refrigerator and freezer compartments. This technology prevents the transfer of odors from one section to another, ensuring that the flavors of your foods remain intact. Additionally, it helps maintain optimal humidity levels, prolonging the shelf life of perishables.

The SIG 405 R boasts an impressive storage capacity, making it ideal for families or individuals who like to shop in bulk. The adjustable shelving allows users to customize the layout according to their needs, while the spacious drawers are designed specifically for fruits and vegetables, keeping them fresh for longer periods. The transparent design of these drawers also facilitates easy viewing of contents.

Another notable feature is the efficient LED lighting system, which illuminates every corner of the refrigerator, making it easy to find items, even in low light conditions. This energy-efficient lighting is not only practical but also contributes to reduced energy consumption, aligning with sustainability goals.

The Electrolux SIG 405 R also incorporates innovative features such as a convenient water and ice dispenser. This feature provides chilled water and crushed or cubed ice at the touch of a button, enhancing the user experience and promoting hydration.

Furthermore, the appliance is equipped with a user-friendly control panel that allows for easy temperature adjustments and settings. The built-in alarm system alerts users if the door is left open, providing an extra layer of protection against energy loss and food spoilage.

In terms of design, the SIG 405 R features a sleek stainless-steel finish that adds a touch of modern elegance to any kitchen. Its versatility in color options allows it to blend seamlessly with various interior styles.

In conclusion, the Electrolux SIG 405 R is not just a refrigerator; it’s a comprehensive food storage solution that combines practicality with innovative technology. With its focus on freshness, organization, and energy efficiency, this model represents a perfect choice for those looking to elevate their home kitchen experience.