IMAGE SETTINGS USING THE OSD MENU
The OSD menu is a window on your screen that allows you to view and change display settings. To change an OSD setting:
English
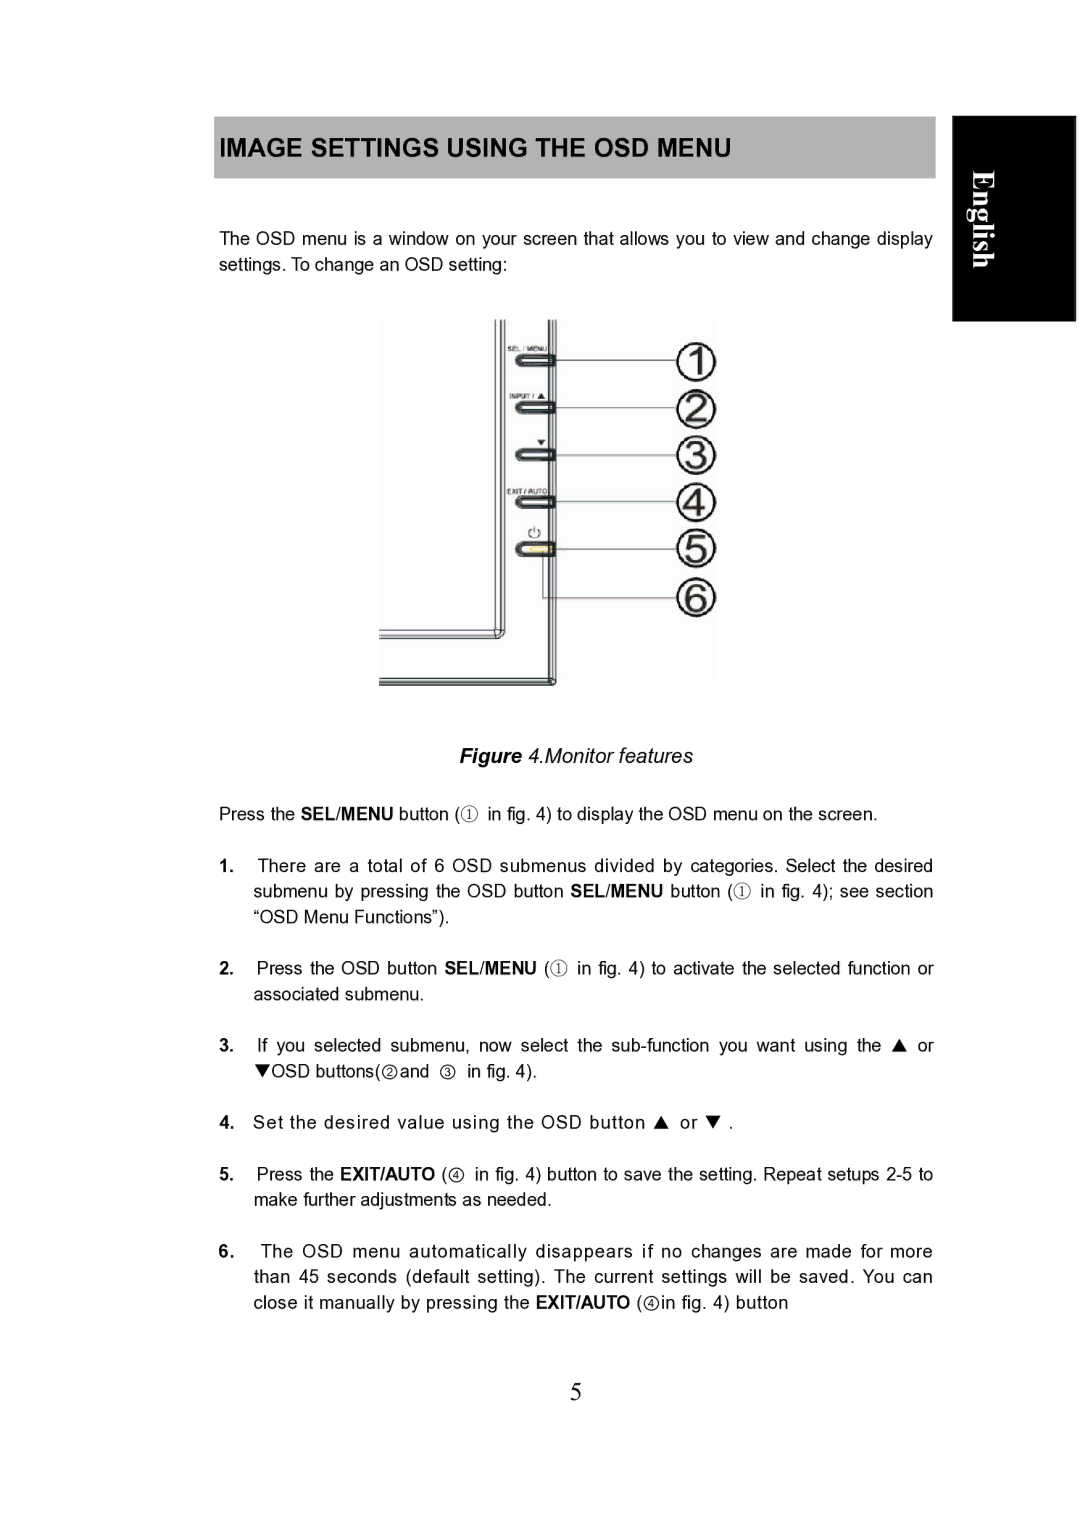
Figure 4.Monitor features
Press the SEL/MENU button (① in fig. 4) to display the OSD menu on the screen.
1.There are a total of 6 OSD submenus divided by categories. Select the desired submenu by pressing the OSD button SEL/MENU button (① in fig. 4); see section “OSD Menu Functions”).
2.Press the OSD button SEL/MENU (① in fig. 4) to activate the selected function or associated submenu.
3.If you selected submenu, now select the
4.Set the desired value using the OSD button S or T .
5.Press the EXIT/AUTO (④ in fig. 4) button to save the setting. Repeat setups
6.The OSD menu automatically disappears if no changes are made for more than 45 seconds (default setting). The current settings will be saved. You can close it manually by pressing the EXIT/AUTO (④in fig. 4) button
5