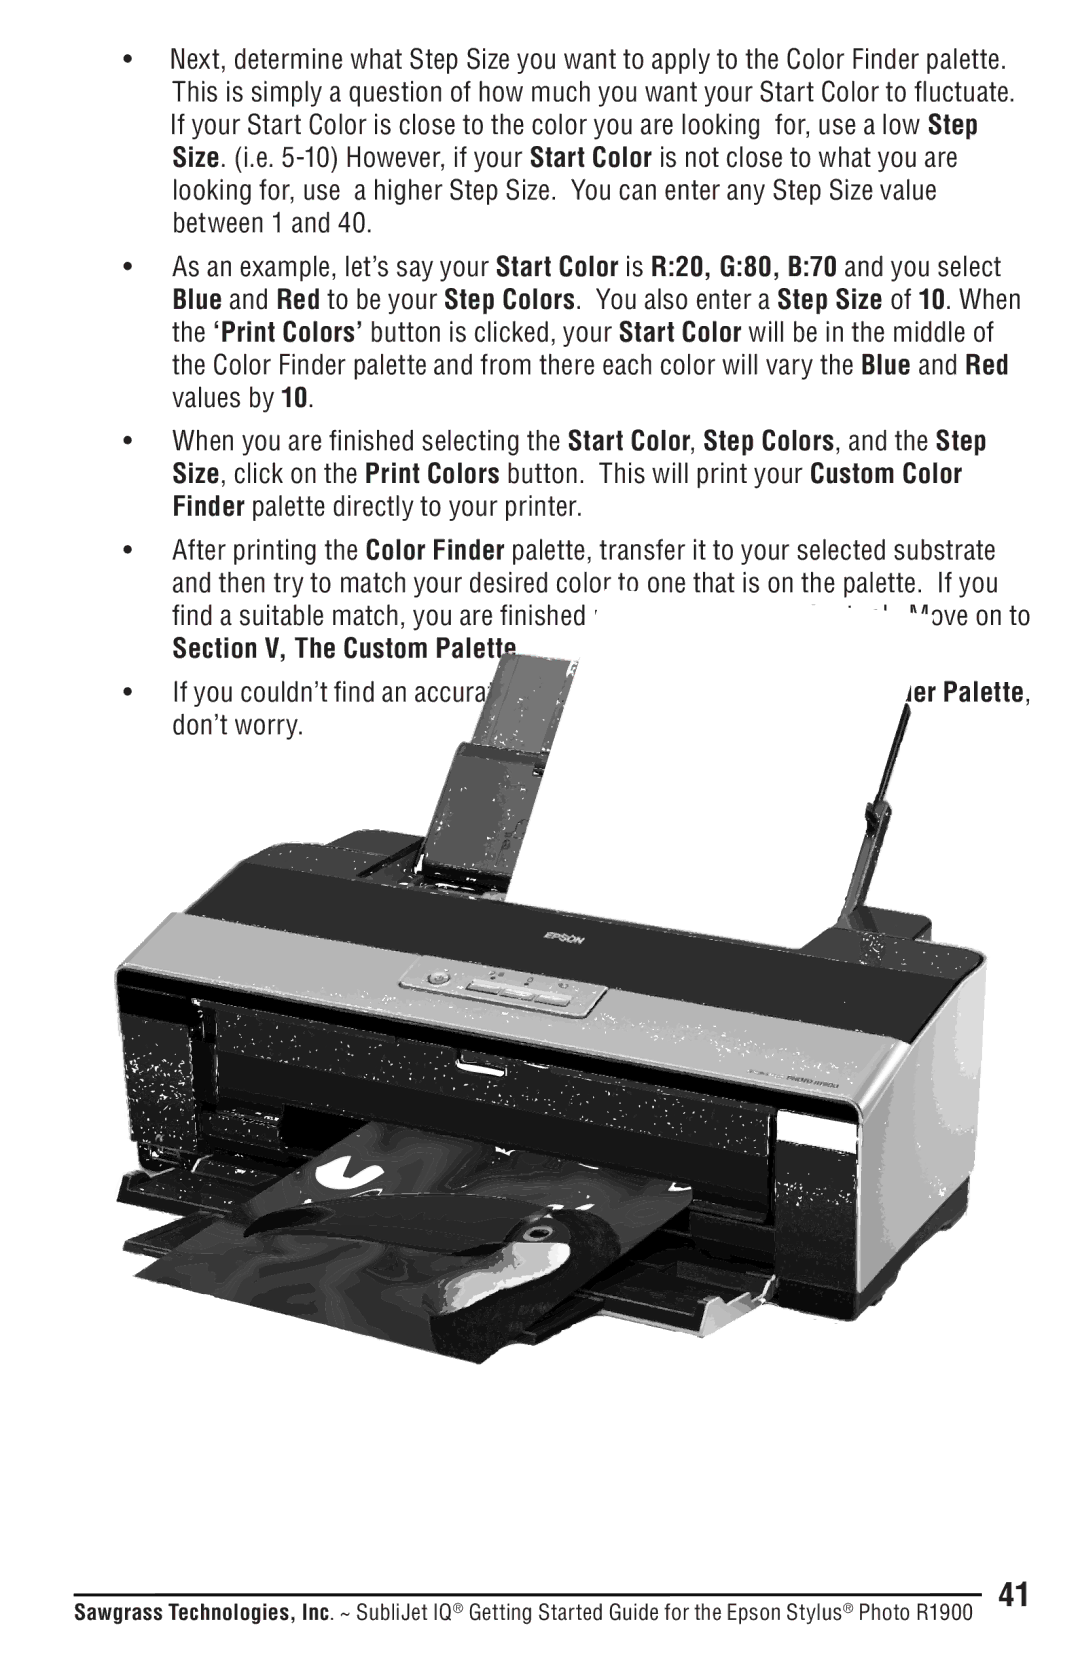
R1900 specifications
The Epson R1900 is a high-performance inkjet printer designed specifically for photography enthusiasts and professionals who demand exceptional print quality and versatility. This printer is part of Epson's Stylus Pro series and utilizes advanced technologies that set it apart from other models in the market.One of the standout features of the Epson R1900 is its UltraChrome K3 ink technology. This innovative ink system consists of eight individual cartridges, including three shades of black, which facilitate a broader color gamut and enhanced tonal range. This technology ensures that prints maintain vibrant colors and deep blacks, making it ideal for producing stunning photographs and fine art reproductions. The R1900 also supports various paper types and sizes, accommodating everything from glossy photo paper to fine art media, enabling users to achieve professional results on their preferred substrates.
Another significant characteristic of the R1900 is its print resolution capability, reaching up to 5760 x 1440 optimized dpi. This high resolution allows for remarkably detailed prints with smooth gradients and subtle tonal transitions, ensuring that every image is reproduced with precision. Additionally, the printer's speed is impressive, offering rapid printing without compromising quality, making it suitable for both small job printing and larger projects.
The Epson R1900 features a front-loading paper tray that can handle various media sizes, including up to 13 x 44 inches for panoramic prints. This flexibility is complemented by a rear manual feed slot, which ensures smooth handling of thick media, making it a versatile choice for photographers working with different print formats.
Connectivity is another strong point for the R1900, as it offers USB 2.0 and Ethernet options, making it easy to integrate into home or professional studio environments. Moreover, the printer supports direct printing from digital cameras, thanks to its PictBridge compatibility, streamlining the workflow for photographers who want immediate results.
In summary, the Epson R1900 combines cutting-edge ink technology with advanced printing capabilities to deliver exceptional performance for photography and art reproduction. Whether it’s the expansive color range of its UltraChrome K3 inks, high-resolution output, flexible media handling, or reliable connectivity options, the R1900 is a formidable tool for anyone serious about achieving the best possible print quality.
