Follow the easy steps below, and you can find a more suitable custom color.

1.First, try to locate a new Start Color from the palette that is closer than the original color.

2.Next, after finding a more suitable Start Color, write down that color’s RGB value. Here is how to obtain this value. There are numbers under each color that are dependant upon which Step Colors you chose. For example, it might say R:32

G:80. Take note of these values. Then, at the bottom left of the Color

Finder palette you will see a full set of RGB values. The new Start Color’s RGB value would be R:32 G:80 and whatever the RGB values are from the full set.

3.Lastly, plug the RGB values for the new Start Color into the boxes in Color Finder, choose your Step Size, and click on Print Colors once again. Continue with steps 1-3until you find your desired color.

V.The Custom Palette

Let us assume that you have found the exact color you need using the Color Finder tool. What you will want to do next is apply these custom color values to either an existing palette, or to create a new custom palette altogether. This allows you access to this color again should the same job arise.

How to use Custom Palette:

• First, you need to assign the RGB values of the matched color from the Color Finder palette to the Output Color RGB fields in the Custom


Palette section.


• Give your new custom color a descriptive Name in its designated field (e.g.


IBM Blue).


• Next, assign an RGB Input Color Value. There are two methods to establish


this value.


1. If you have the original file, sample the color that was matched in your


graphic design application with the eye dropper tool. This will give you


the RGB value of that color. Input this value into the RGB Input Color


fields of the Custom Palette section.


2. If you do not have the original file or the artwork has not yet been


designed, simply click on the ‘Input Color Chooser’ button, and then click


on “Define Custom Colors”. From the color matrix, find a color that


closely resembles the color that you are adding to the custom palette.


At the bottom-right of the color matrix window are the RGB values.


Simply click ‘OK’ and the RGB Input Color values will be automatically


entered. Please take note of these RGB values for later use in your design


applications.


• Click the Add Color button. A window will pop up asking you whether you


want to add the color to the palette for all substrates or just the current


substrate. Click ‘YES’ here unless you have the same custom color saved on


palettes for other substrates. Another window will then ask you if you want


to save the custom color for all resolutions or just the current one. Click


‘YES’ here unless you have the same custom color saved on palettes for other


resolutions.

42

• Lastly, click the Save Palette button. When finished, simply Exit out of the window.


Sawgrass Technologies, Inc. ~ www.sawgrassink.com

Page 48
Image 48
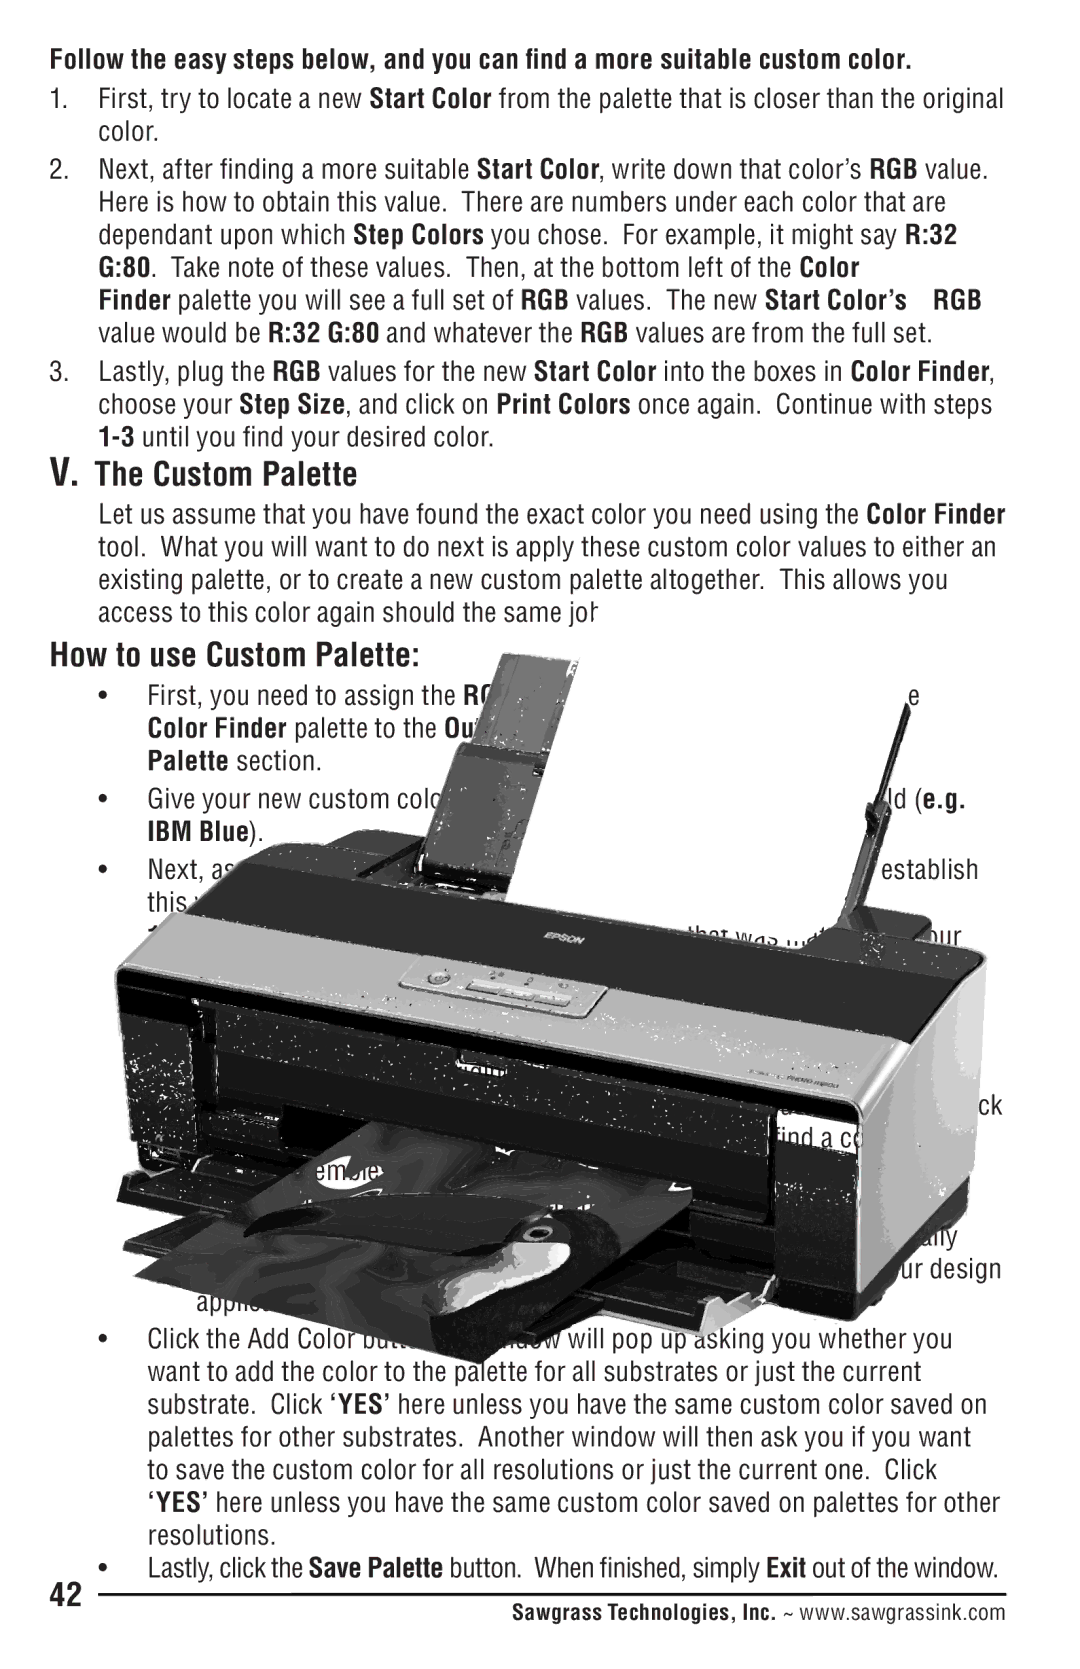
Epson R1900 manual How to use Custom Palette, Palette section, IBM Blue

R1900 specifications

The Epson R1900 is a high-performance inkjet printer designed specifically for photography enthusiasts and professionals who demand exceptional print quality and versatility. This printer is part of Epson's Stylus Pro series and utilizes advanced technologies that set it apart from other models in the market.

One of the standout features of the Epson R1900 is its UltraChrome K3 ink technology. This innovative ink system consists of eight individual cartridges, including three shades of black, which facilitate a broader color gamut and enhanced tonal range. This technology ensures that prints maintain vibrant colors and deep blacks, making it ideal for producing stunning photographs and fine art reproductions. The R1900 also supports various paper types and sizes, accommodating everything from glossy photo paper to fine art media, enabling users to achieve professional results on their preferred substrates.

Another significant characteristic of the R1900 is its print resolution capability, reaching up to 5760 x 1440 optimized dpi. This high resolution allows for remarkably detailed prints with smooth gradients and subtle tonal transitions, ensuring that every image is reproduced with precision. Additionally, the printer's speed is impressive, offering rapid printing without compromising quality, making it suitable for both small job printing and larger projects.

The Epson R1900 features a front-loading paper tray that can handle various media sizes, including up to 13 x 44 inches for panoramic prints. This flexibility is complemented by a rear manual feed slot, which ensures smooth handling of thick media, making it a versatile choice for photographers working with different print formats.

Connectivity is another strong point for the R1900, as it offers USB 2.0 and Ethernet options, making it easy to integrate into home or professional studio environments. Moreover, the printer supports direct printing from digital cameras, thanks to its PictBridge compatibility, streamlining the workflow for photographers who want immediate results.

In summary, the Epson R1900 combines cutting-edge ink technology with advanced printing capabilities to deliver exceptional performance for photography and art reproduction. Whether it’s the expansive color range of its UltraChrome K3 inks, high-resolution output, flexible media handling, or reliable connectivity options, the R1900 is a formidable tool for anyone serious about achieving the best possible print quality.