Set Up #1 Master clock function
1.Connect WORD CLOCK OUT terminals to WORD SYNC IN terminals of each component you intend to use with this unit, using a
・Read the instructions of each component to connect other audio signal line
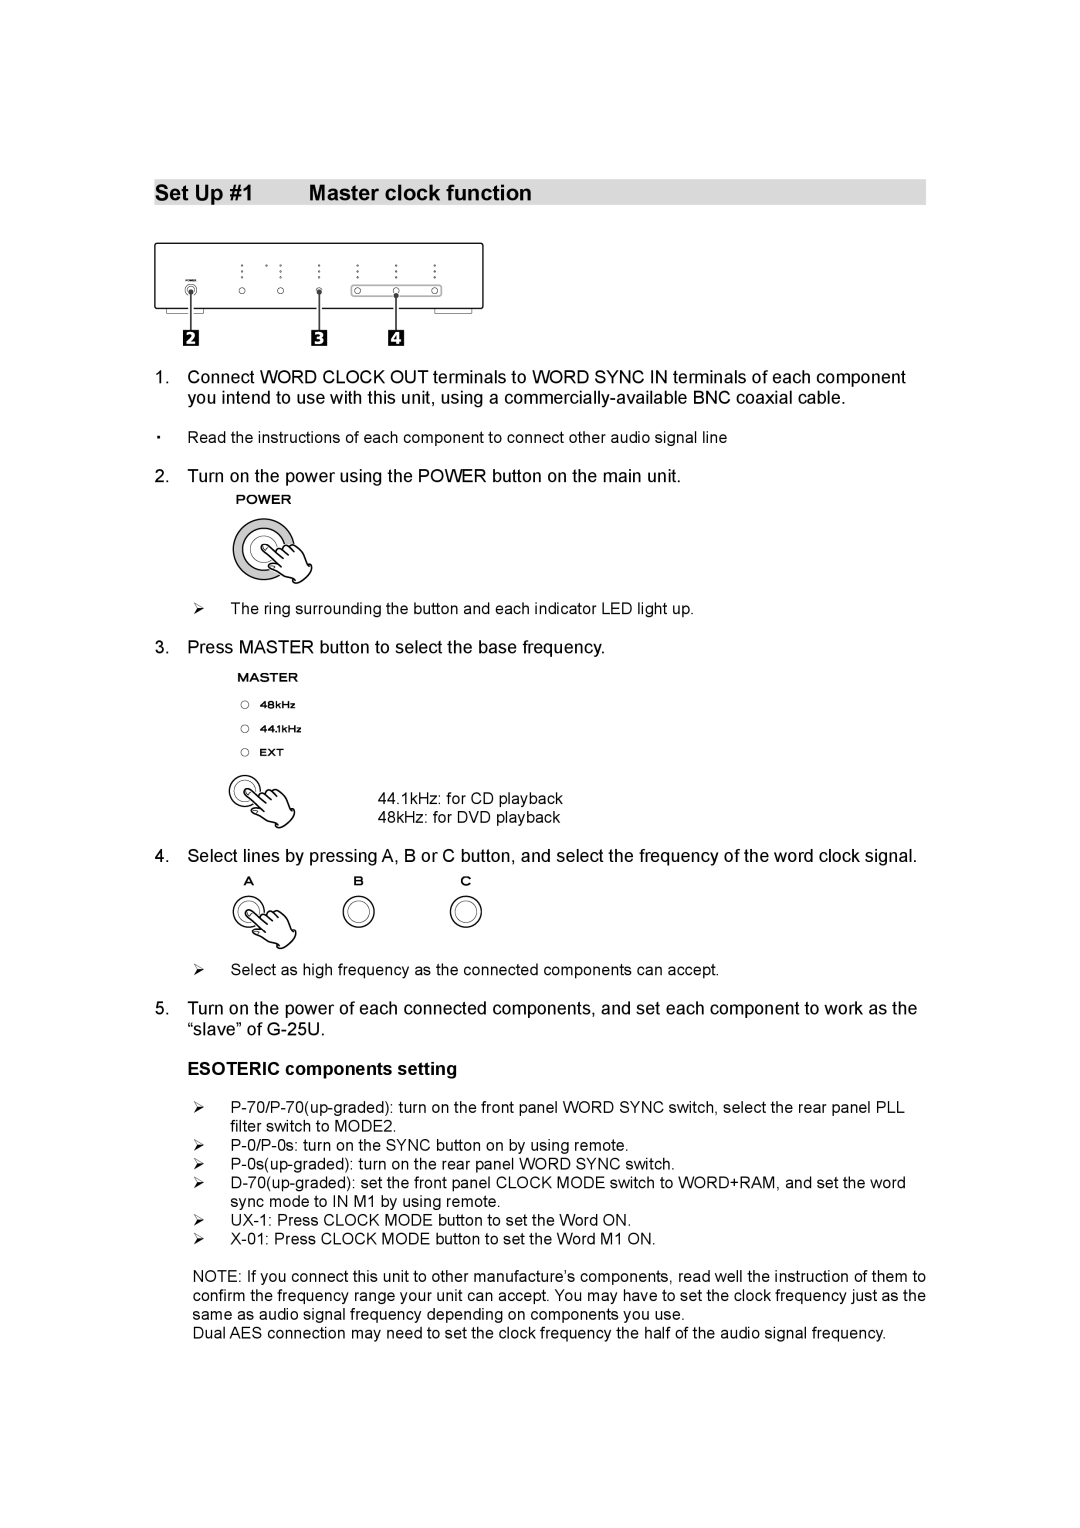
2. Turn on the power using the POWER button on the main unit.
The ring surrounding the button and each indicator LED light up.
3. Press MASTER button to select the base frequency.
44.1kHz: for CD playback
48kHz: for DVD playback
4. Select lines by pressing A, B or C button, and select the frequency of the word clock signal.
Select as high frequency as the connected components can accept.
5.Turn on the power of each connected components, and set each component to work as the “slave” of
ESOTERIC components setting
NOTE: If you connect this unit to other manufacture’s components, read well the instruction of them to confirm the frequency range your unit can accept. You may have to set the clock frequency just as the same as audio signal frequency depending on components you use.
Dual AES connection may need to set the clock frequency the half of the audio signal frequency.
