CP20 specifications
The Essick Air CP20 is a powerful and efficient evaporative cooler designed to enhance indoor air quality while providing a refreshing breeze. This portable air cooler is ideal for homes and offices, especially in dry climates, where traditional air conditioning systems may struggle to maintain comfortable humidity levels.One of the standout features of the CP20 is its impressive air cooling capacity. It can deliver a significant volume of cool air, ensuring that even larger spaces feel comfortable. The unit is equipped with a high-performance fan that offers multiple speed settings, allowing users to customize airflow to their specific needs. Whether you need a gentle breeze or a more robust airflow, the CP20 has you covered.
The technology behind the Essick Air CP20 centers on its evaporative cooling process. By drawing warm, dry air through water-saturated pads, the unit cools the air through evaporation. This natural process not only lowers the temperature but also increases humidity levels in the environment, making it particularly beneficial in arid regions. The CP20 utilizes high-quality, durable cooling pads that enhance its efficiency and ensure maximum longevity.
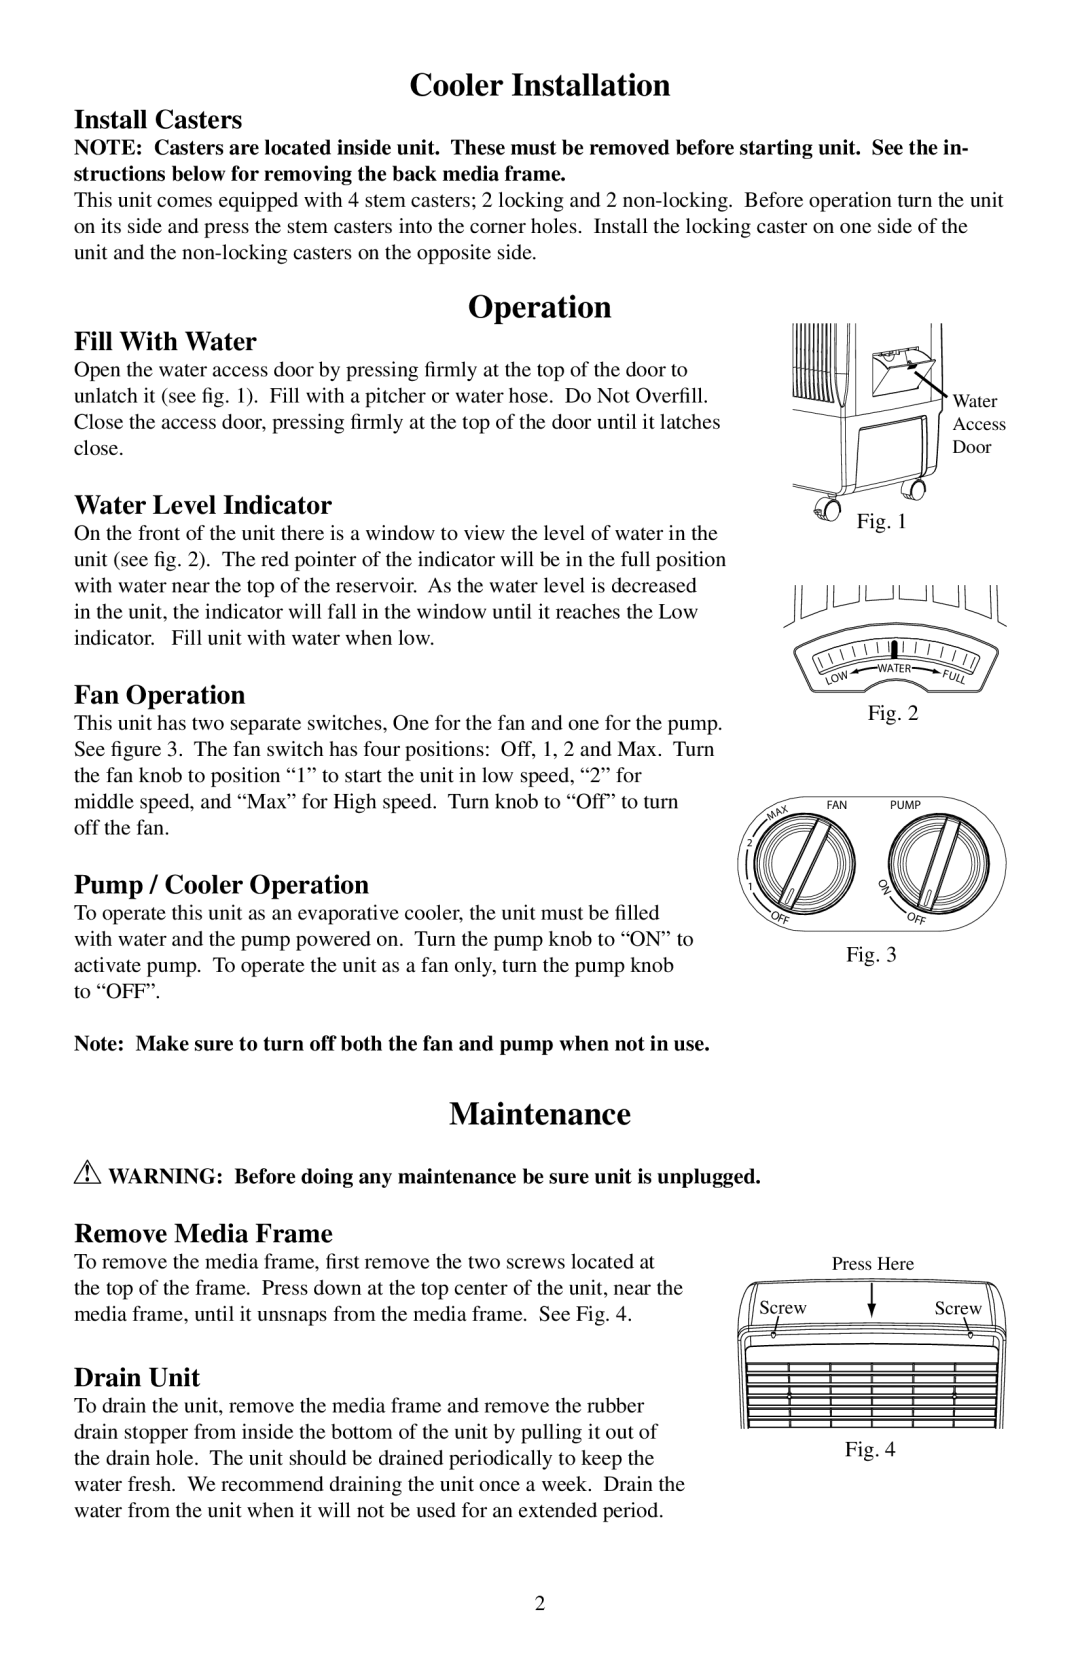
In terms of design, the CP20 is both functional and aesthetic. The unit features a compact and portable design, allowing for easy mobility from room to room. It also comes with a large water tank capacity, enabling extended operation without the need for frequent refills. The integrated water level indicator is a convenient feature, alerting users when it's time to add more water.
Energy efficiency is another key characteristic of the Essick Air CP20. Compared to traditional air conditioning systems, this evaporative cooler consumes significantly less energy, making it an environmentally friendly option that can help reduce electricity bills. The unit operates quietly, ensuring that it does not disturb your daily activities, whether you are working or relaxing at home.
Overall, the Essick Air CP20 is an excellent choice for anyone looking to improve indoor comfort without the high costs associated with conventional cooling systems. Its robust features, innovative technology, and user-friendly design make it a standout option in the realm of evaporative coolers. Embrace the cooling comfort that the Essick Air CP20 provides and enjoy a more pleasant indoor environment all year round.

