H12 Series specifications
The Essick Air H12 Series stands out in the world of whole house humidifiers, offering advanced technology and design to improve indoor air quality. This series is particularly popular among homeowners seeking efficient and effective solutions to combat dry air, which can lead to various health issues and discomfort.One of the main features of the H12 Series is its impressive humidification capacity. With the ability to humidify larger areas efficiently, this series is ideal for medium to large homes. The H12 delivers consistent humidity levels, enhancing comfort during the dry winter months or in arid climates. Its large tank capacity ensures extended operation before needing a refill, allowing for continuous moisture infusion.
Another notable characteristic is the innovative auto-humidistat. This technology automatically measures the ambient humidity levels and adjusts the operation of the humidifier accordingly. By maintaining optimal humidity levels, the H12 Series aims to prevent the common problems associated with overly dry air, such as dry skin, irritated sinuses, and static electricity buildup.
Moreover, the H12 Series features a user-friendly digital control panel that displays current humidity levels and allows for easy adjustments of settings. The digital interface enhances the overall user experience, making it easy for homeowners to monitor and manage their indoor air quality.
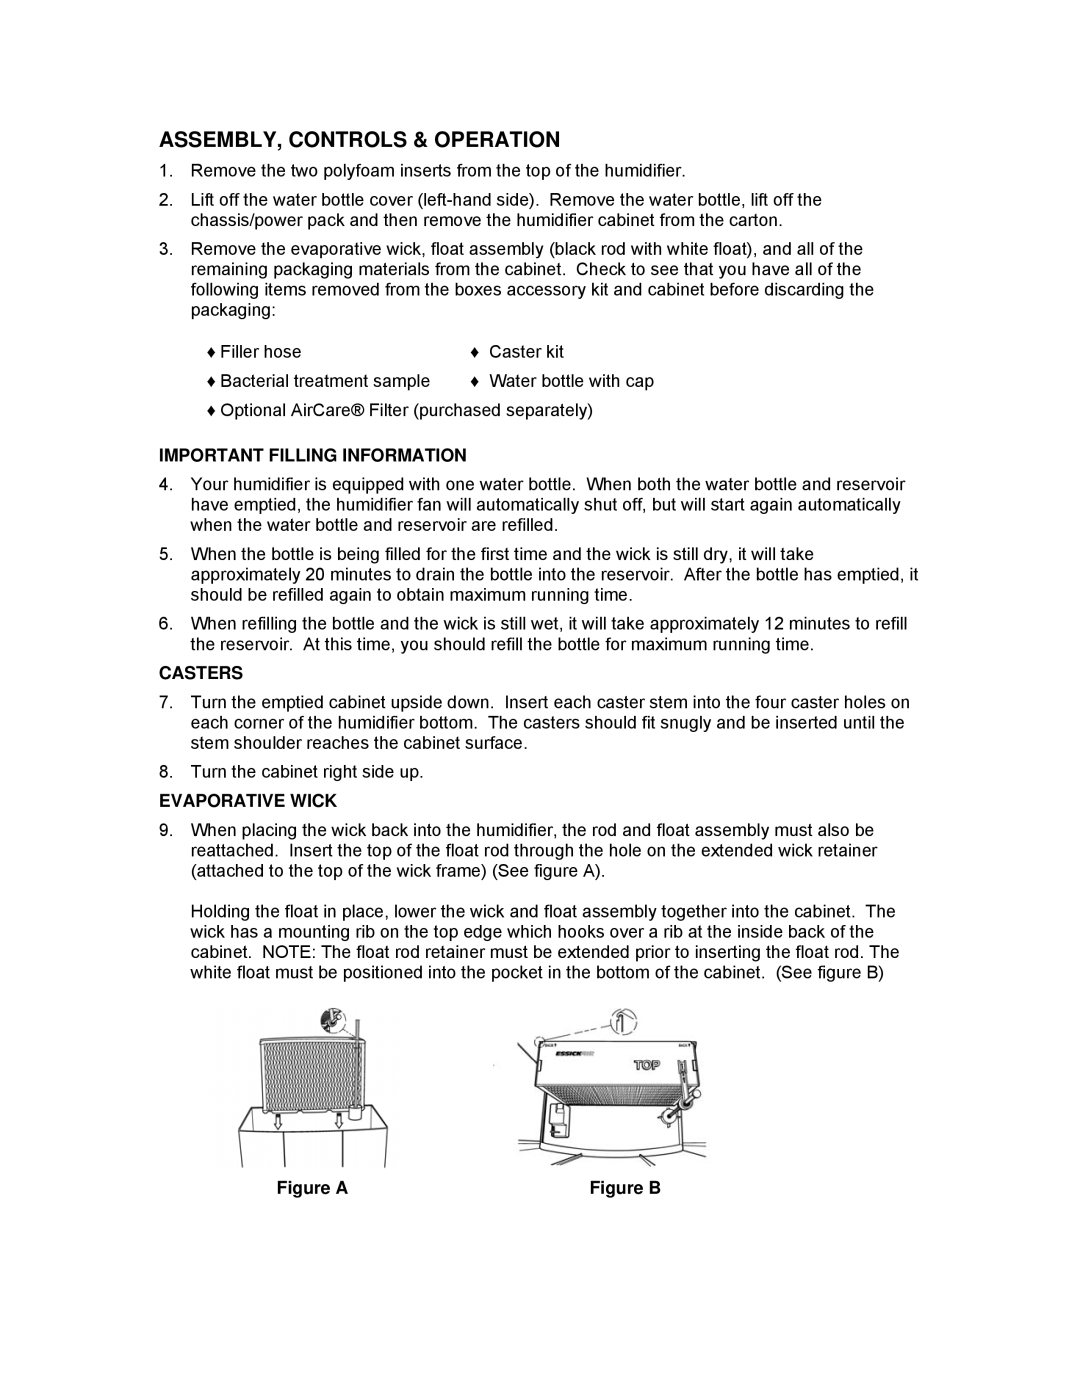
The H12 Series also incorporates evaporative technology, which effectively disperses moisture into the air without oversaturation. This method uses a fan to draw air through a wet wick, providing a natural and efficient way to increase humidity. This process not only conserves water but also minimizes energy consumption, making it an environmentally friendly choice.
Another key aspect of the H12 Series is its quiet operation. Unlike some humidifiers that disrupt the tranquility of a home, the H12 runs quietly, allowing for a peaceful environment without intrusive noise. This feature makes it suitable for bedrooms, nurseries, or home offices where concentration and relaxation are essential.
In terms of maintenance, the H12 Series is designed for convenience. The easy-access tank and filter make cleaning and upkeep straightforward, ensuring that the unit remains efficient and functional over time. Overall, the Essick Air H12 Series combines efficiency, ease of use, and advanced technology, making it an exceptional choice for anyone looking to improve indoor humidity levels and enhance their home’s comfort.

