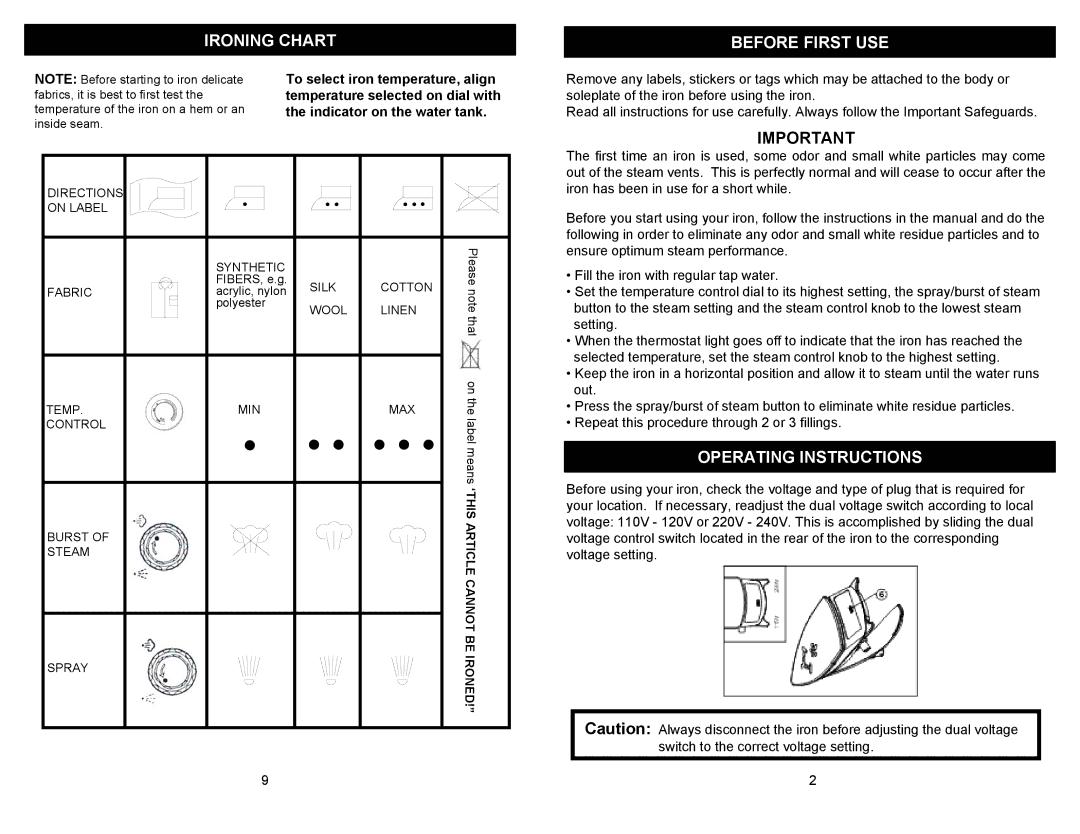
EP171 specifications
The Euro-Pro EP171 is a cutting-edge vacuum cleaner designed for optimal performance and user convenience. This versatile device embodies a perfect blend of advanced technology, ergonomic design, and powerful suction capabilities, making it suitable for a wide range of cleaning tasks.One of the standout features of the Euro-Pro EP171 is its powerful motor. With a robust suction power, it effortlessly picks up dirt, dust, and debris from various surfaces, including carpets, hardwood floors, and tiles. This makes it an ideal choice for homeowners who want a reliable and efficient cleaning solution.
In addition to its powerful motor, the Euro-Pro EP171 comes equipped with advanced cyclonic technology. This technology ensures that the vacuum maintains strong suction without clogging. As air flows through the vacuum, the cyclonic action separates the dirt from the air, allowing for longer-lasting performance without constant filter maintenance. This design not only enhances suction but also improves the overall cleaning efficiency.
The Euro-Pro EP171 features a lightweight design, allowing for easy maneuverability around the home. Weighing in at just a few pounds, it is easy to carry from room to room and can be comfortably used for extended periods without causing fatigue. The compact design means it can also be easily stored in smaller spaces, making it perfect for those with limited storage options.
To enhance user experience, the vacuum cleaner includes a variety of attachments and tools. The crevice tool, dusting brush, and upholstery nozzle make it easy to tackle corners, furniture, and other hard-to-reach areas. These attachments contribute to the versatility of the Euro-Pro EP171, transforming it into a multi-purpose cleaning device that can address diverse cleaning needs.
Furthermore, the Euro-Pro EP171 is designed with user-friendly controls and an easy-to-empty dust bin. The dust bin is transparent, allowing users to see when it needs emptying, and its one-touch release mechanism simplifies the process, minimizing mess.
The Euro-Pro EP171 not only provides powerful cleaning but also prioritizes the longevity of its components. The durable construction of the vacuum ensures it can withstand regular use while providing satisfactory performance over time.
In conclusion, the Euro-Pro EP171 is a well-rounded vacuum cleaner featuring advanced technologies, lightweight design, and a variety of attachments, making it a valuable addition to any cleaning arsenal. Whether you need to perform routine clean-ups or tackle unexpected messes, this vacuum is designed to meet and exceed your expectations.

