Filling Your Steam Generator With Water (continued)
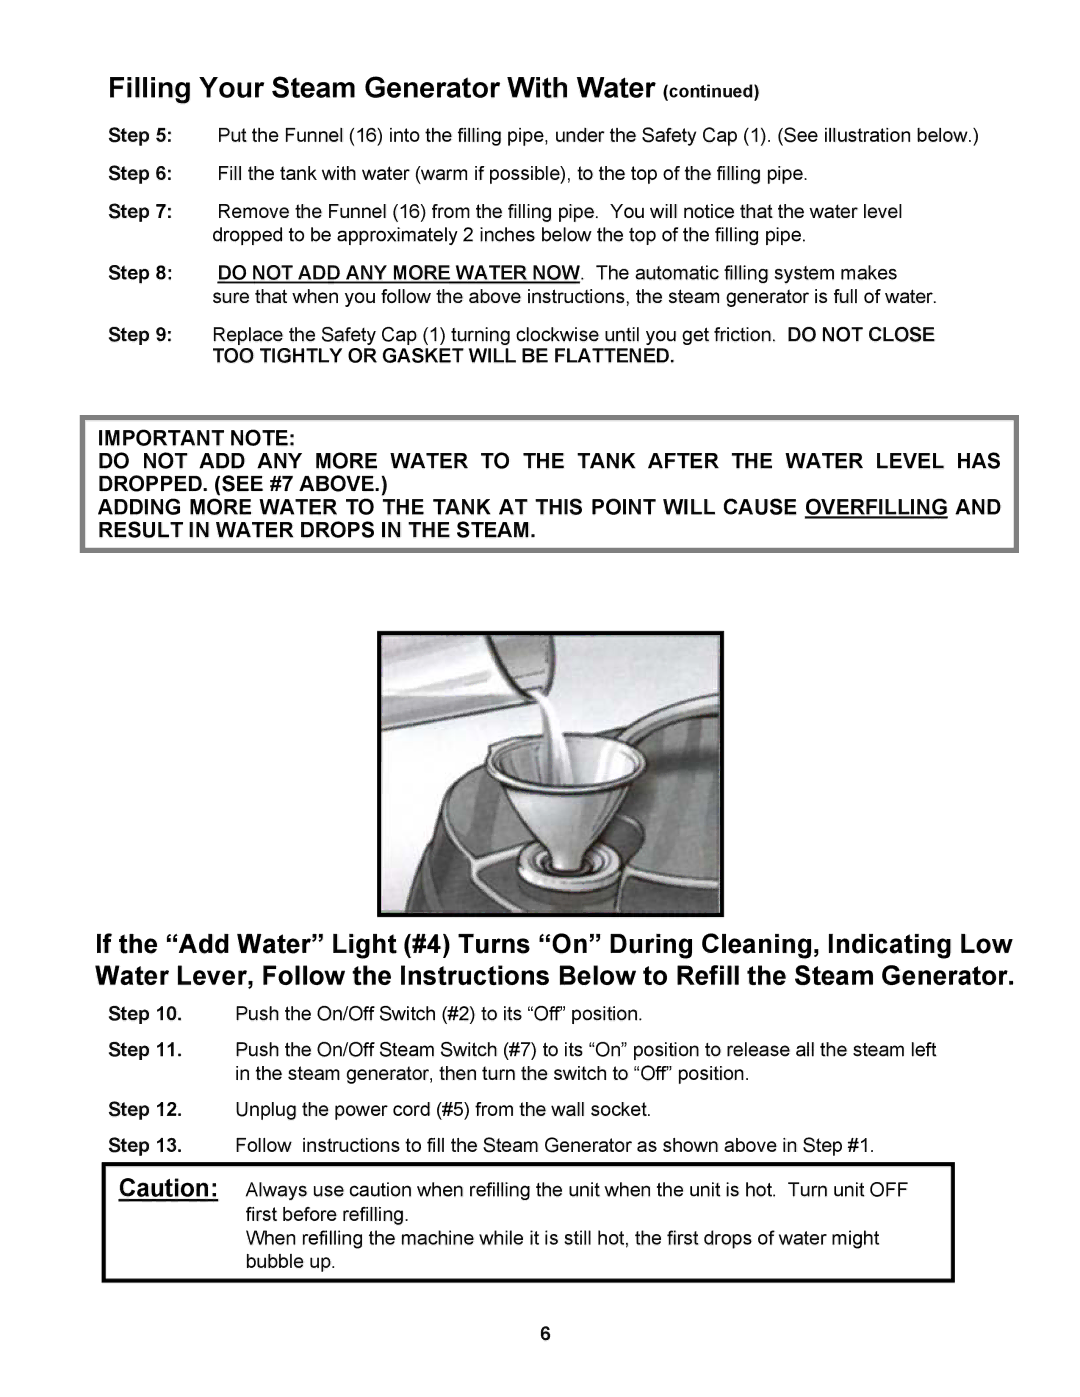
Step 5: Put the Funnel (16) into the filling pipe, under the Safety Cap (1). (See illustration below.)
Step 6: Fill the tank with water (warm if possible), to the top of the filling pipe.
Step 7: Remove the Funnel (16) from the filling pipe. You will notice that the water level dropped to be approximately 2 inches below the top of the filling pipe.
Step 8: DO NOT ADD ANY MORE WATER NOW. The automatic filling system makes sure that when you follow the above instructions, the steam generator is full of water.
Step 9: Replace the Safety Cap (1) turning clockwise until you get friction. DO NOT CLOSE
TOO TIGHTLY OR GASKET WILL BE FLATTENED.
IMPORTANT NOTE:
DO NOT ADD ANY MORE WATER TO THE TANK AFTER THE WATER LEVEL HAS DROPPED. (SEE #7 ABOVE.)
ADDING MORE WATER TO THE TANK AT THIS POINT WILL CAUSE OVERFILLING AND RESULT IN WATER DROPS IN THE STEAM.
If the “Add Water” Light (#4) Turns “On” During Cleaning, Indicating Low Water Lever, Follow the Instructions Below to Refill the Steam Generator.
Step 10. Push the On/Off Switch (#2) to its “Off” position.
Step 11. Push the On/Off Steam Switch (#7) to its “On” position to release all the steam left in the steam generator, then turn the switch to “Off” position.
Step 12. Unplug the power cord (#5) from the wall socket.
Step 13. Follow instructions to fill the Steam Generator as shown above in Step #1.
Caution: Always use caution when refilling the unit when the unit is hot. Turn unit OFF first before refilling.
When refilling the machine while it is still hot, the first drops of water might bubble up.
6
