IR412 specifications
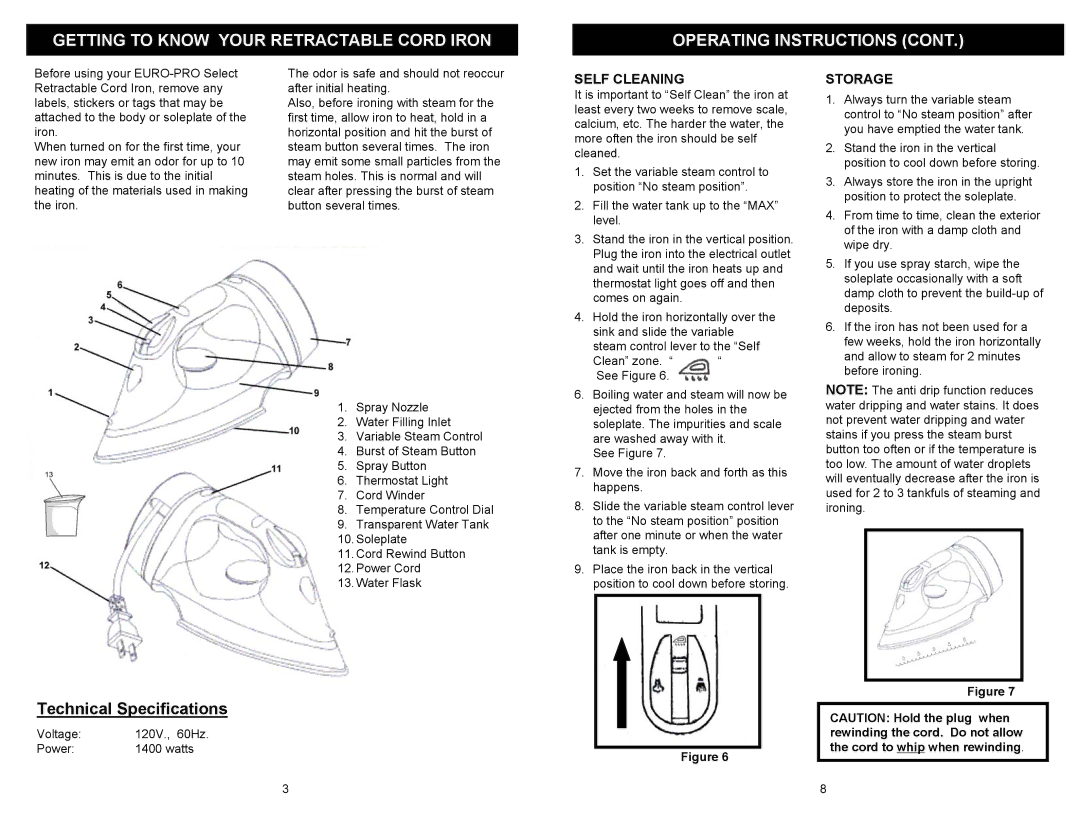
The Euro-Pro IR412 is a cutting-edge steam iron designed to deliver exceptional performance and efficiency, making it a must-have appliance for those who prioritize a well-groomed wardrobe. This model features a sleek and ergonomic design that promotes comfortable handling, allowing users to glide effortlessly over garments.One of the standout characteristics of the IR412 is its powerful steam output. With a steam output of up to 30 grams per minute, it effectively penetrates fabrics, reducing wrinkles and creases without damaging delicate materials. The vertical steam option is particularly innovative, enabling users to remove wrinkles from hanging garments and curtains, adding versatility to this appliance.
The IR412 incorporates advanced technologies that enhance its usability, including a non-stick soleplate. This feature ensures smooth gliding across various fabric types, minimizing the risk of sticking or snagging. Additionally, the soleplate is designed to distribute heat evenly, providing consistent results on every pass. The precision tip allows for detailed work around buttons, seams, and collars, ensuring a professional finish.
Another significant feature of the Euro-Pro IR412 is its generous water tank capacity, which reduces the need for frequent refills during ironing sessions. The tank is also designed for easy filling and cleaning, promoting convenience and maintaining the integrity of the appliance over time. The iron's anti-drip system prevents water from leaking, keeping garments dry and free from unsightly water spots.
Safety is a priority for the IR412, as it is equipped with an automatic shut-off feature that activates after a period of inactivity. This function provides peace of mind for users, ensuring that the iron does not pose a fire hazard.
The compact and lightweight design makes the Euro-Pro IR412 easy to maneuver and store, appealing to both casual users and ironing enthusiasts. With straightforward controls, including an adjustable temperature dial, it caters to a wide array of fabrics, from cotton and linen to synthetic blends.
In summary, the Euro-Pro IR412 steam iron stands out for its powerful steam output, non-stick soleplate, and user-friendly features. Its ability to tackle stubborn wrinkles efficiently, combined with safety features and portability, makes it an essential tool for maintaining a polished appearance in any wardrobe.

