4.Adjust Camera Position and Lens
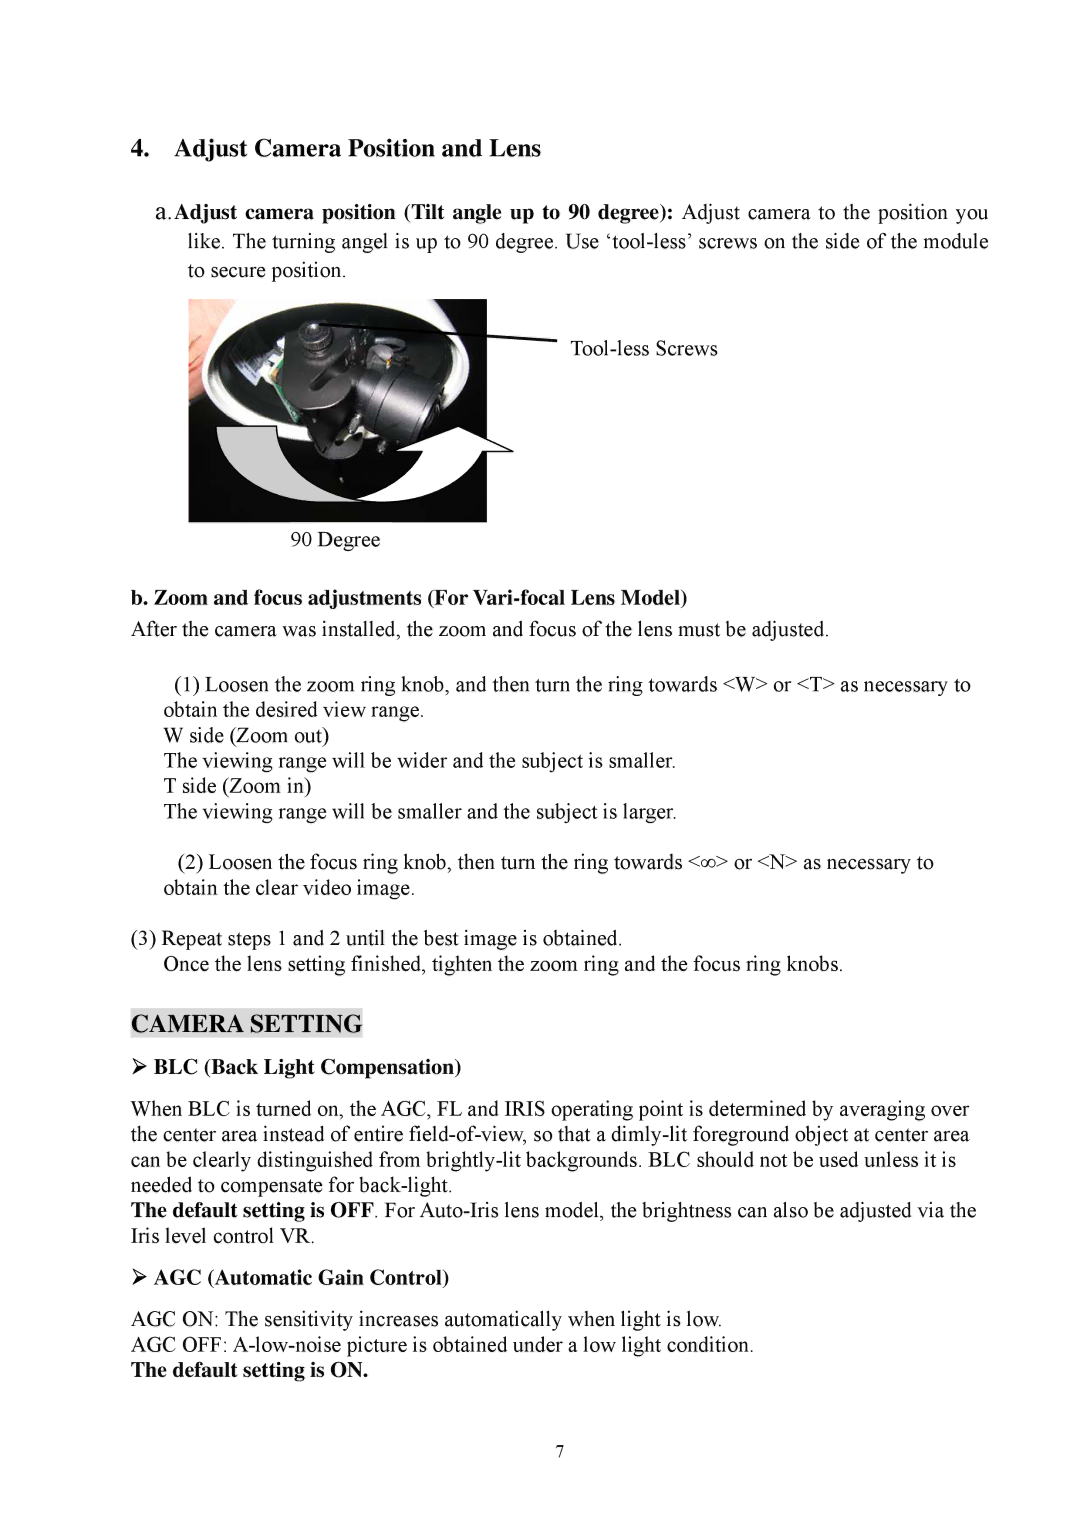
a.Adjust camera position (Tilt angle up to 90 degree): Adjust camera to the position you like. The turning angel is up to 90 degree. Use
90Degree
b. Zoom and focus adjustments (For Vari-focal Lens Model)
After the camera was installed, the zoom and focus of the lens must be adjusted.
(1)Loosen the zoom ring knob, and then turn the ring towards <W> or <T> as necessary to obtain the desired view range.
W side (Zoom out)
The viewing range will be wider and the subject is smaller. T side (Zoom in)
The viewing range will be smaller and the subject is larger.
(2)Loosen the focus ring knob, then turn the ring towards <∞> or <N> as necessary to obtain the clear video image.
(3)Repeat steps 1 and 2 until the best image is obtained.
Once the lens setting finished, tighten the zoom ring and the focus ring knobs.
CAMERA SETTING
¾BLC (Back Light Compensation)
When BLC is turned on, the AGC, FL and IRIS operating point is determined by averaging over the center area instead of entire
The default setting is OFF. For
¾AGC (Automatic Gain Control)
AGC ON: The sensitivity increases automatically when light is low.
AGC OFF:
The default setting is ON.
7