Maintenance

2.Remove caster wheel from caster forks.

3.Remove seal guards from the wheel hub.

4.Remove one of the spacer nuts from the axle assembly in the caster wheel. Note that thread locking adhesive has been applied to lock the spacer nuts to the axle. Remove the axle (with the other spacer nut still assembled to it) from the wheel assembly.

5.Pry out seals, and inspect bearings for wear or damage and replace if necessary.

6.Pack the bearings with a NGLI grade #1 multi-purpose grease.

7.Insert one bearing, one new seal into the wheel.

Note: Seals (Exmark P/N 103-0063) must be replaced.

8.If the axle assembly has had both spacer nuts removed (or broken loose), apply a thread locking adhesive to one spacer nut and thread onto the axle with the wrench flats facing outward. Do Not thread spacer nut all of the way onto the end of the axle. Leave approximately 1/8 inch (3 mm) from the outer surface of the spacer nut to the end of the axle inside the nut.

9.Insert the assembled nut and axle into the wheel on the side of the wheel with the new seal and bearing.

10.With the open end of the wheel facing up, fill the area inside the wheel around the axle full of NGLI grade #1 multi-purpose grease.

11.Insert the second bearing and new seal into the wheel.

12.Apply a thread locking adhesive to the 2nd spacer nut and thread onto the axle with the wrench flats facing outward.

13.Torque the nut to 75-80 in-lb (8-9 N-m), loosen, then re-torque to 20-25 in-lb (2-3 N-m). Make sure axle does not extend beyond either nut.

14.Reinstall the seal guards over the wheel hub and insert wheel into caster fork. Reinstall caster bolt and tighten nut fully.

Important: To prevent seal and bearing damage, check the bearing adjustment often. Spin the caster tire. The tire should not spin freely (more than 1 or 2 revolutions) or have any side play. If the wheel spins freely, adjust torque on spacer nut until there is a slight amount of drag. Reapply thread locking adhesive.

Check Spark Plugs

Service Interval: Every 200 hours

Remove spark plugs, check condition and reset gaps, or replace with new plugs. See Engine Owner's Manual.

Change Fuel Filter

Service Interval: As required

A fuel filter is installed between the fuel tank and the engine. Replace when necessary.

Replacement Filters

Kawasaki

Kawasaki


P/N 49019-7005


Note: It is important to reinstall the fuel line hoses and secure with plastic ties the same as they were originally installed at the factory to keep the fuel line away from components that could cause fuel line damage.

Change Hydraulic System Filter and Fluid

Service Interval: After the first 100 hours

Every 500 hours thereafter (Every 250 hours if using Mobil 1 15W50)

1.Stop engine, wait for all moving parts to stop, and allow engine to cool. Remove key and engage parking brake.

2.Locate the two filters under the transmissions. Remove filter guards.

3.Carefully clean area around filters. It is important that no dirt or contamination enter hydraulic system.

4.Unscrew filters to remove and allow oil to drain from drive system.

Important: Before reinstalling new filters, apply a thin coat of Exmark Premium Hydro Oil on the surface of the filters rubber seal.

Turn the filters clockwise until rubber seal contacts the filter adapter then tighten the filter an additional 3/4 to 1 full turn.

33

Page 33
Image 33
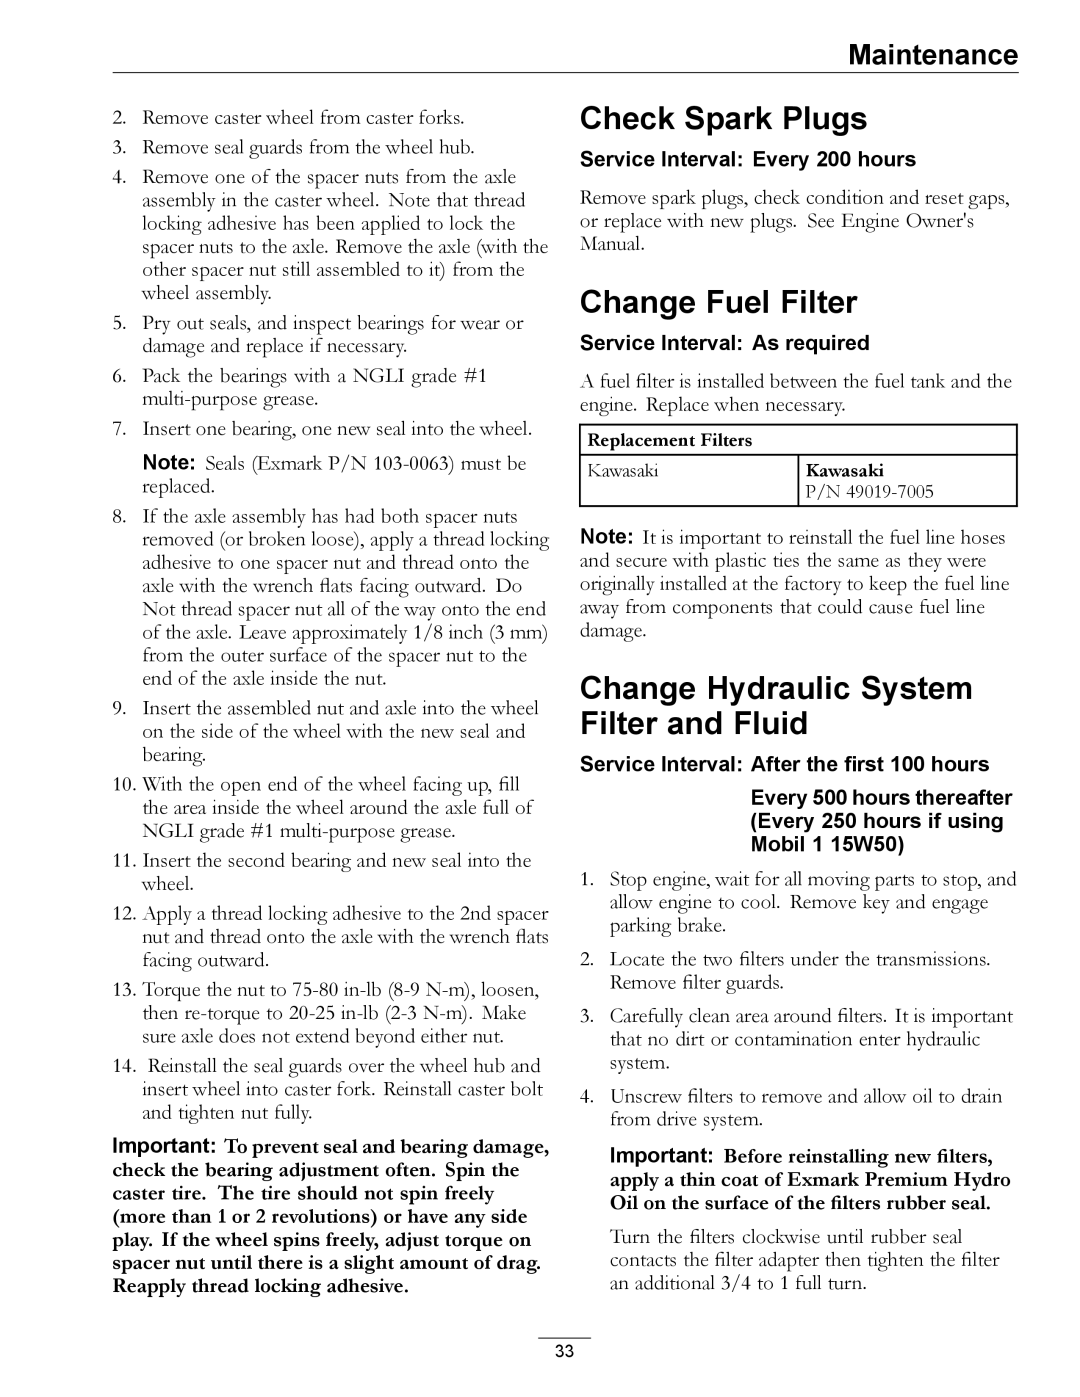
Exmark 920 manual Check Spark Plugs, Change Fuel Filter, Change Hydraulic System Filter and Fluid

920 specifications

The Exmark 920 is an exceptional piece of equipment tailored for professionals and enthusiasts alike. Designed with an emphasis on performance and reliability, this mower embodies the pinnacle of lawn care technology. Known for its robust construction, the Exmark 920 is equipped with a powerful engine, ensuring efficient and effective mowing even in demanding conditions.

One of the standout features of the Exmark 920 is its cutting deck. With a 52-inch or 60-inch mower deck option, it allows users to cover a large mowing area quickly. The deck is crafted from high-strength steel, providing durability and longevity while maintaining a lightweight design that enhances maneuverability. Innovative blade design promotes superior airflow for an even cut, preventing clumping and ensuring a polished finish across various grass types.

The Exmark 920 utilizes advanced technology, including the innovative RED Technology, which enhances engine performance by optimizing power consumption. This results in reduced fuel consumption while maintaining the required power output for demanding tasks. Additionally, the mower’s intuitive controls include a user-friendly interface, allowing for easy adjustments and settings, catering to the varying needs of different lawn types and conditions.

Another notable feature of the Exmark 920 is its all-day comfort design. With an ergonomic seat and advanced suspension system, operators can tackle long mowing sessions without discomfort. The padded seat is adjustable, providing maximum support to minimize fatigue, while the suspension system absorbs bumps and uneven terrain for a smoother ride.

Furthermore, the Exmark 920 prioritizes serviceability. Easy access points for maintenance and a well-designed layout ensure that routine tasks, such as oil changes and blade replacements, can be completed efficiently. The model also comes equipped with LED headlights for improved visibility during early morning or late evening mowing.

In summary, the Exmark 920 is a sophisticated mower combining power, advanced technology, and design for comfort and utility. Its high-performance engine, durable cutting deck, user-friendly controls, and serviceable layout make it an ideal choice for anyone seeking to achieve a well-manicured lawn with professional results. Whether for commercial or residential use, the Exmark 920 stands out as a leading option in the market, enabling users to tackle any mowing challenge with confidence and ease.