Quest Bagger specifications
The Exmark Quest Bagger is a state-of-the-art grass collection system designed for professional landscapers and homeowners alike. This innovative product is specifically engineered to enhance the efficiency and effectiveness of lawn maintenance. Its compatibility with various Exmark mowers makes it a must-have accessory for anyone looking to optimize their mowing experience.One of the standout features of the Exmark Quest Bagger is its robust collection capacity. With a generous volume, it allows for extended mowing sessions without frequent stops for emptying. This is particularly beneficial for larger lawns or commercial properties, where time-saving is paramount. The design ensures that grass clippings, leaves, and other debris are collected efficiently, leaving behind a clean and well-cut lawn.
The Quest Bagger employs advanced technology to ensure optimal airflow and suction. Its integrated fan system enhances the bagging process, providing superior performance regardless of grass type or moisture level. This feature significantly reduces clumping and ensures a consistent finish. Paired with Exmark’s premium cutting decks, the Quest Bagger captures clippings effectively, contributing to a polished mowing result.
Durability is another critical characteristic of the Exmark Quest Bagger. Built from high-quality materials, it is engineered to withstand the rigors of frequent use in various environments. The heavy-duty frame and reinforced bags ensure that it can handle heavy loads without compromising performance. This resilience not only extends the product life but also reduces maintenance costs for users.
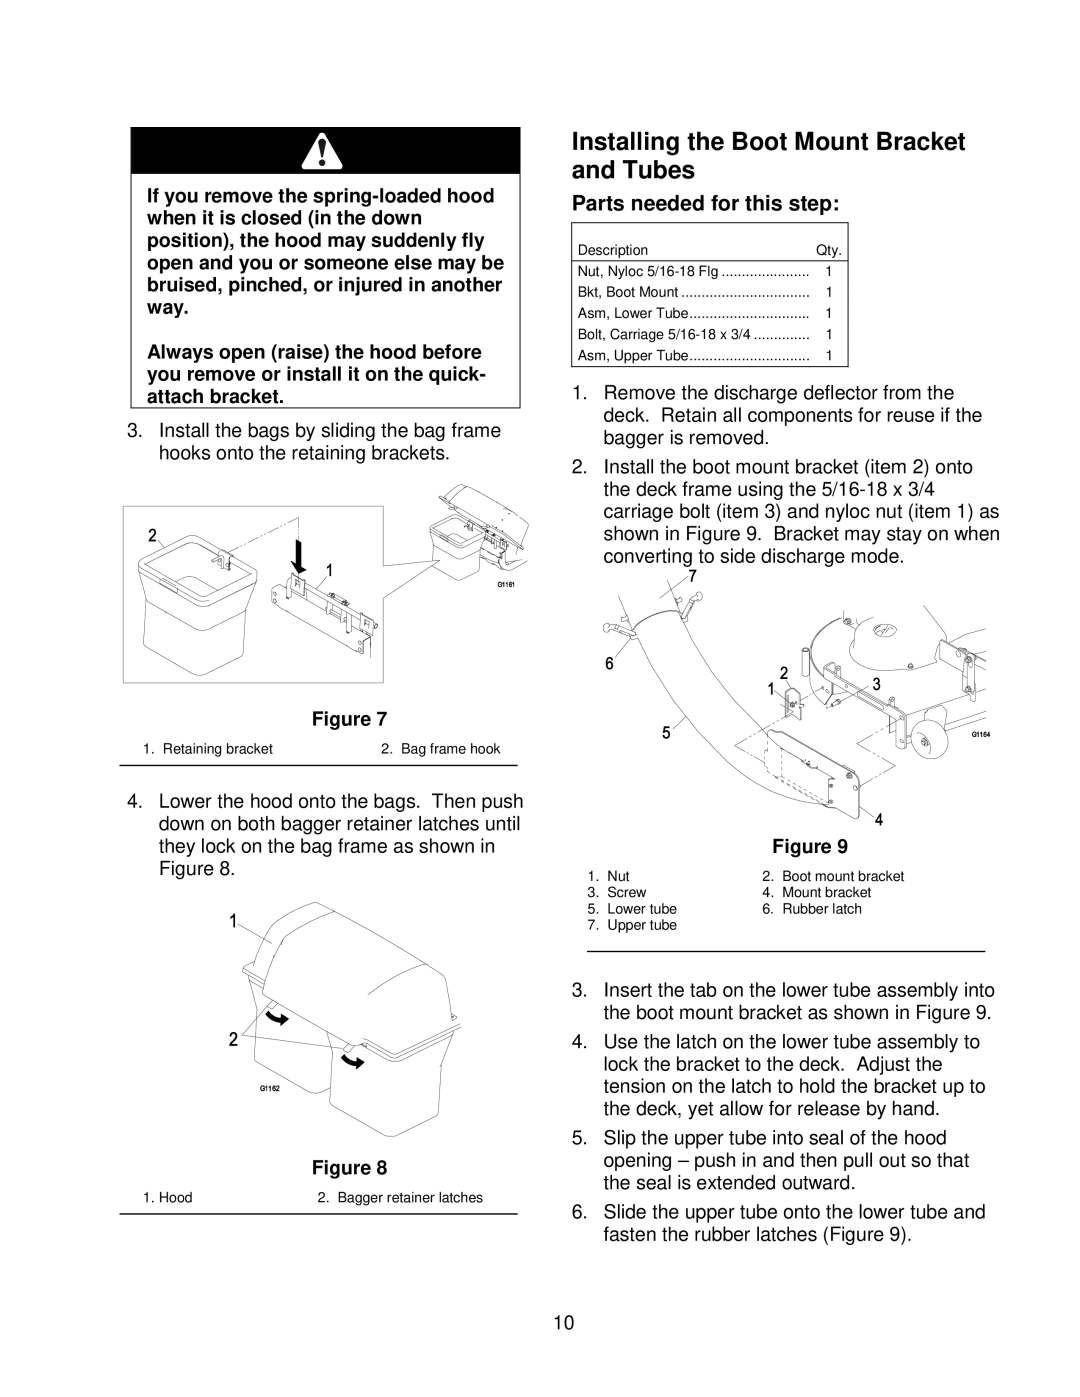
Ease of installation and operation is a significant advantage of the Quest Bagger. It can be easily attached or detached from compatible Exmark mowers, making it user-friendly for landscapers who require flexibility. The design incorporates features that allow for quick access to the bags for hassle-free emptying, ensuring minimal disruption during mowing tasks.
Moreover, the Quest Bagger’s sleek and compact design contributes to enhanced maneuverability. Whether navigating tight corners or working in less accessible areas, this bagger enhances the overall mowing experience.
In summary, the Exmark Quest Bagger combines capacity, advanced air management technology, durability, and ease of use, making it an essential addition for anyone serious about lawn care. By investing in the Quest Bagger, users can enjoy a cleaner, more efficient mowing experience, ultimately leading to a healthier and more aesthetically pleasing lawn.

