DTP T USW 333 specifications
The Extron DTP T USW 333 is a sophisticated, high-performance AV switcher designed to facilitate seamless connectivity in professional audio-visual environments. This solution is ideal for classrooms, conference rooms, and other collaborative spaces where multiple devices need to be connected to a central display or projector. The switcher allows users to efficiently manage and control various AV sources, enhancing the overall user experience.One of the standout features of the DTP T USW 333 is its capability to support multiple input types, including HDMI and VGA. This versatility allows users to connect a wide array of devices, ranging from laptops and tablets to legacy equipment, ensuring comprehensive compatibility with existing setups. With a total of three HDMI inputs and one VGA input, this switcher enables maximum flexibility and convenience in source selection.
The DTP T USW 333 utilizes Extron's Digital Twist Pair (DTP) technology, which enables the transmission of uncompressed HDMI video, embedded audio, and control signals over standard CATx cabling. This feature significantly simplifies installation, reducing the need for complex wiring and extensive cable management systems. The unit supports distances of up to 330 feet for HDMI and 1000 feet for VGA, making it an ideal choice for various room sizes and configurations.
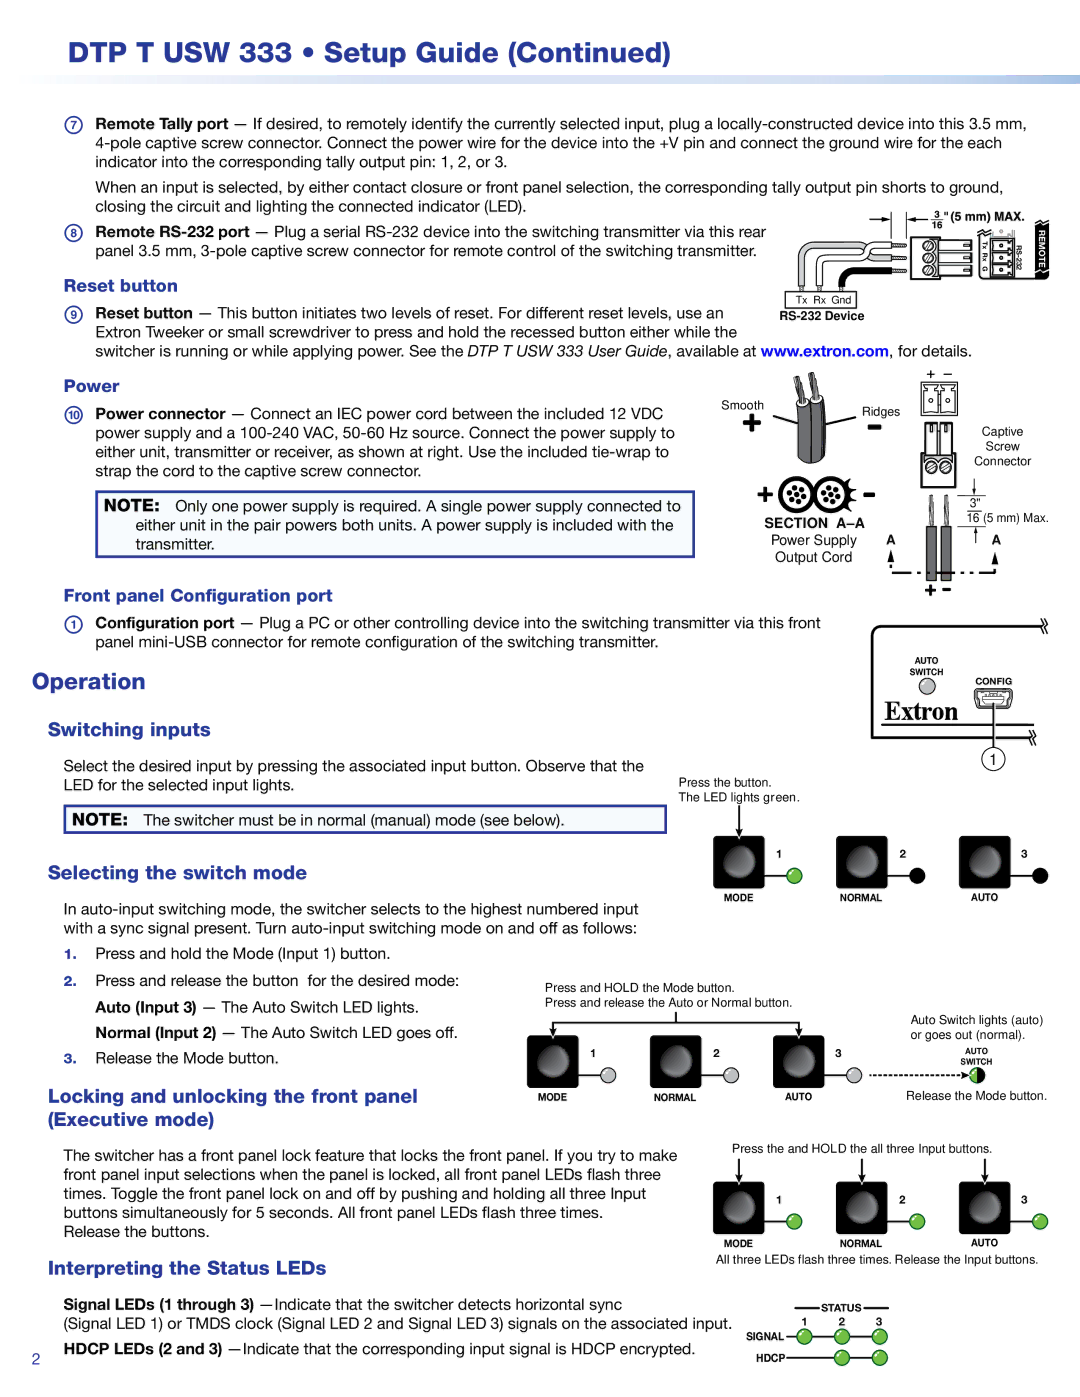
Another critical characteristic of the DTP T USW 333 is its user-friendly interface. The front panel includes intuitive buttons for source switching, allowing users to change inputs quickly and easily. The unit is also equipped with LED indicators that provide visual feedback, signaling the active source and overall system status. This design improves usability, making it accessible for both technical and non-technical users alike.
Moreover, the switcher supports Extron's proprietary technologies, including the ability to embed audio from HDMI and provide independent audio outputs. This functionality supports a wider range of audio setups and configurations, allowing for enhanced multimedia presentations.
In summary, the Extron DTP T USW 333 is an advanced AV switching solution that combines flexibility, ease of use, and cutting-edge technology. With its support for various input types, long-distance transmission capabilities, and user-friendly design, this switcher is an optimal choice for any professional AV installation seeking reliable and efficient performance.

