RGB 400xi Series specifications
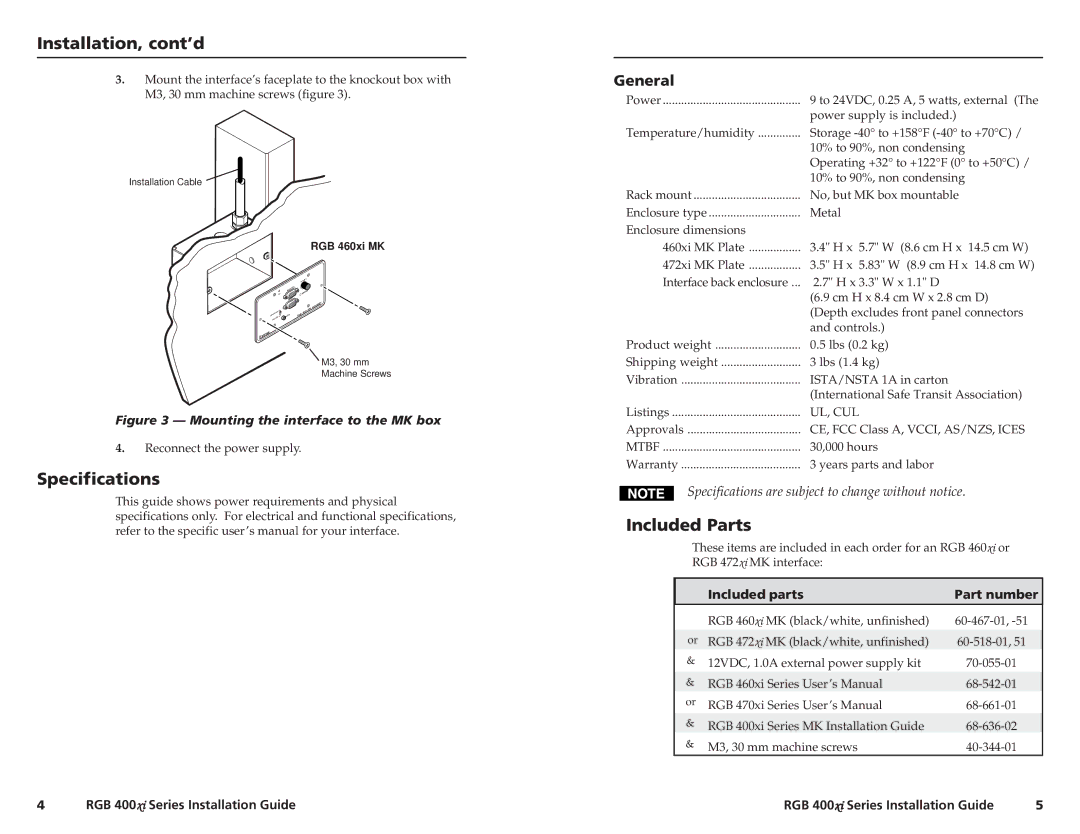
The Extron RGB 400xi Series is a cutting-edge solution designed for high-quality video signal processing and distribution. This series is part of Extron's extensive lineup of professional AV products, tailored for users requiring robust performance in various applications, including conference rooms, classrooms, and control centers.One of the main features of the RGB 400xi Series is its advanced signal processing capabilities. It supports a wide range of input and output resolutions, ensuring compatibility with various devices. The series can handle RGBHV, RGBS, RGsB, and component video signals, making it versatile for different video formats. It efficiently processes signals up to 400 MHz, allowing for high-resolution displays and minimizing latency, which is critical for live presentations or video conferences.
In terms of technology, the RGB 400xi Series integrates Extron’s exclusive features such as Color Transcoding and the patented Extron PowerCage technology. Color Transcoding allows users to adjust the brightness, contrast, and color balance of video signals, ensuring optimal image quality tailored to specific display requirements. The PowerCage technology enhances signal integrity by isolating power supplies and reducing interference, which is essential for maintaining high-quality video output, especially in complex installations.
The series also boasts advanced EDID management capabilities, which ensure that the source devices correctly identify and communicate with display devices. This feature is particularly beneficial when multiple inputs and outputs are used, as it simplifies connection management and enhances overall system reliability.
Another noteworthy characteristic of the RGB 400xi Series is its user-friendly interface. The intuitive front panel, along with the ability to control settings via a web-based management system, allows users to adjust parameters easily and efficiently. Additionally, the series supports Ethernet control, making it suitable for integration into existing network systems.
The RGB 400xi Series is not only designed for performance but also for durability and reliability. It includes features such as built-in thermal protection and a robust metal enclosure, ensuring it can withstand the demands of professional environments.
In summary, Extron's RGB 400xi Series stands out for its comprehensive feature set, advanced signal processing technologies, and user-centric design, making it an ideal choice for a wide range of professional AV applications.

